BMPCC 4K
PURPOSE
Shooting reference footage for VFX artists. The VFX Data Wrangler records the same action as the main camera, but from a different angle. This offers another point of view to the artists that will have to add any VFX in the picture. It's specifically meant to give you as much detailed information about the physical space and action as possible.
For example: camera tracking, set lighting reference, position between elements in the shot etc.
COMPONENTS
1 x Peli 1535 Air with padded divider
1 x Blackmagic Pocket Cinema Camera 4K
1 x Olympus M.Zuiko 12-40mm zoom with 62mm UVP filter
1 x Olympus M.Zuiko 7-14mm zoom
1 x Canon LP-E6 battery + charger
2 x Samsung SSD T7 2TB hard drive
1 x Tilta Camera Cage (TA-T01-A-G) with accessories
1 x Tilta V-mount battery baseplate (TA-BSP2-V-G)
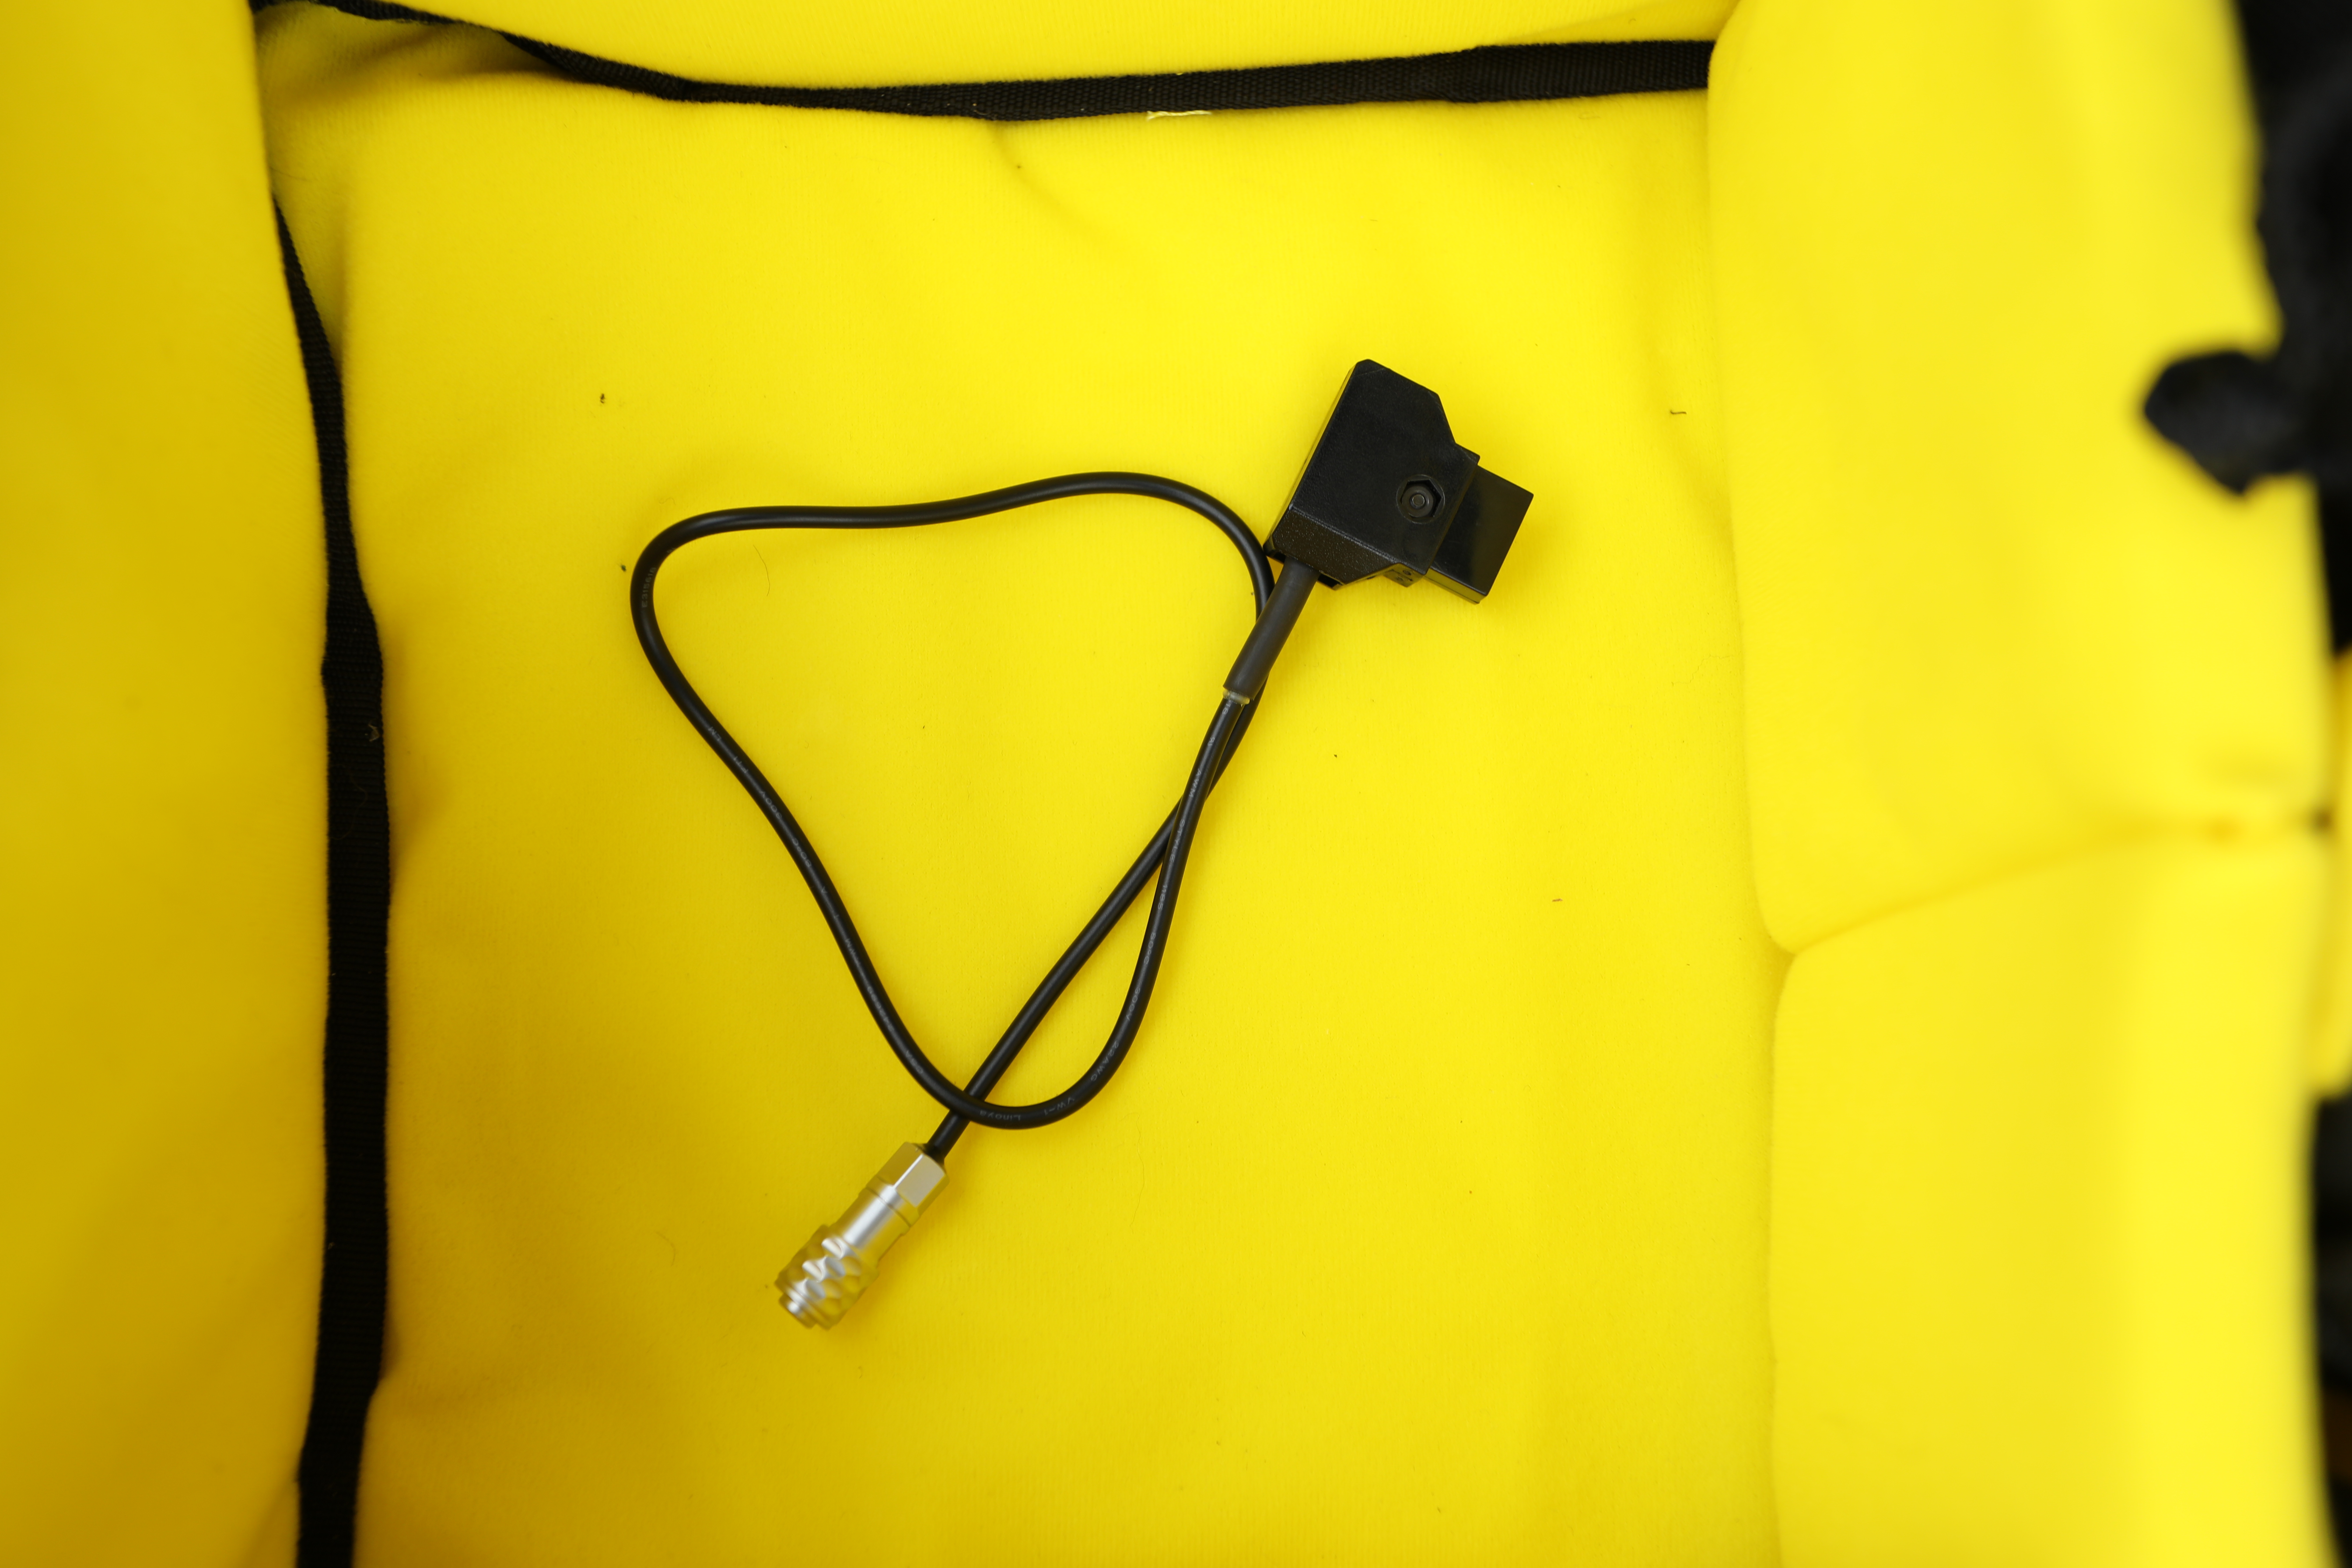
2 x D-tap to BMPCC4K power cable
1 x Ambient The Lockit timecode box
2 x 5 pin Lemo > 3.5mm Jack timecode cable (CEP)
3 x IDX V-lock Battery slim
1 x IDX V-lock battery charger
1 x Miller Air LW Carbon Fiber Tripod System (MIL-3010) w/ plate
CURRENT SAMPLE QUOTE
VFX KIT SAMPLE QUOTE - Witness Camera Package Blackmagic 4K
PELICASE APPROVED LAYOUT
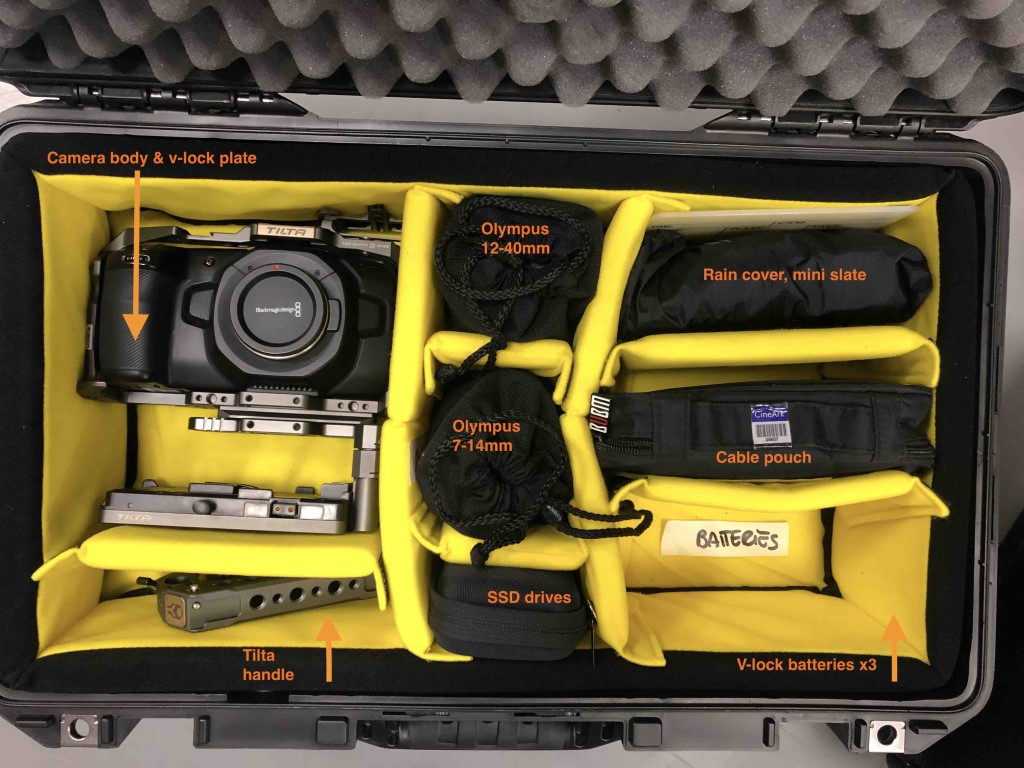
NOTES
BMPCC 4K fits MFT mount lenses. To mount different lenses you need an adaptor.
Apply screen protector on monitor
ASSAMBLE THE KIT
fit the camera inside the cage
attach the battery base plate at bottom of the camera cage
attach the ssd holder at top L of camera cage
Insert battery inside camera
Turn on camera, set time & date
RIG SET UP & TEST
Open up tripod and slide the camera rig into the Fluid head quick release
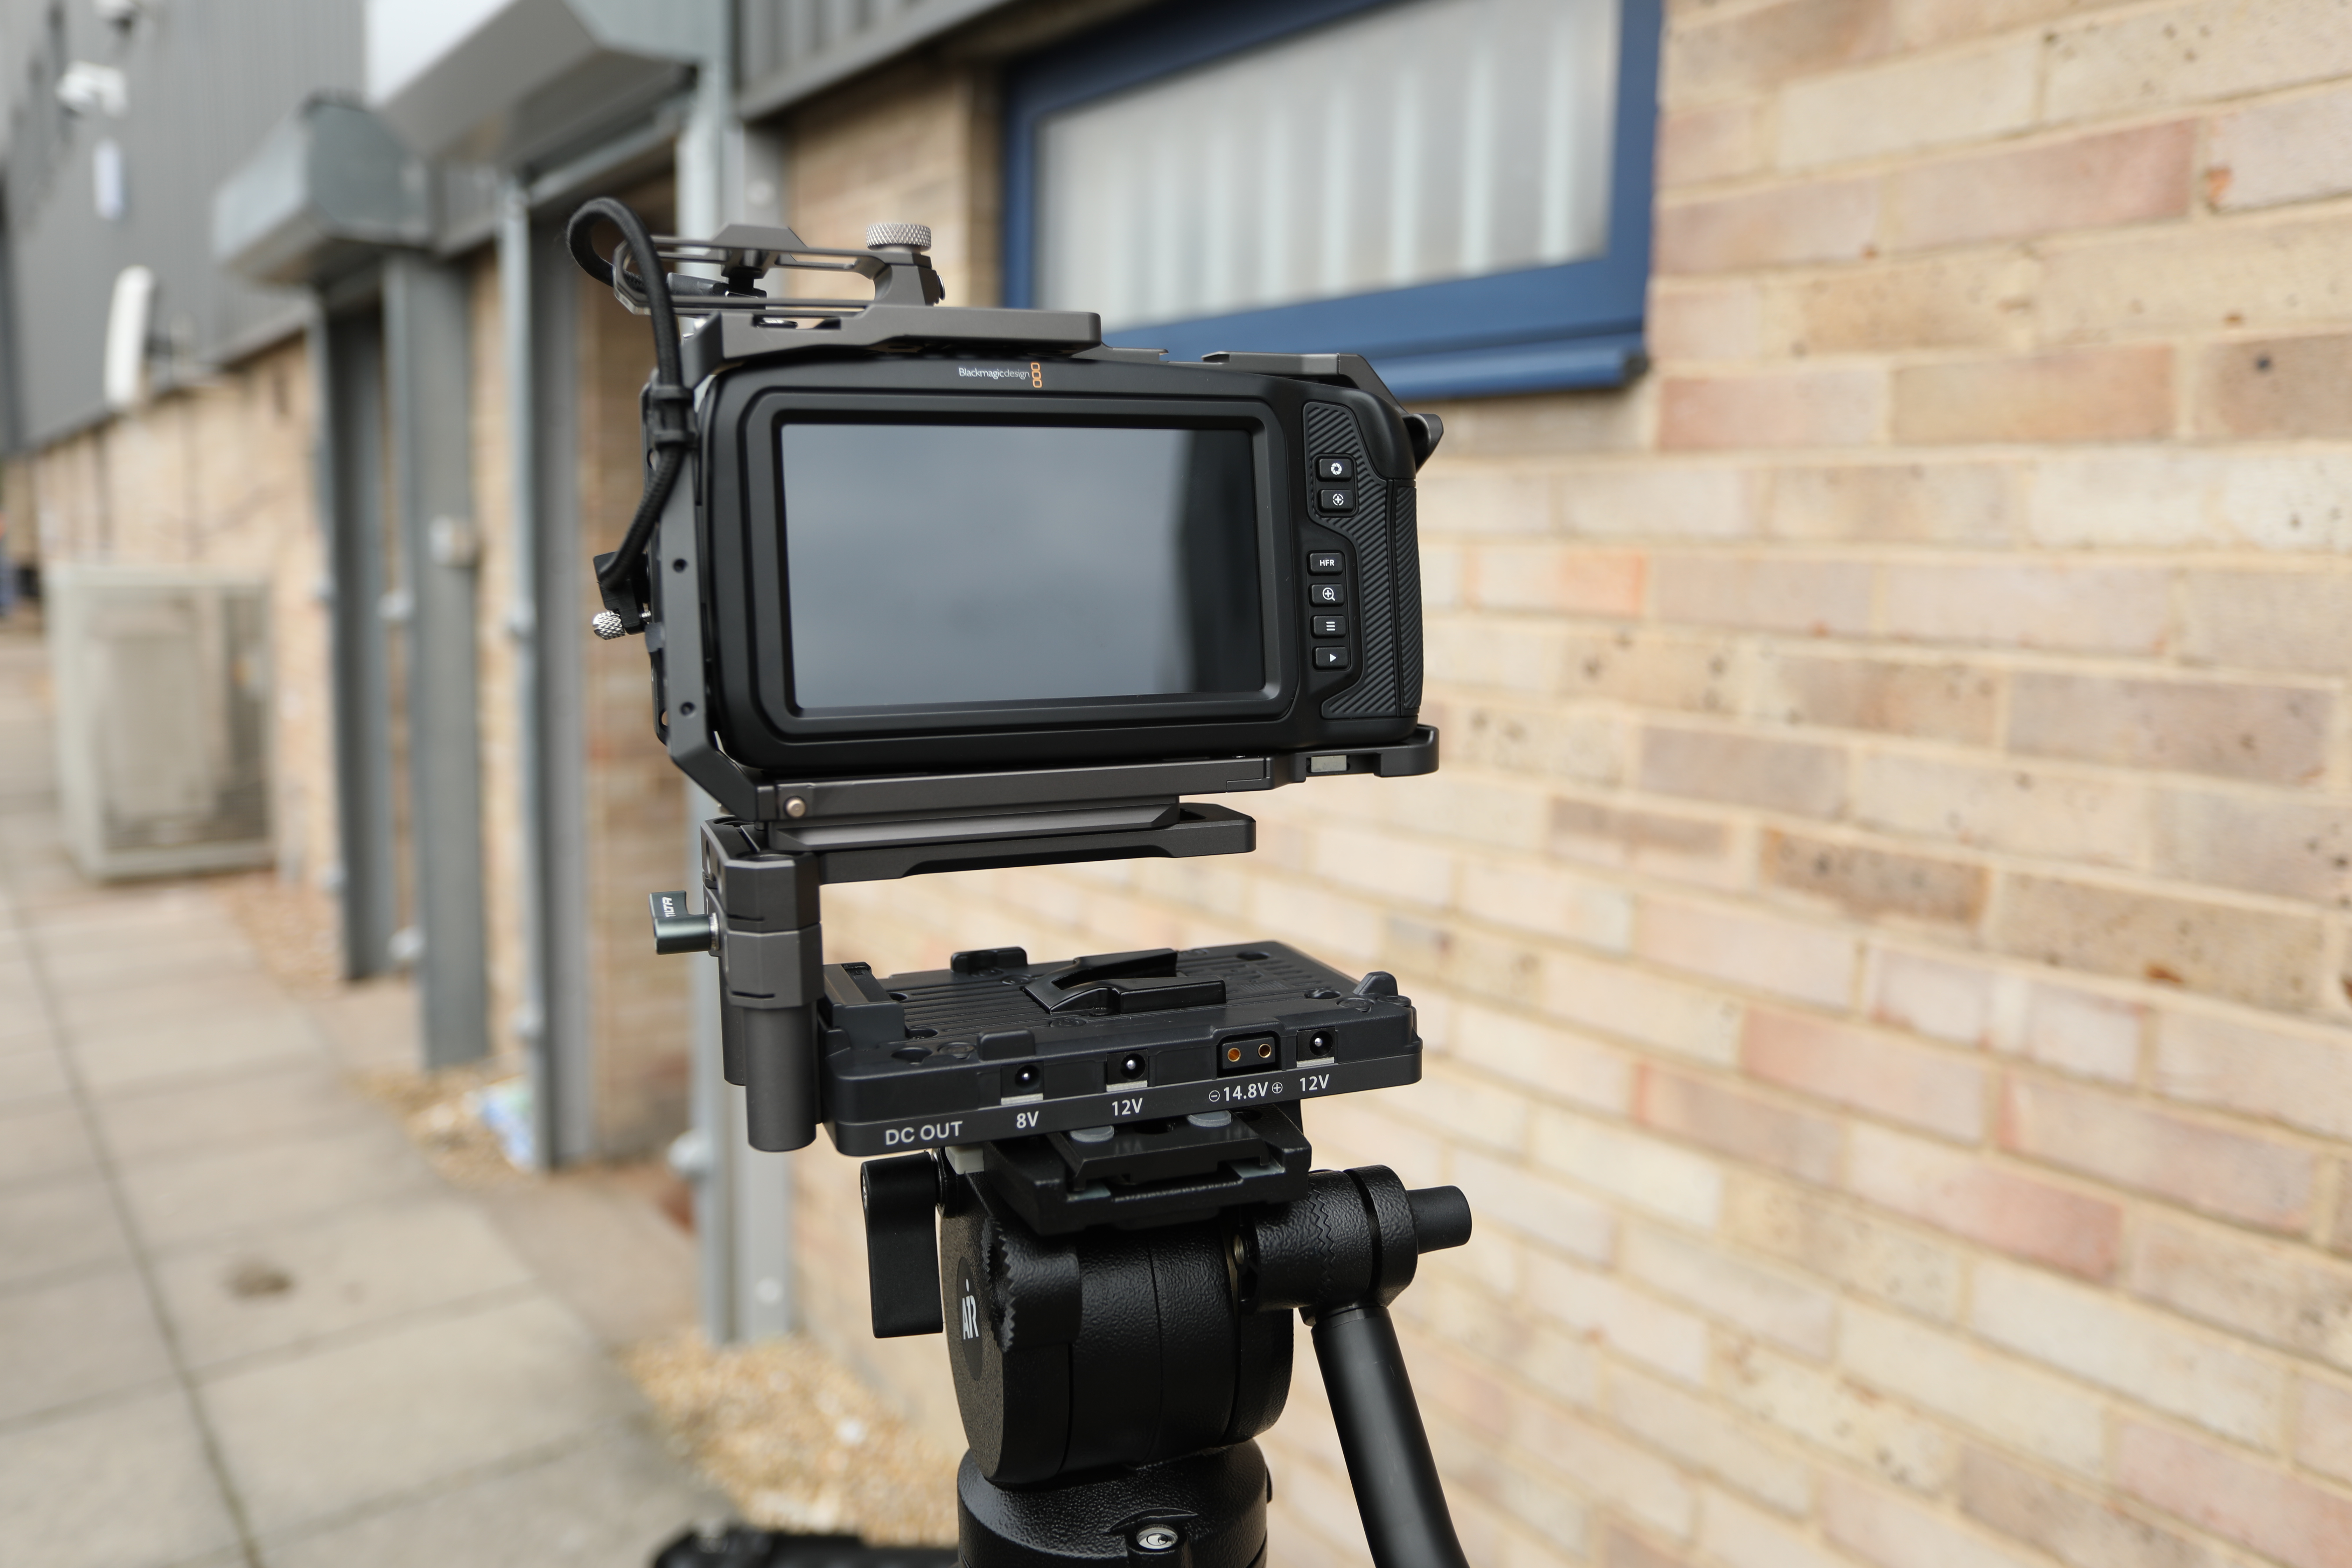
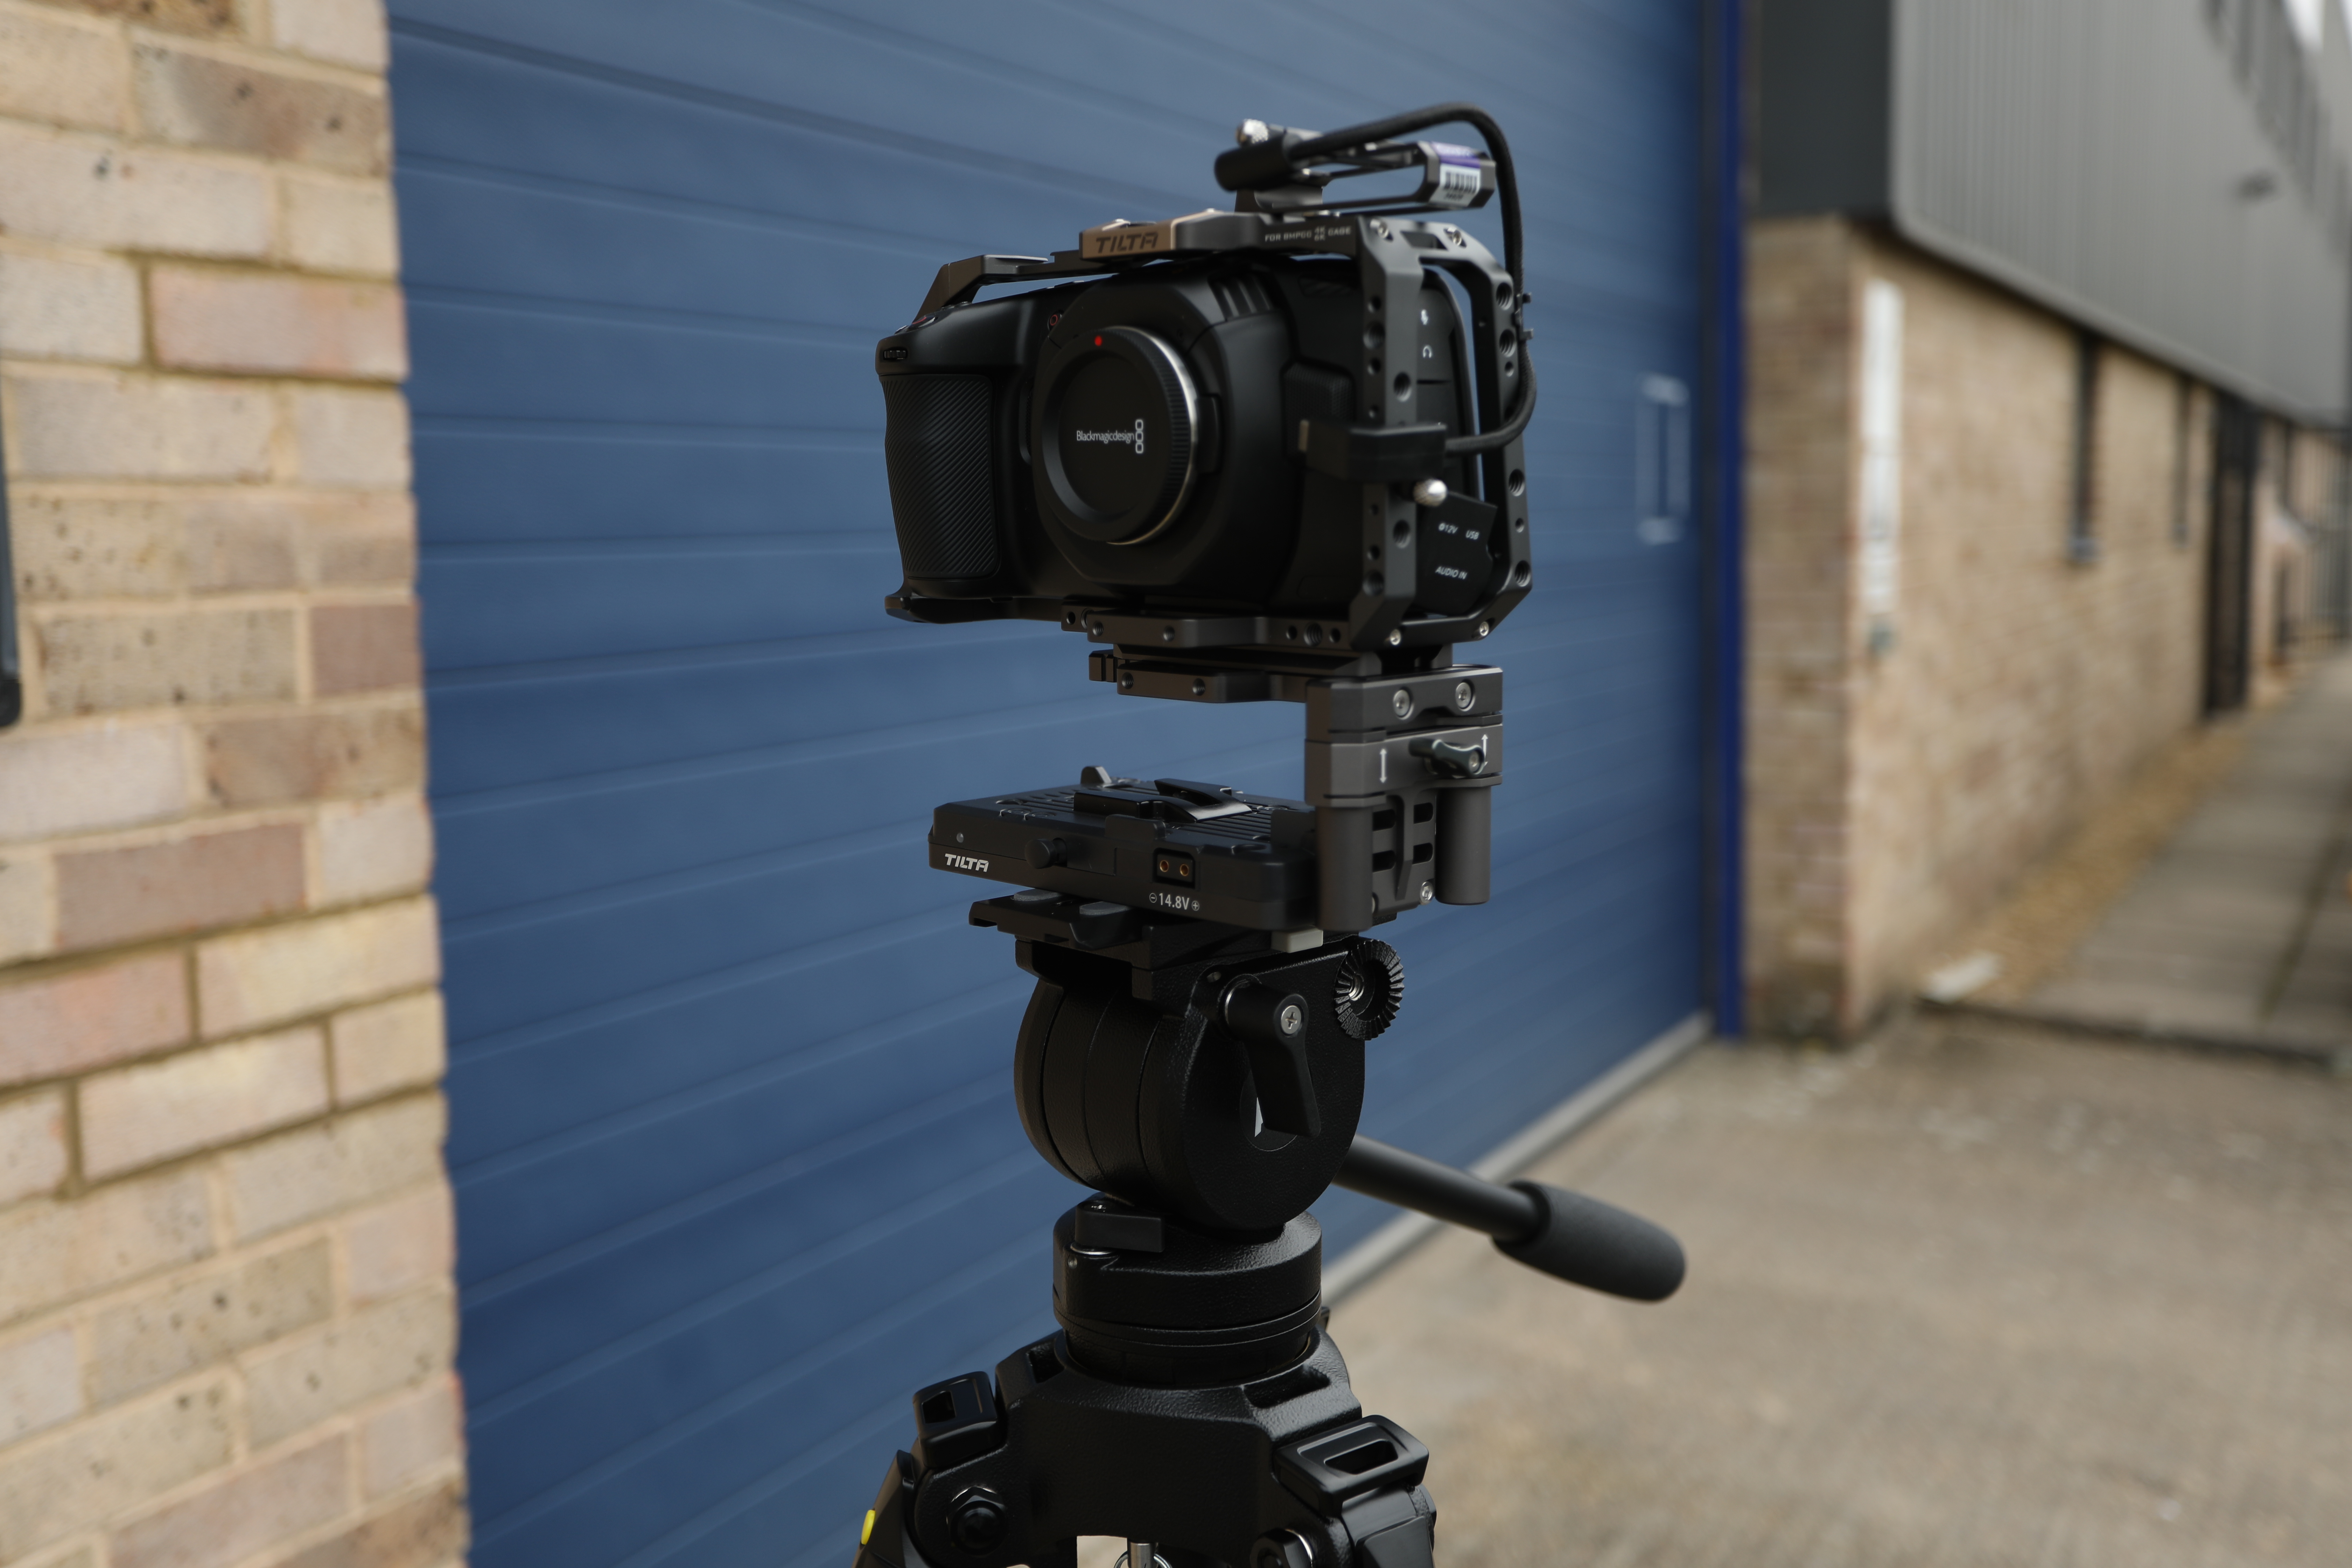
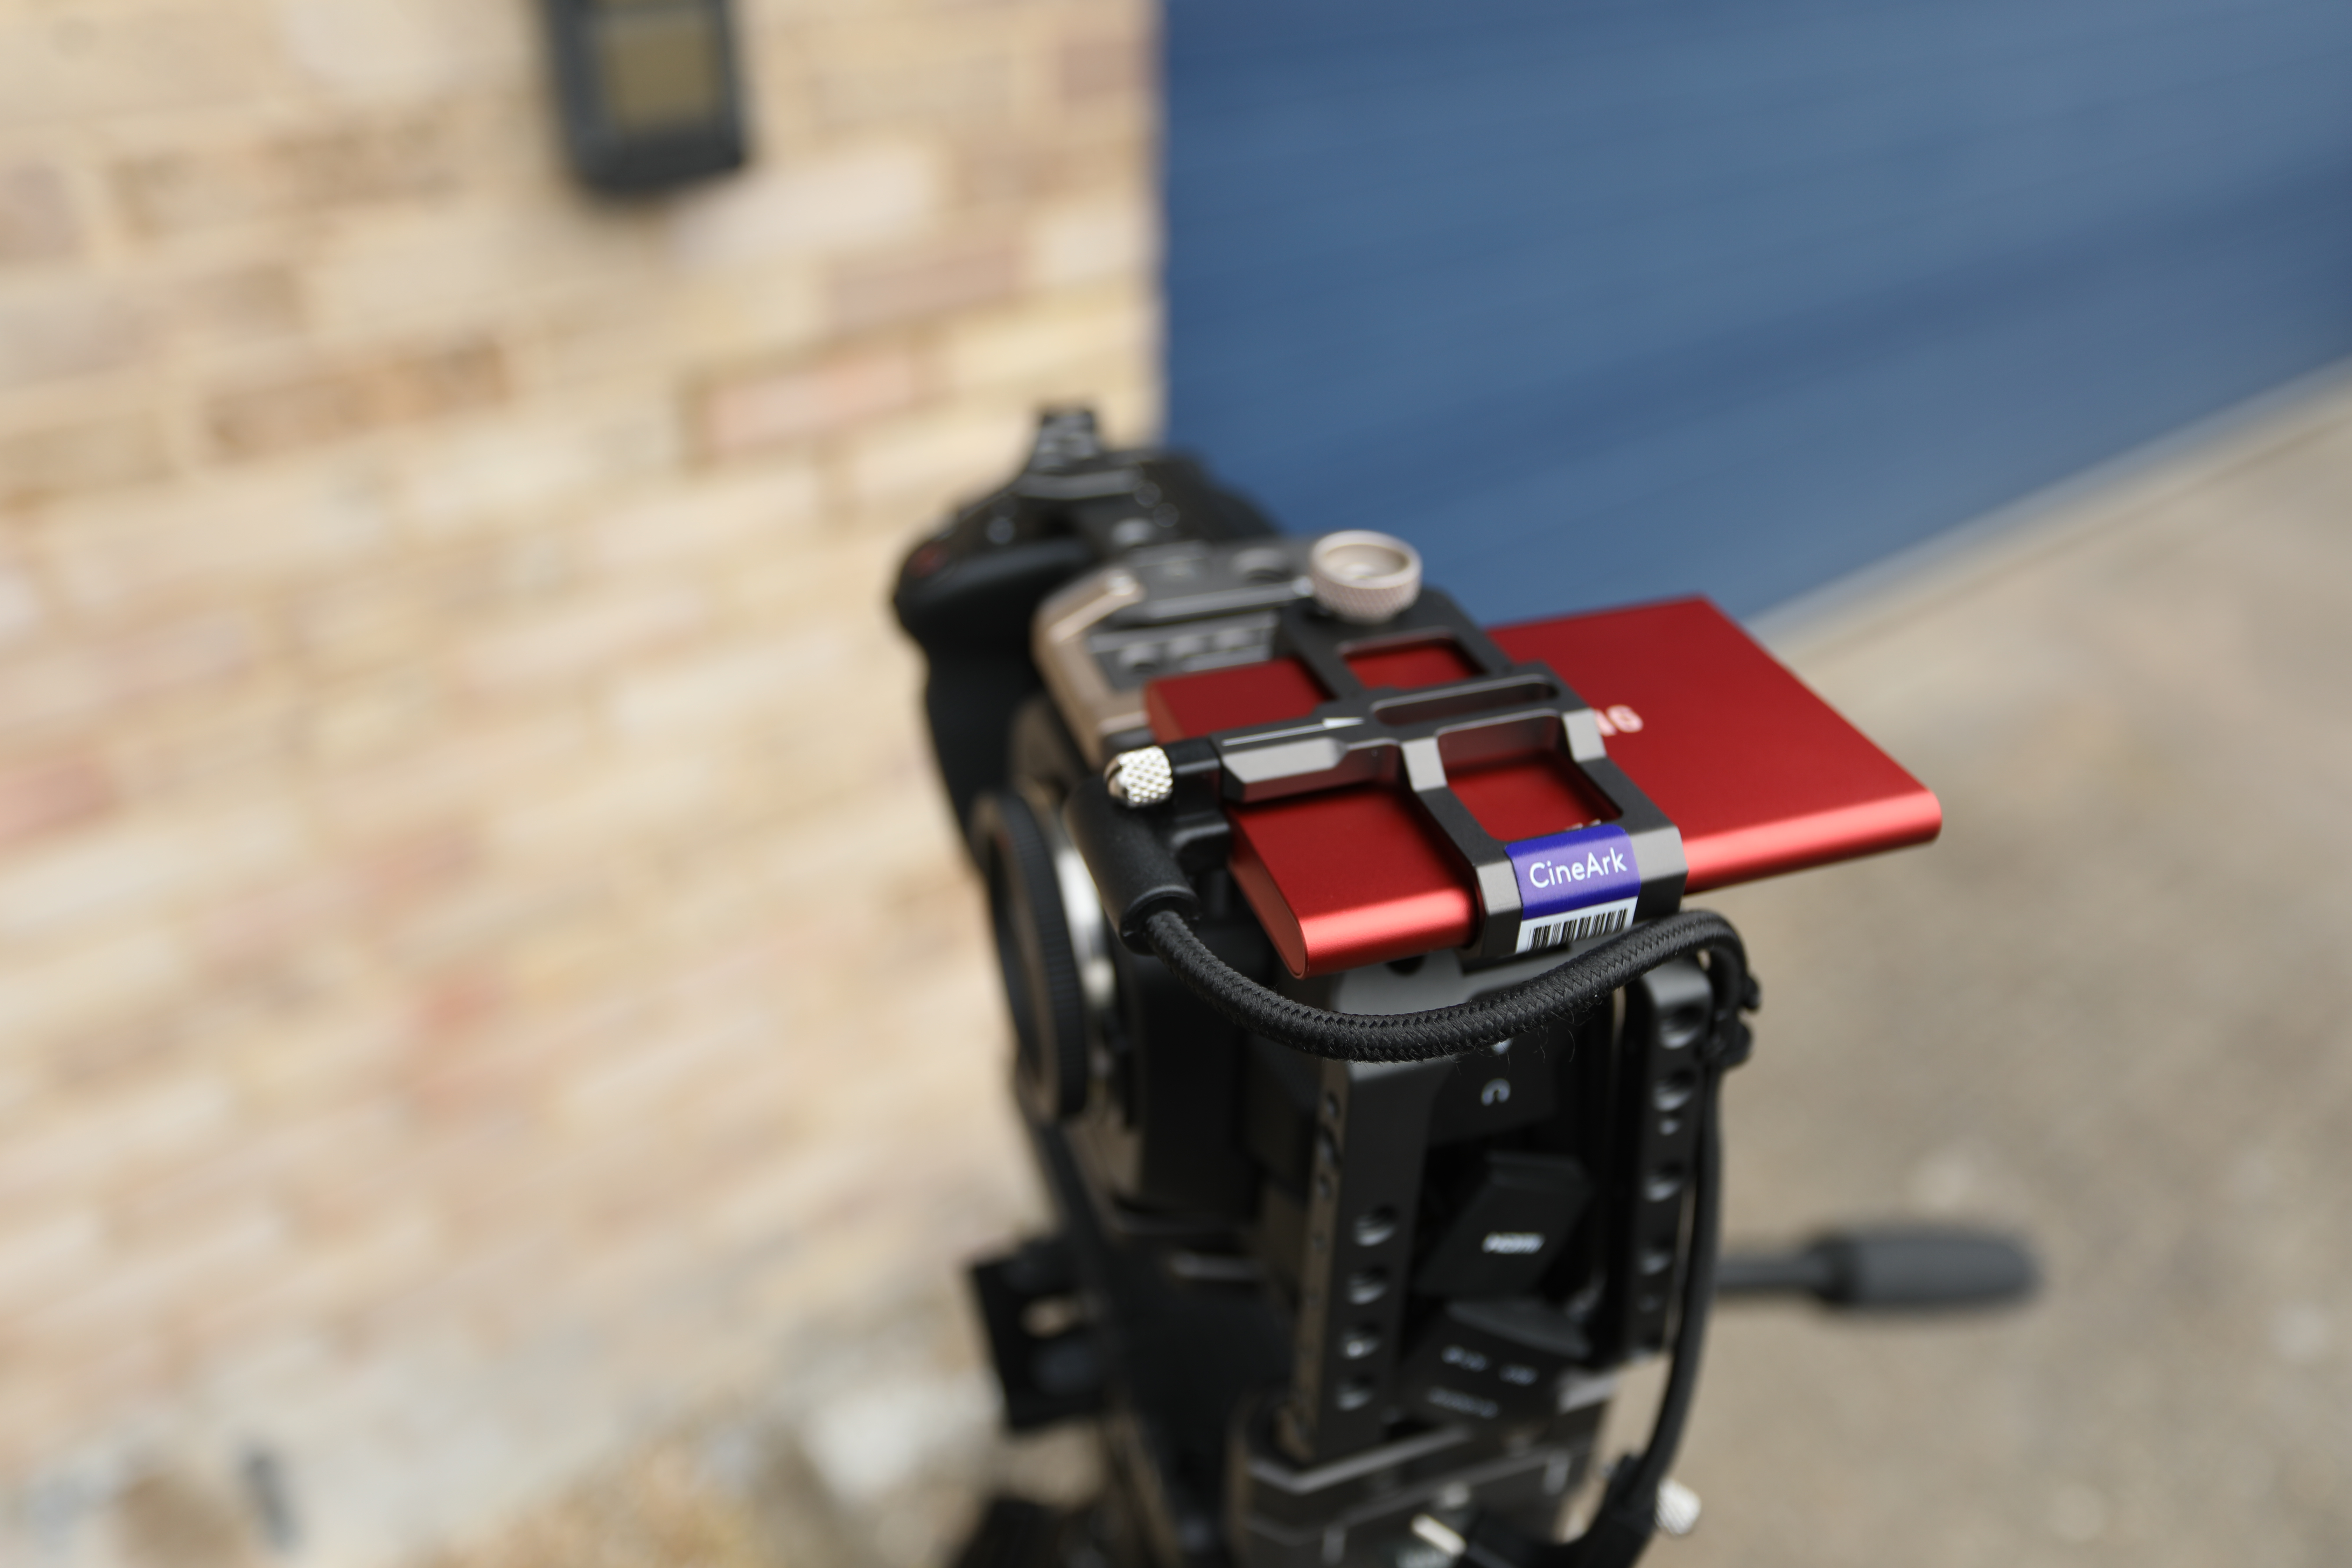
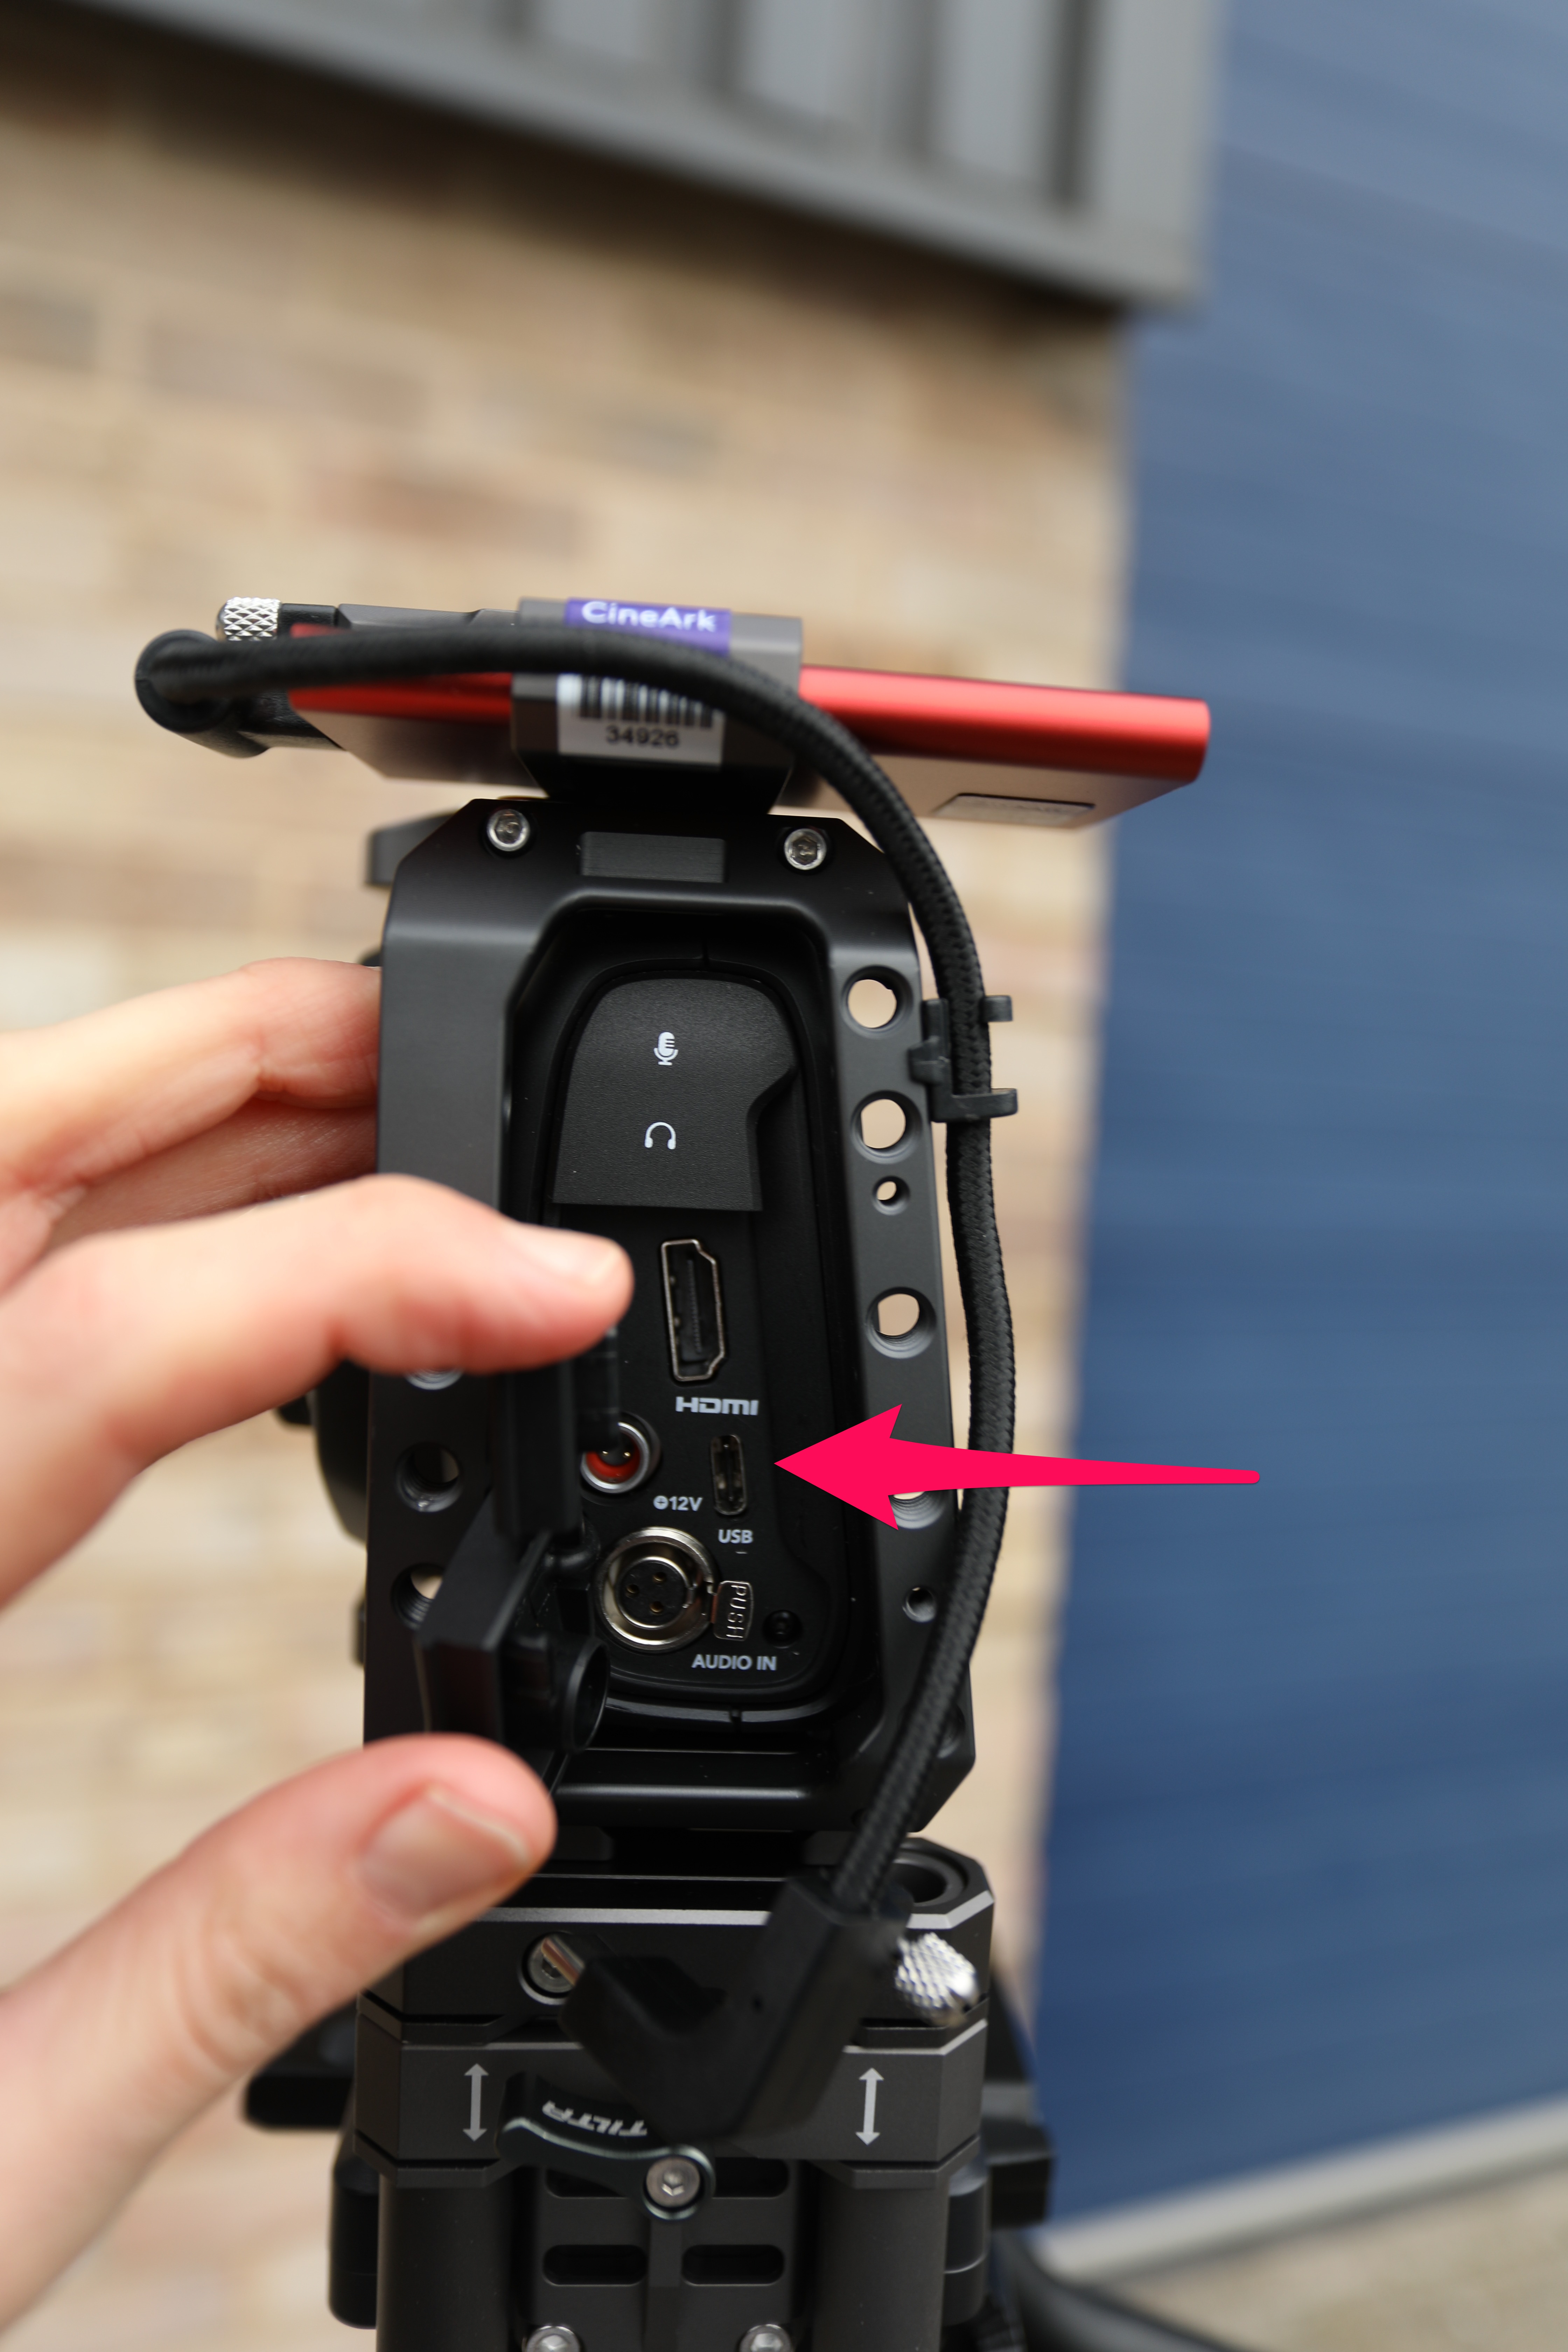
Place SSD into the holder and secure with little screw above the cable. Plug in the SSD into the dedicated USB port on the side of the camera
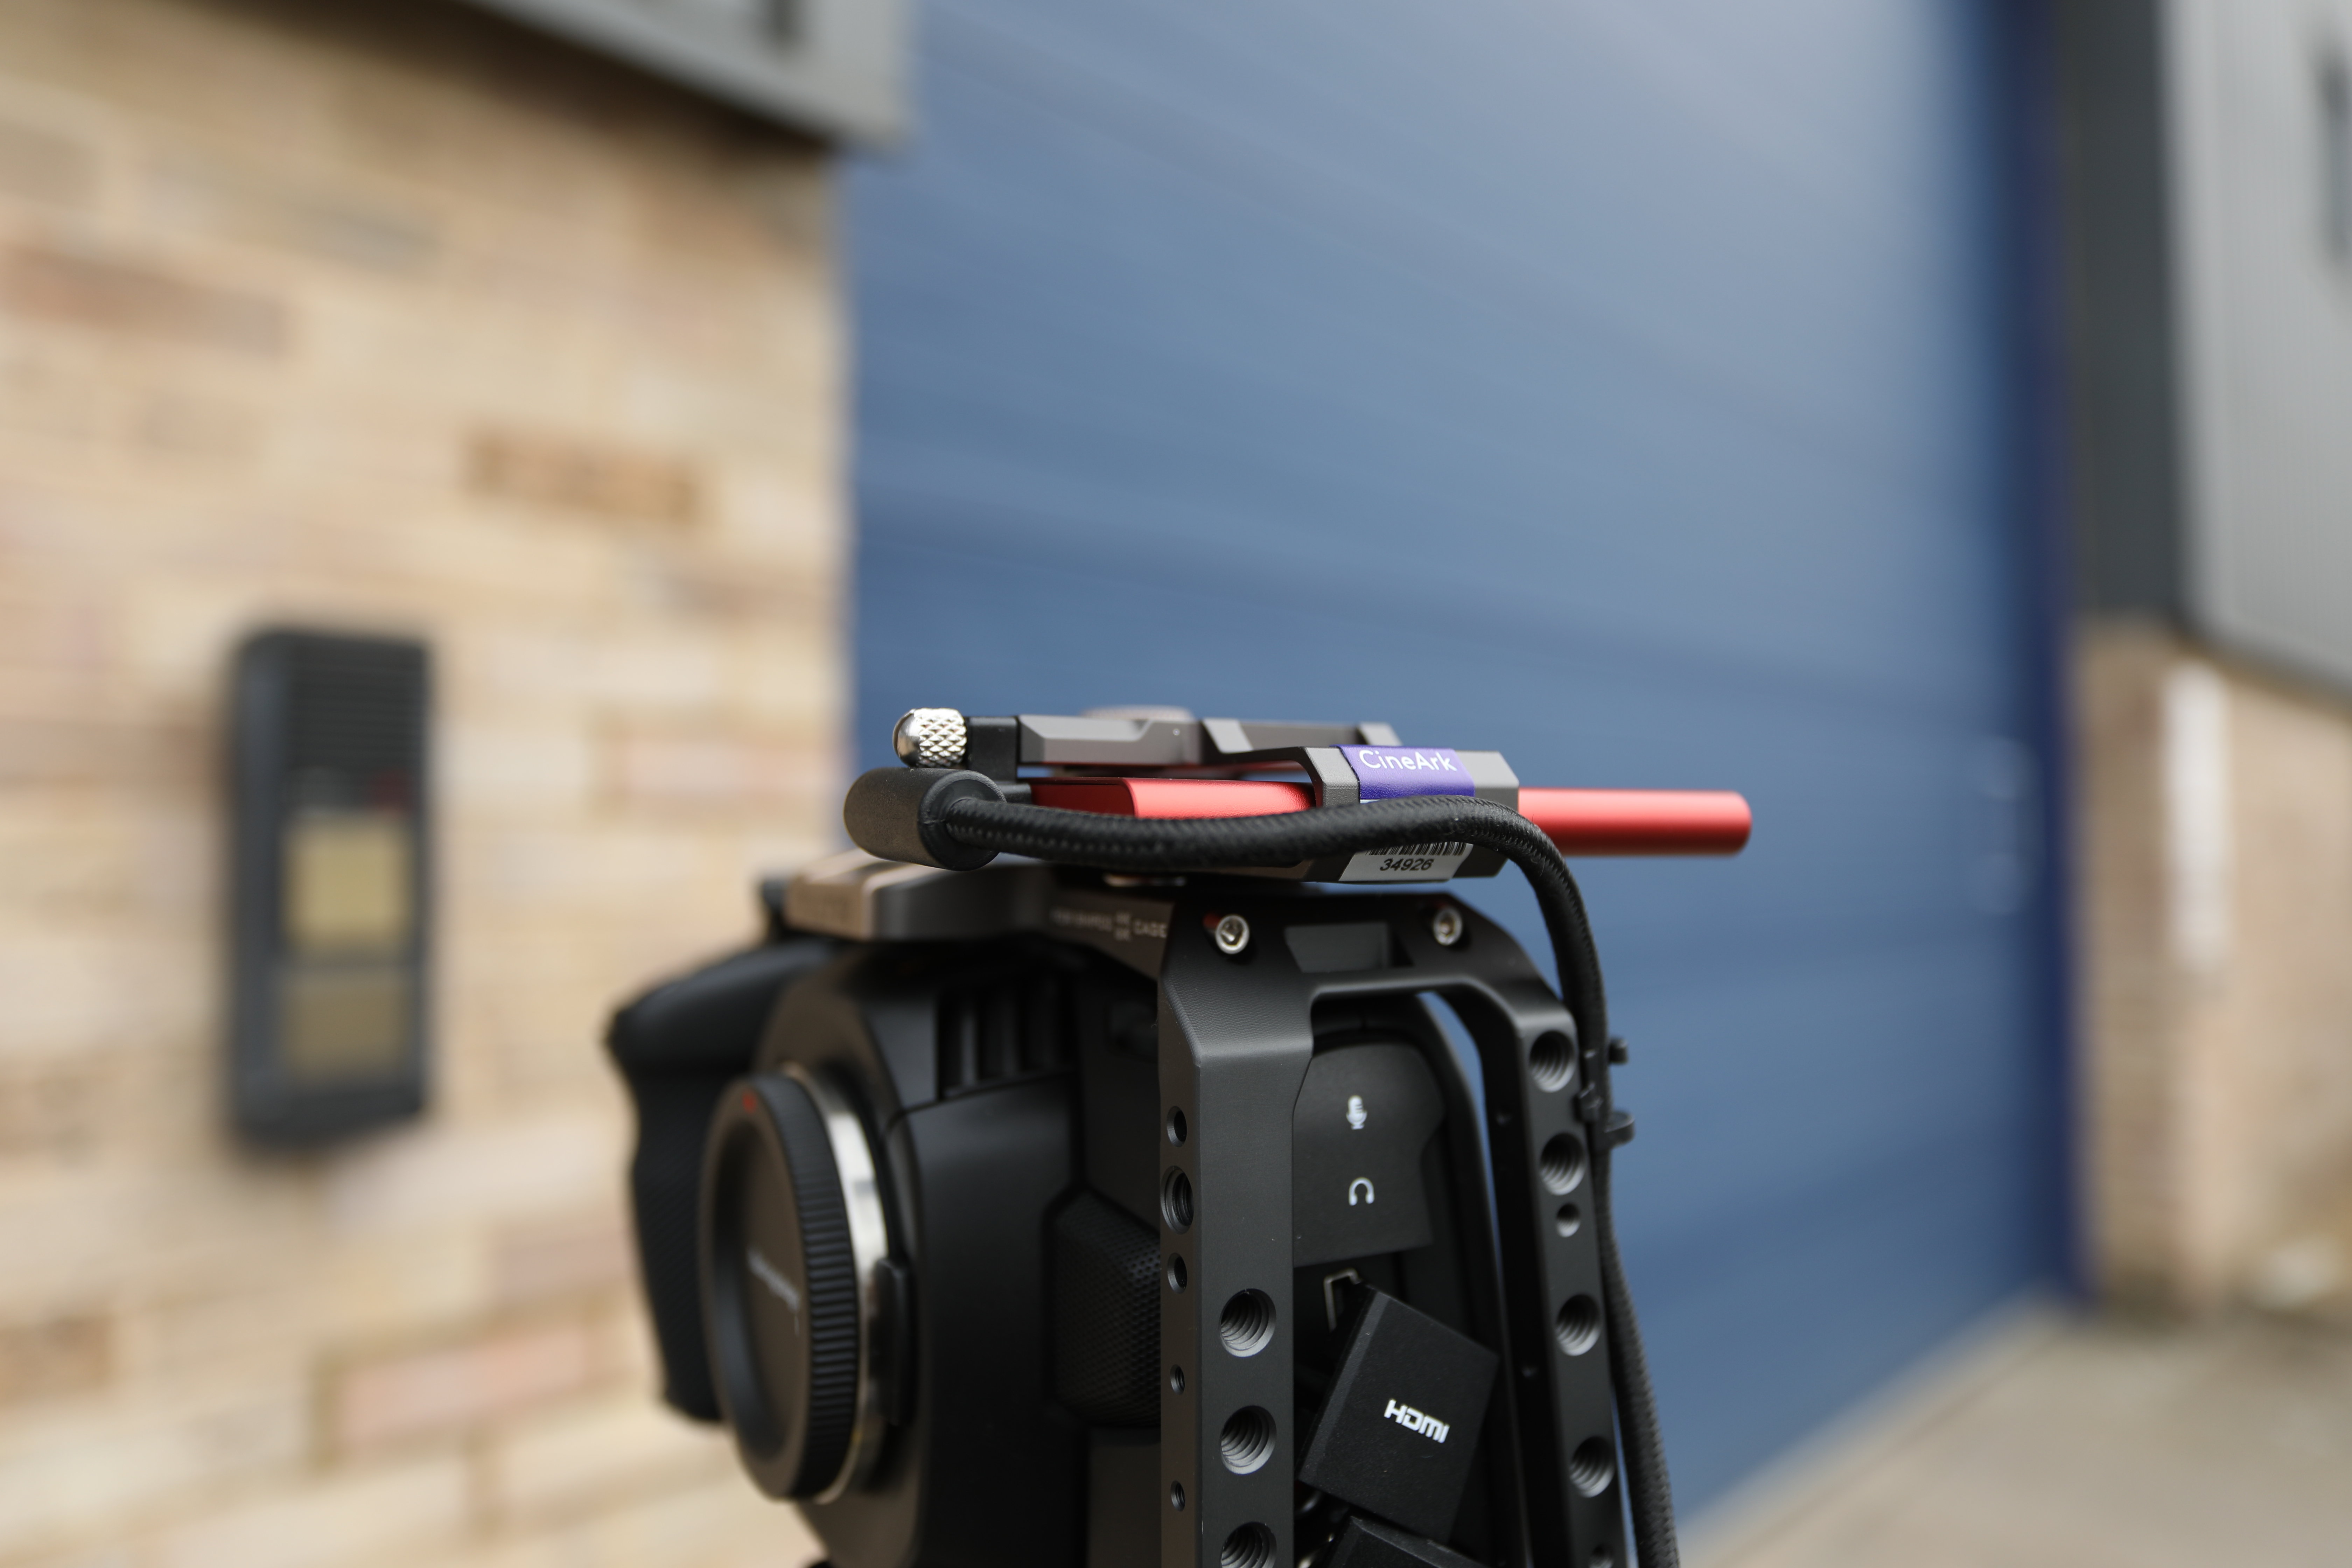
Step 3
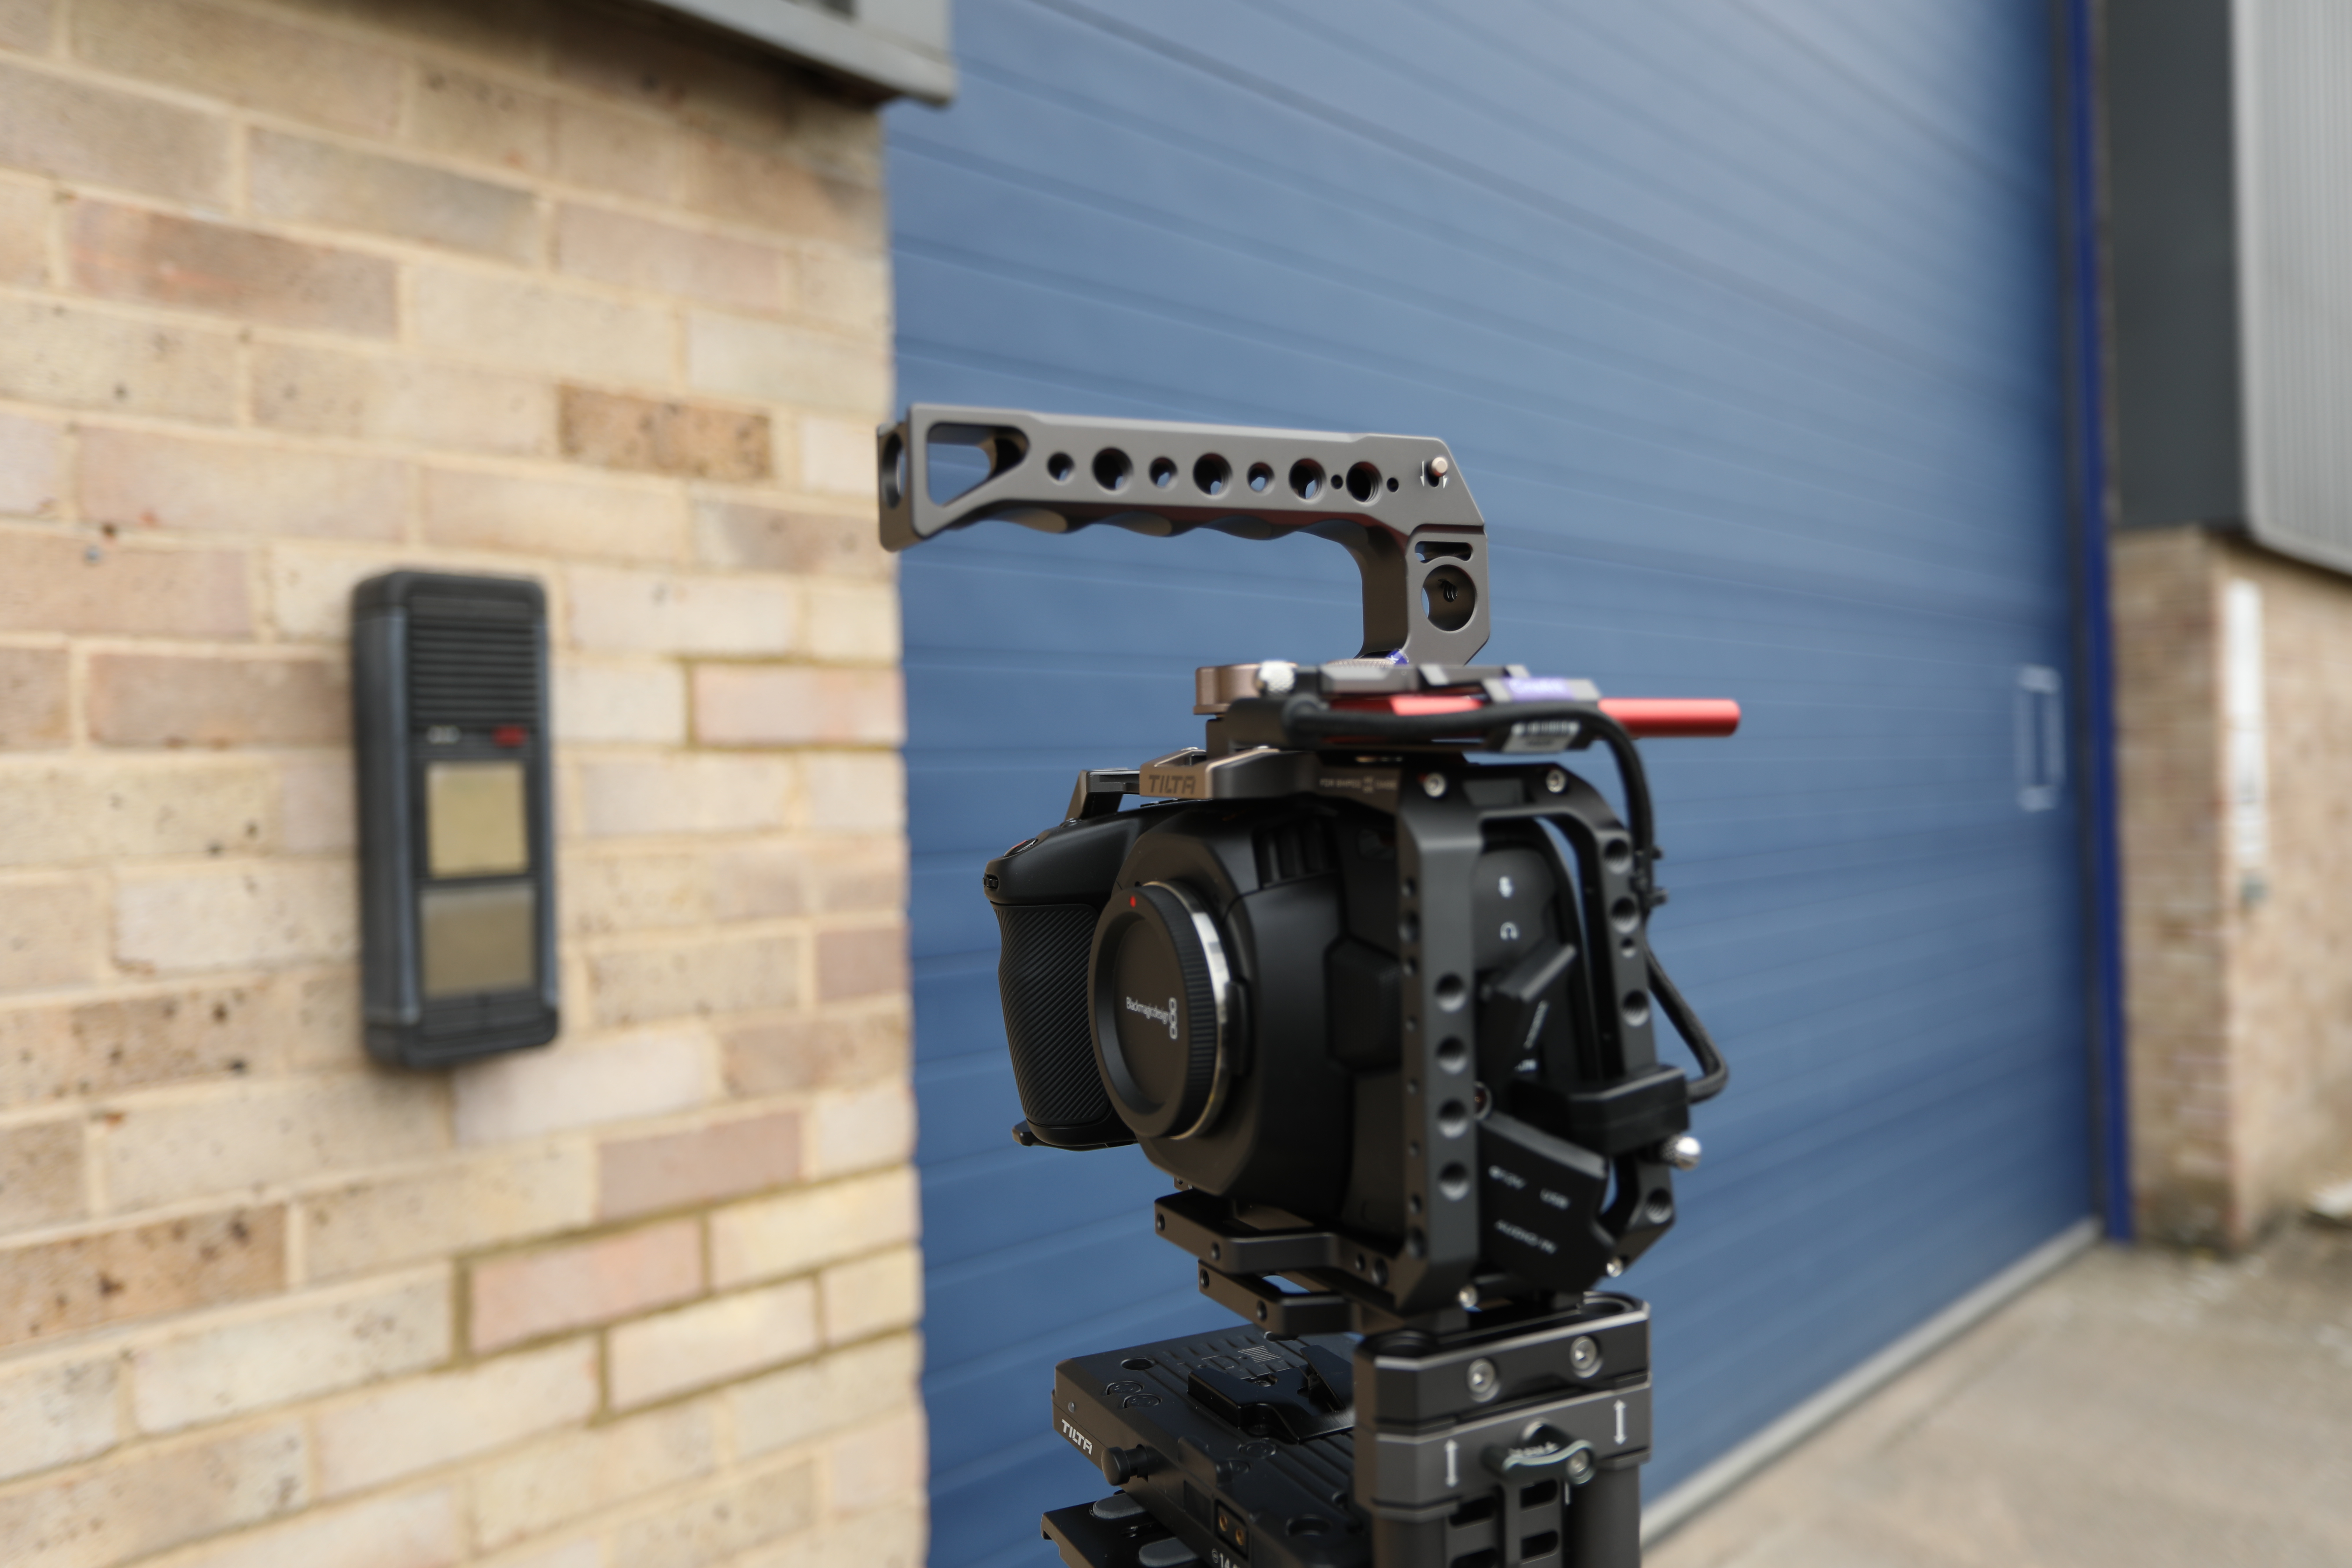
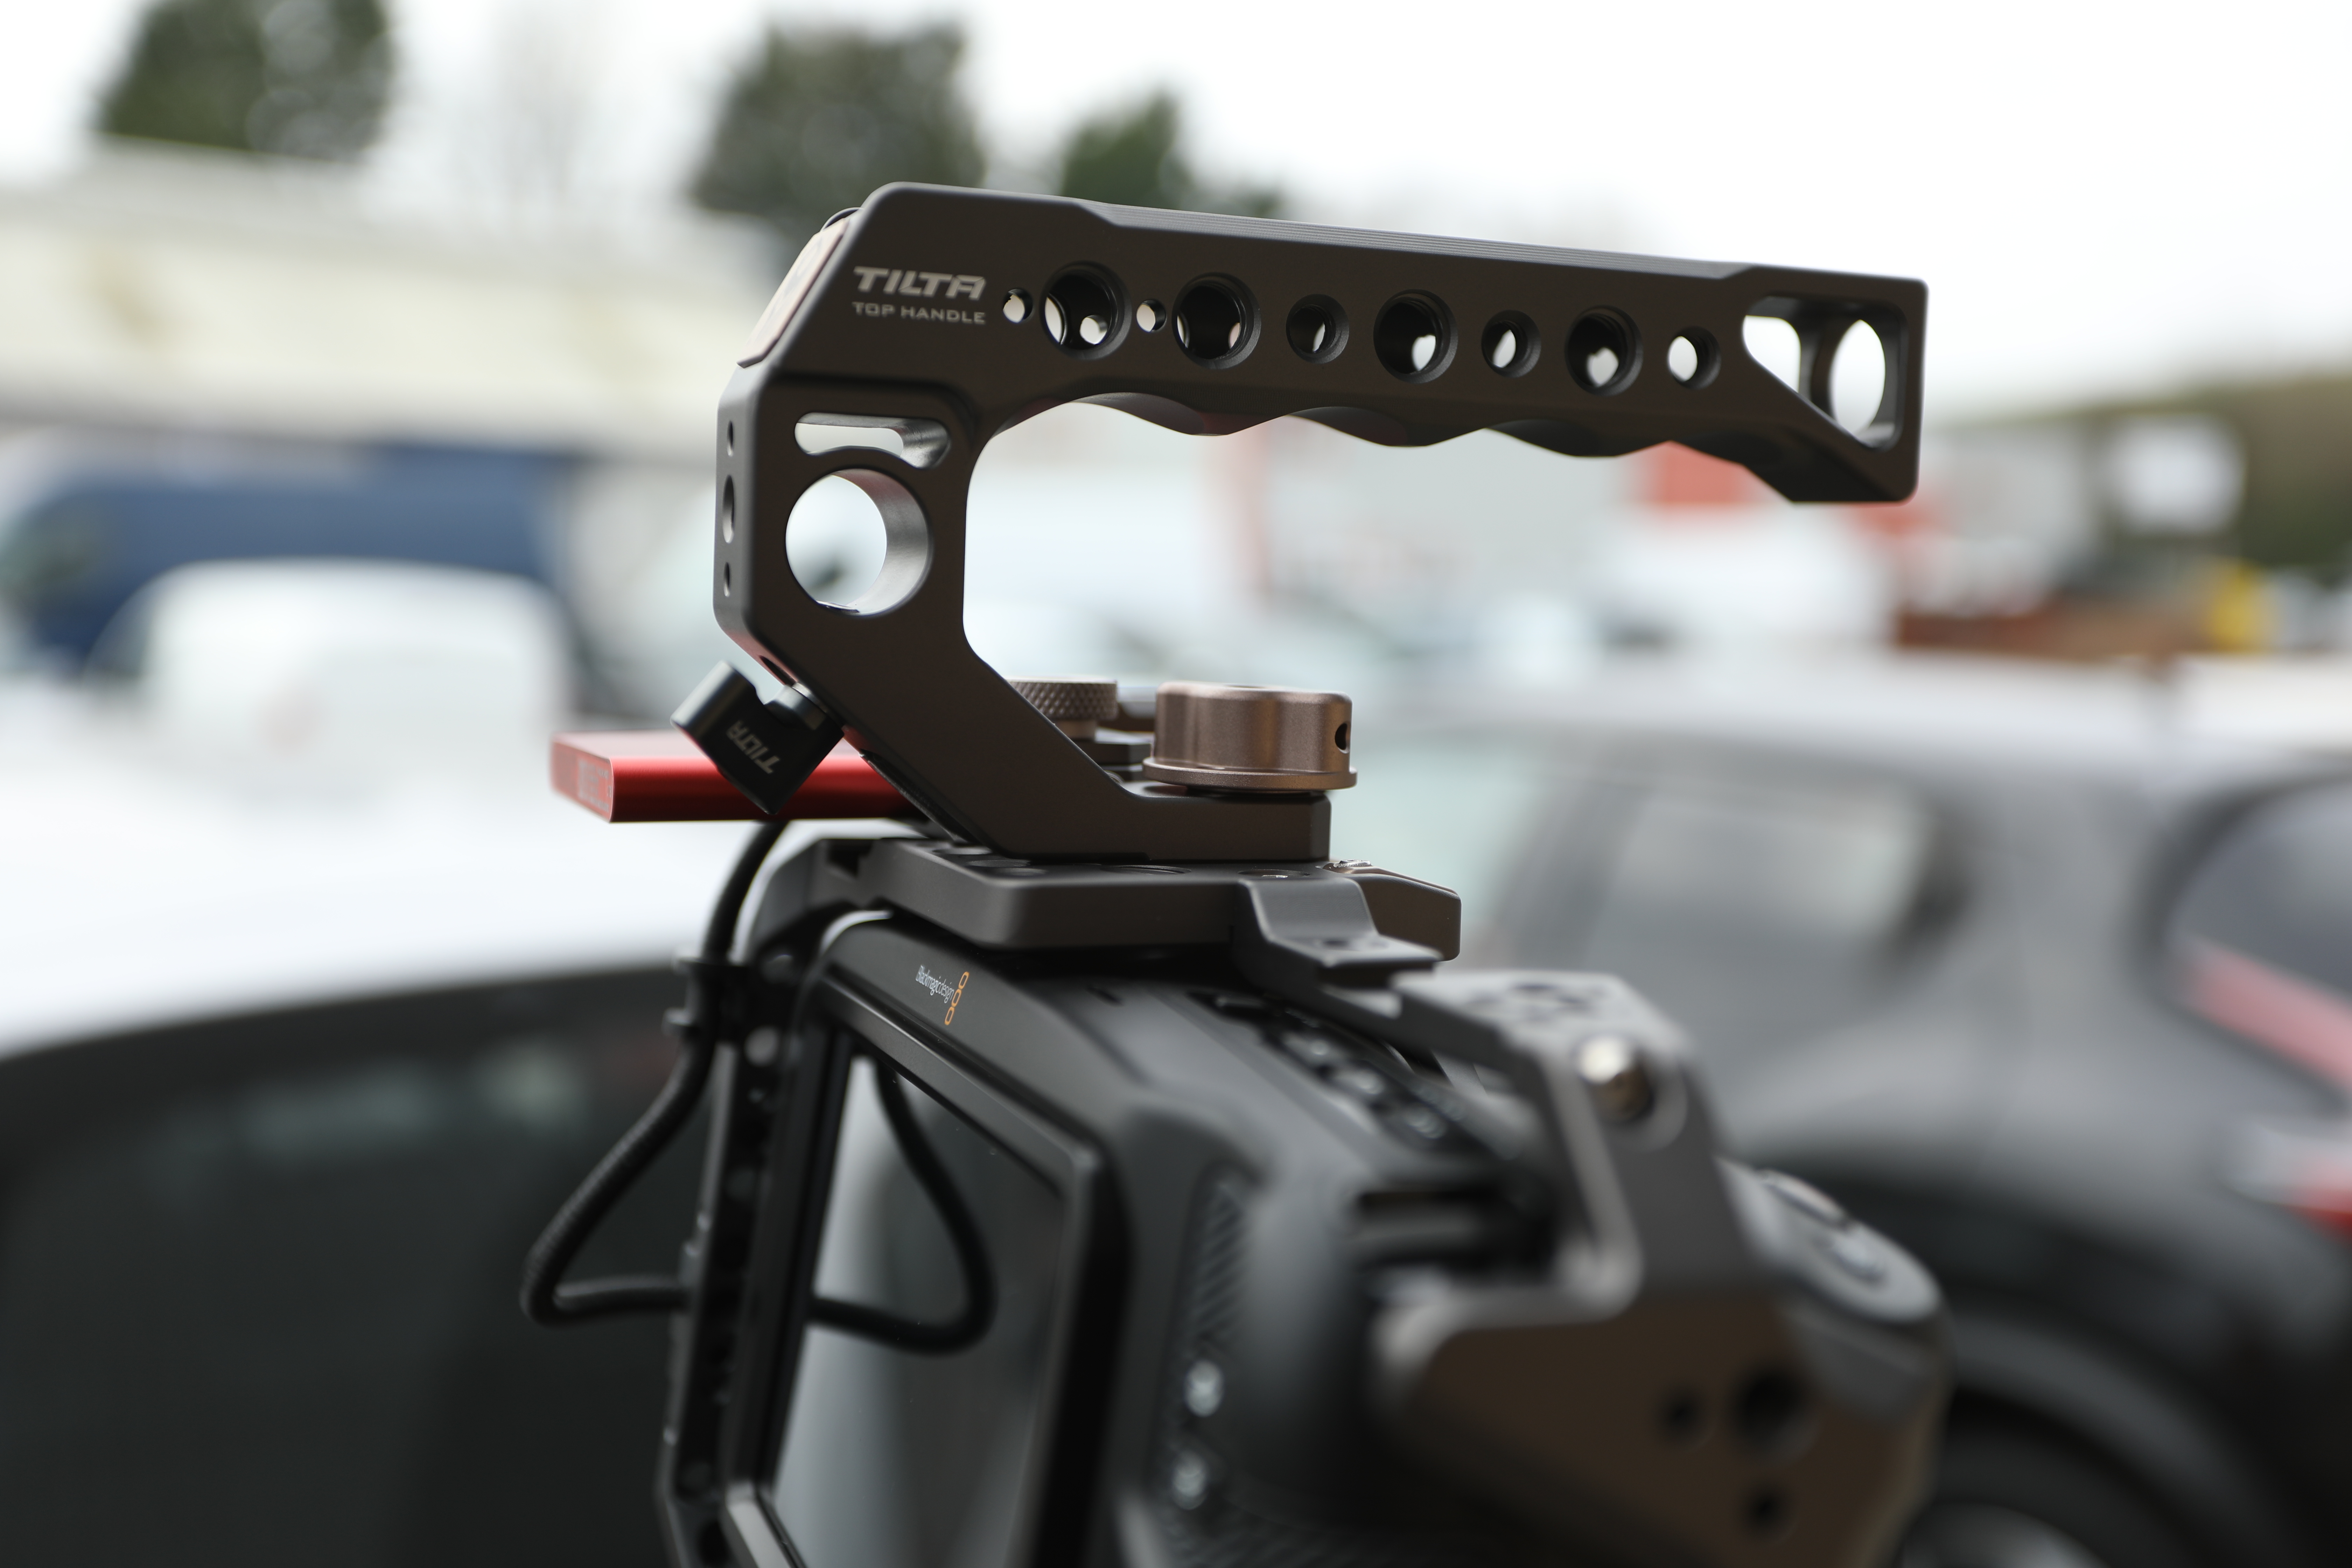
Slide the top handle on top of the camera cage. Secure it by twisting the knob.
Step 4
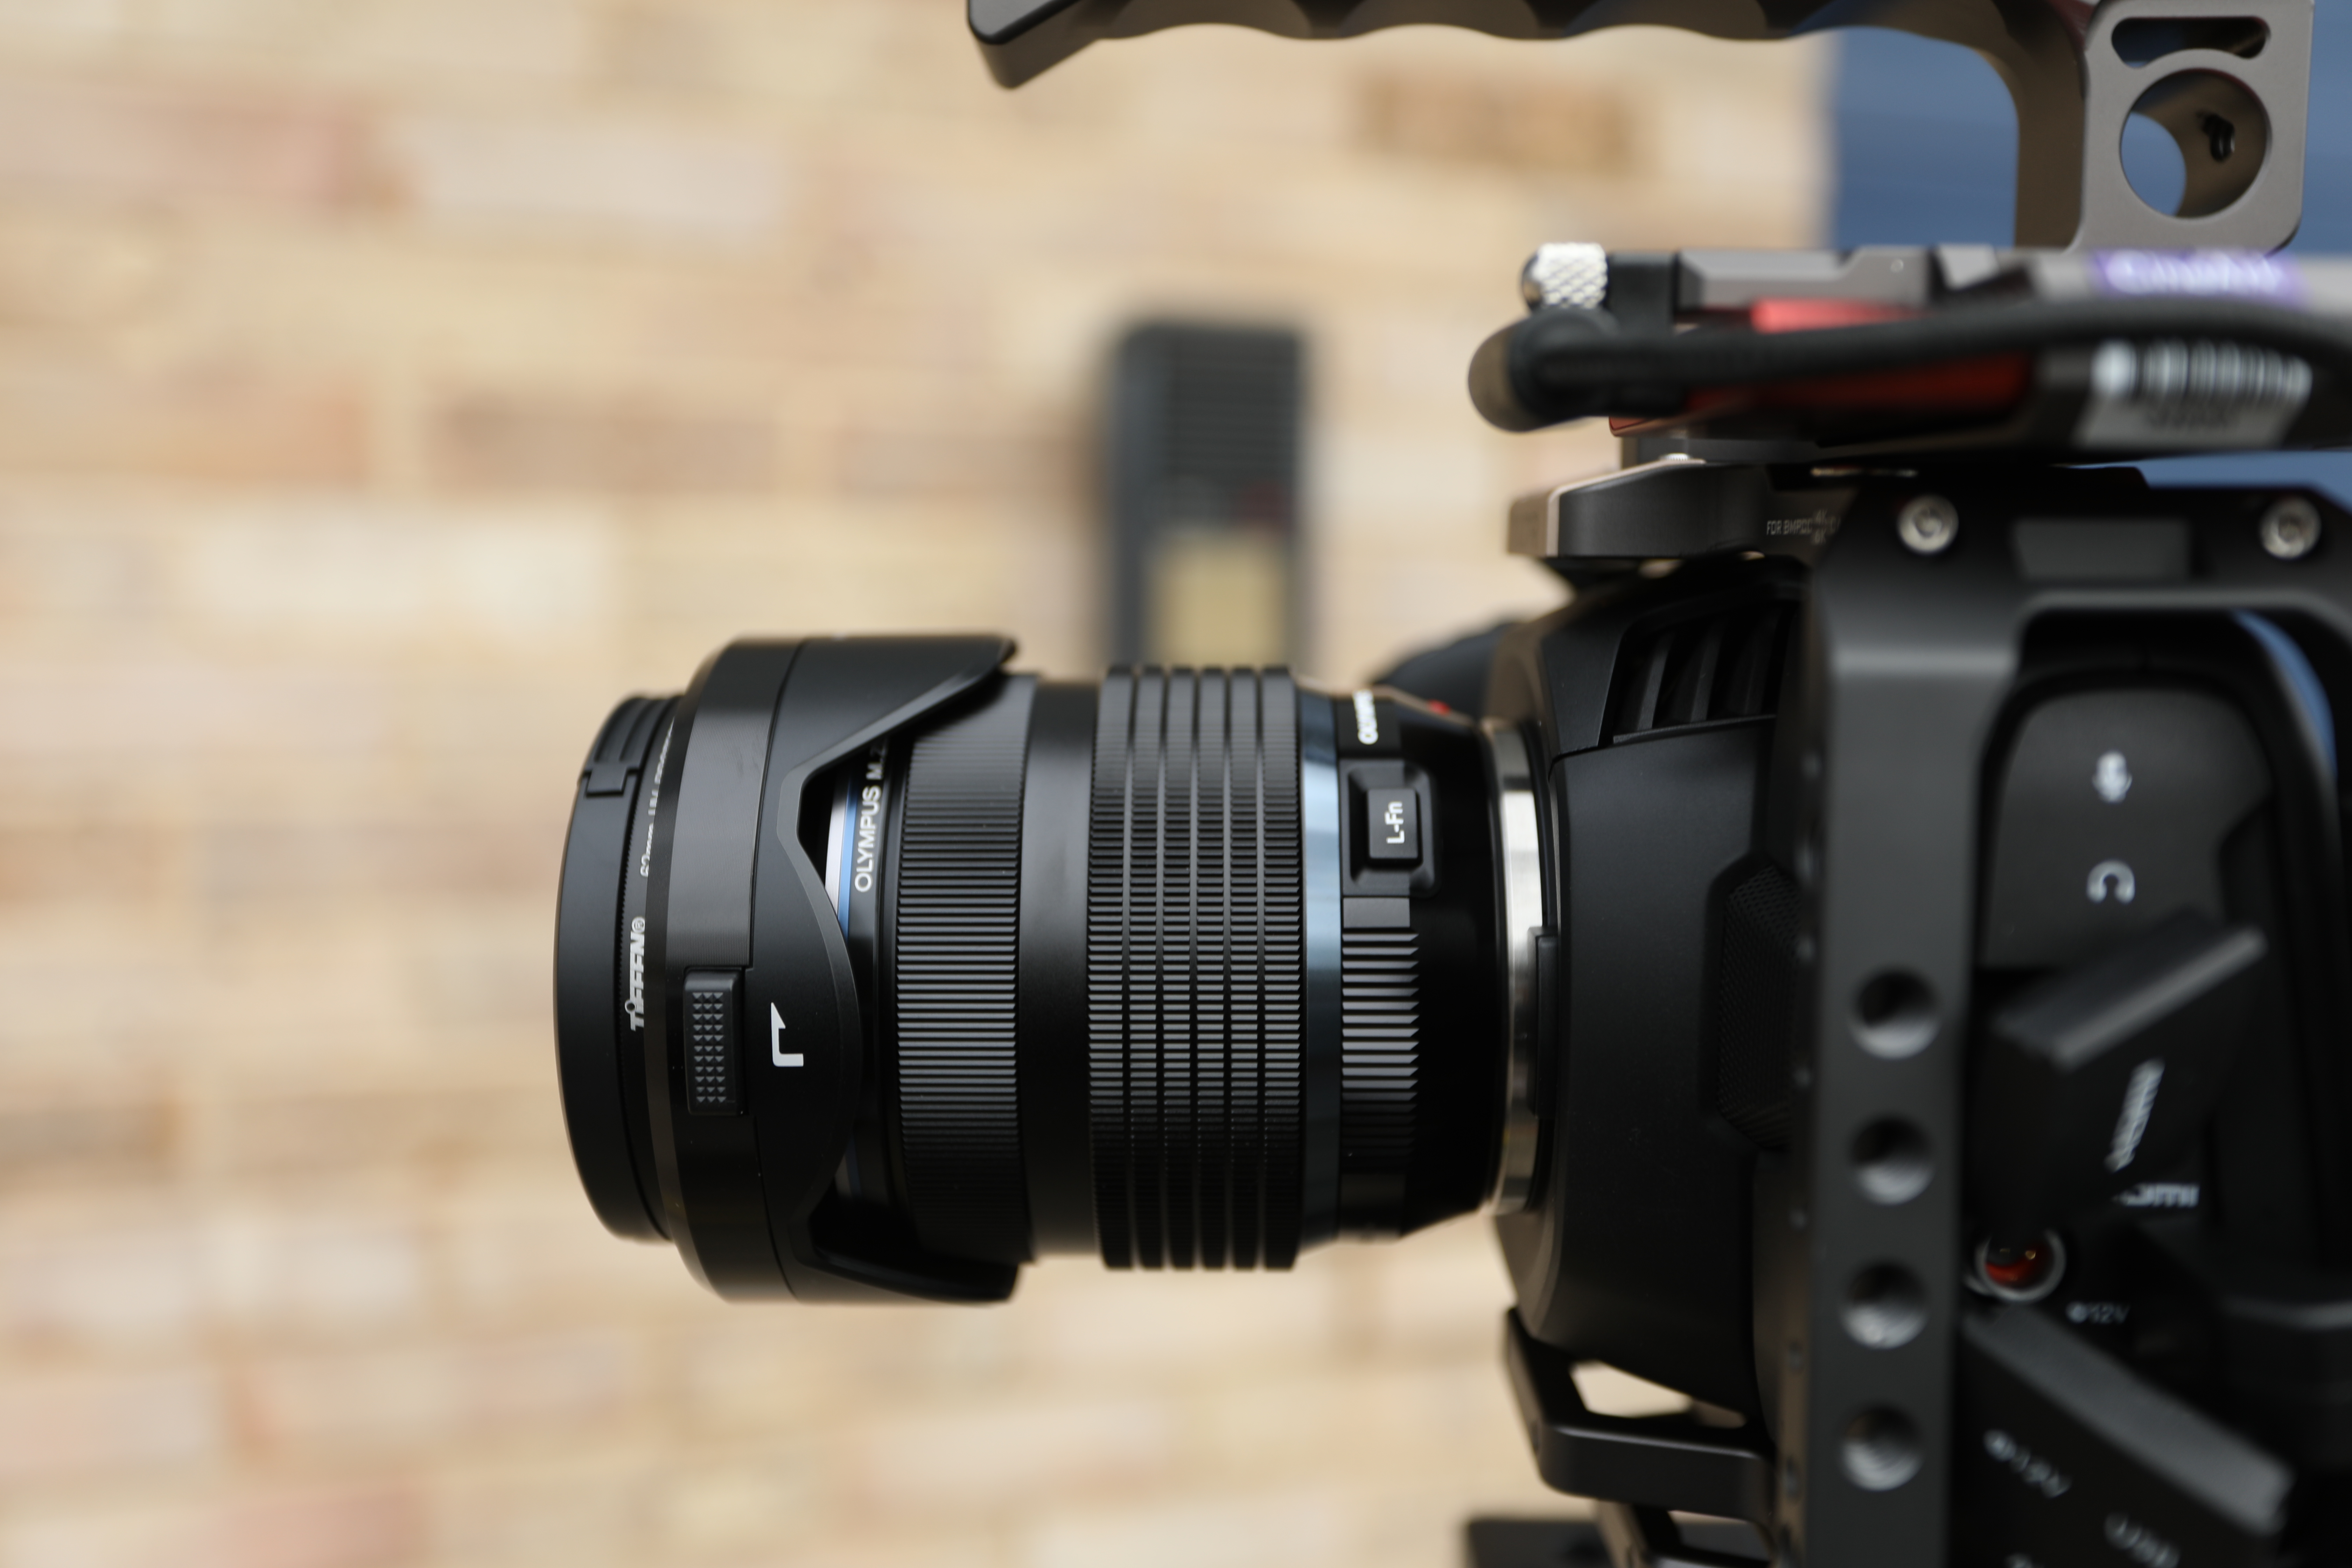
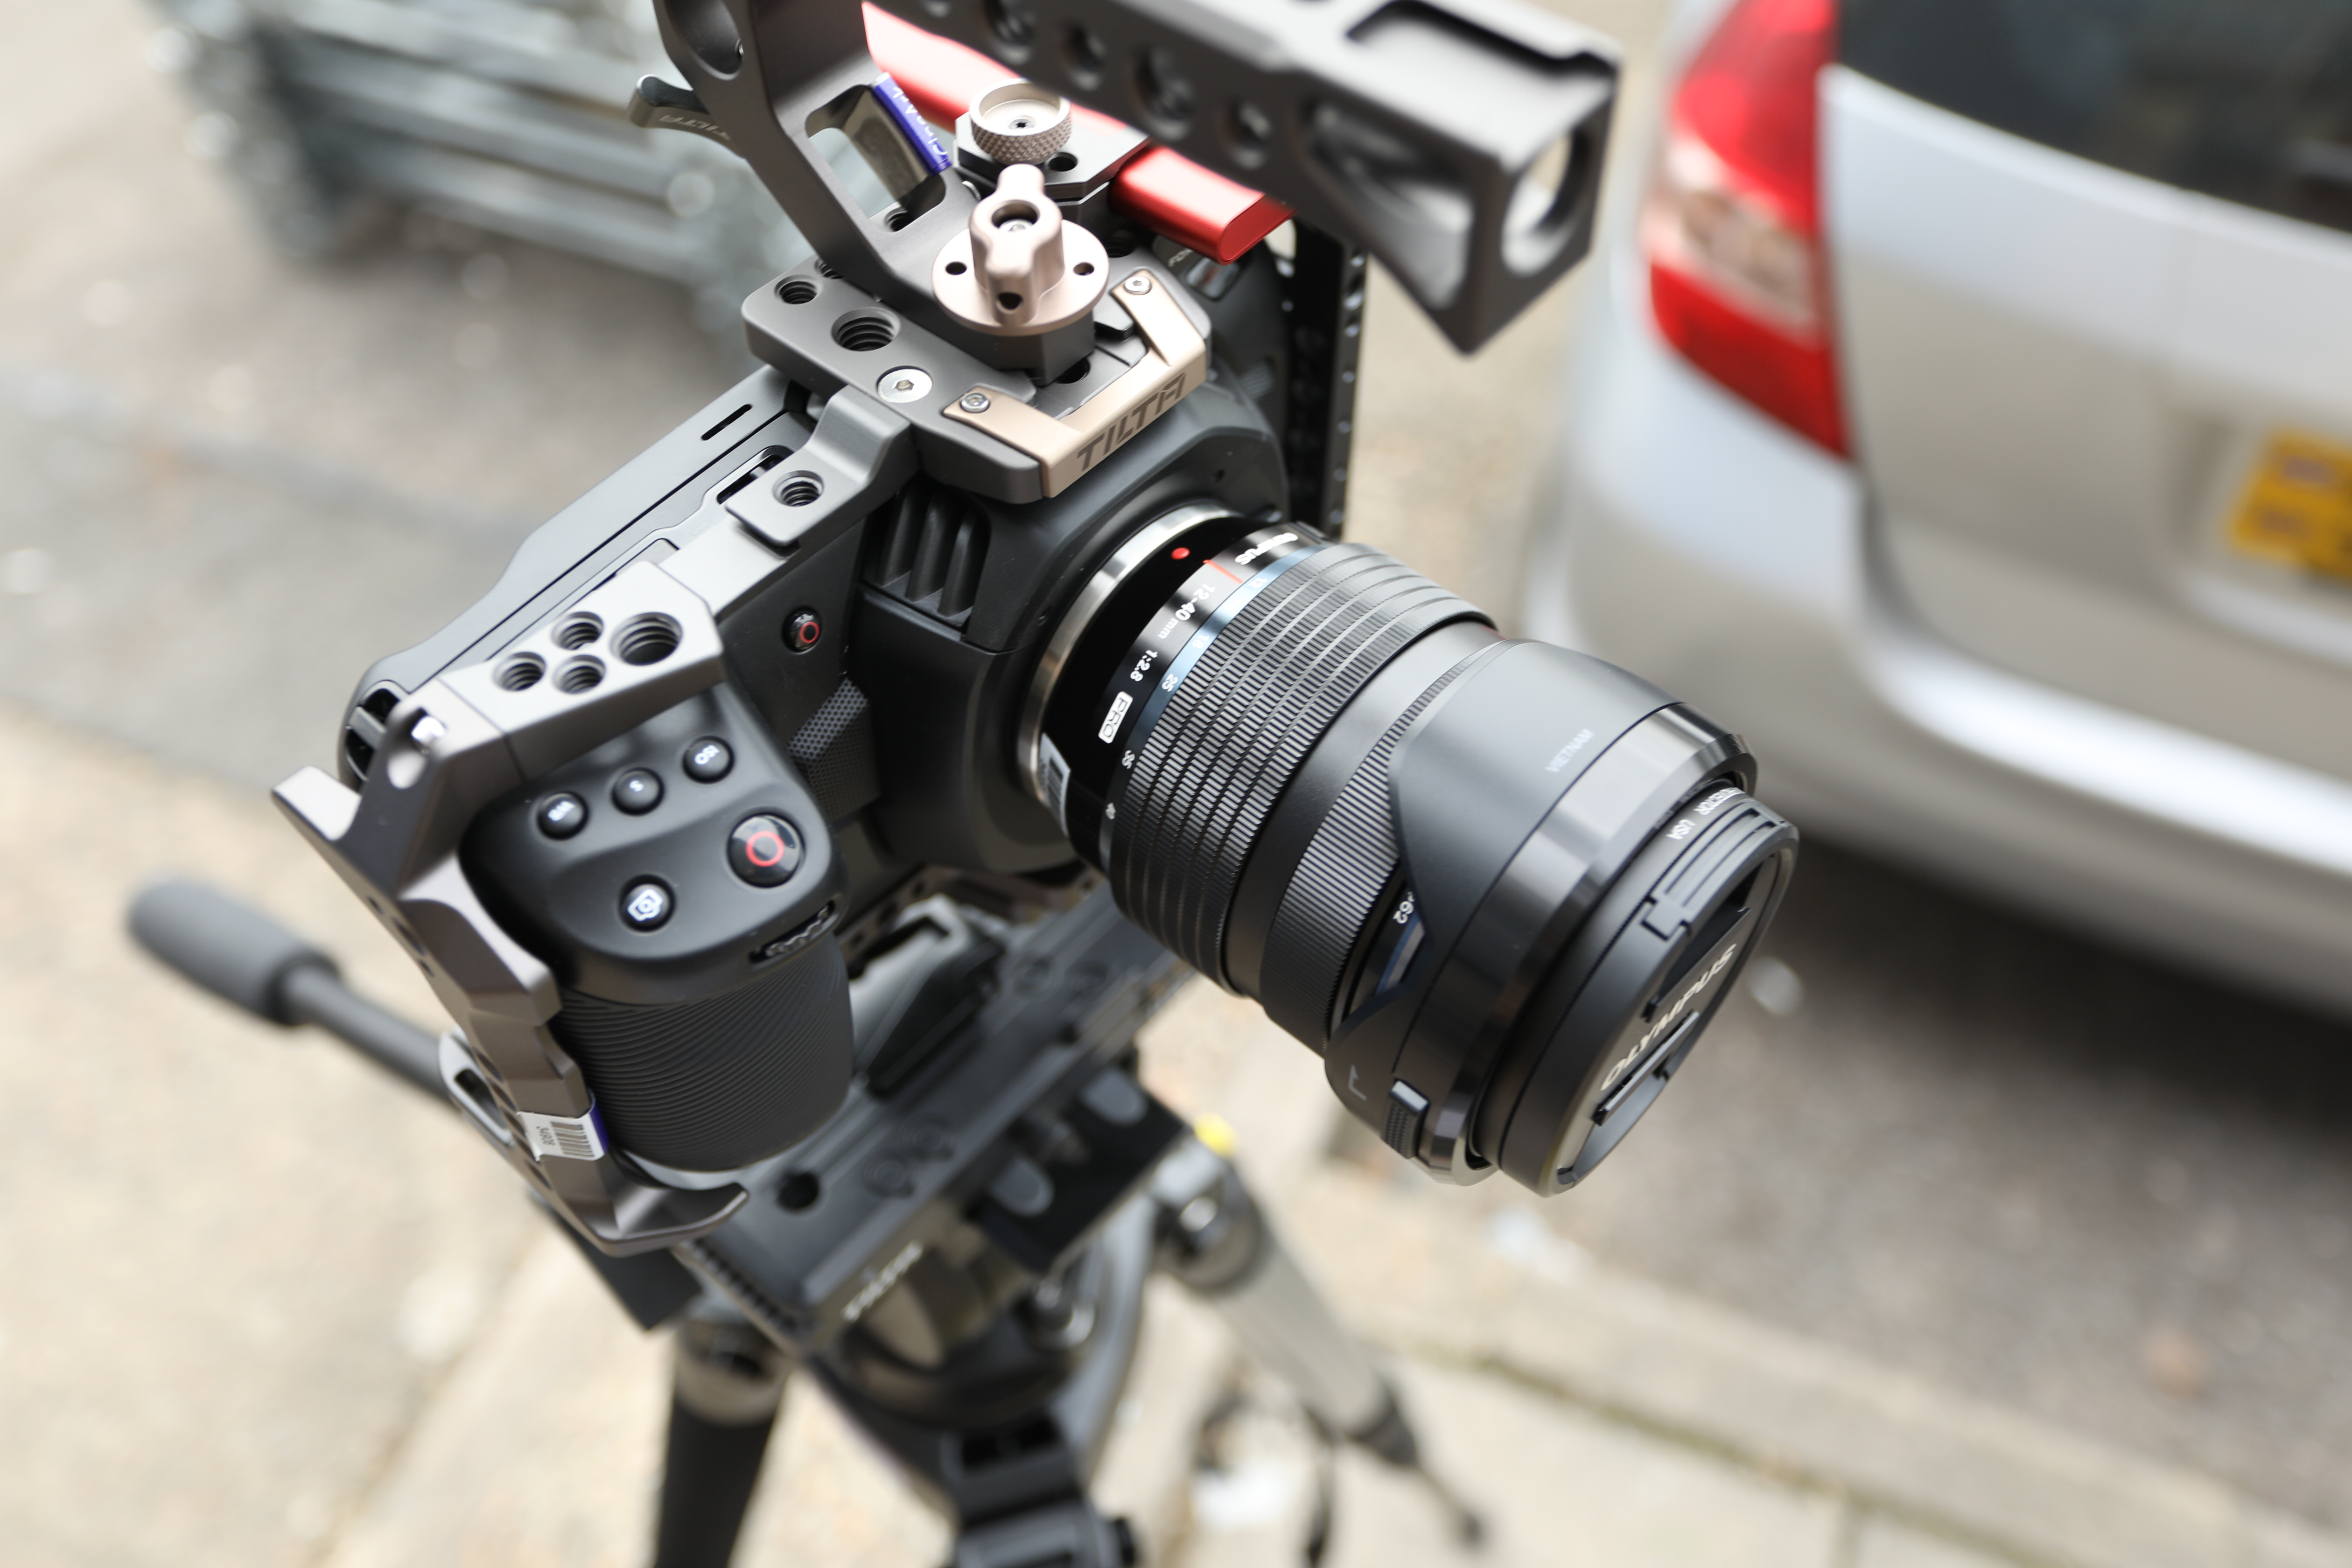
mount the lens
Step 5
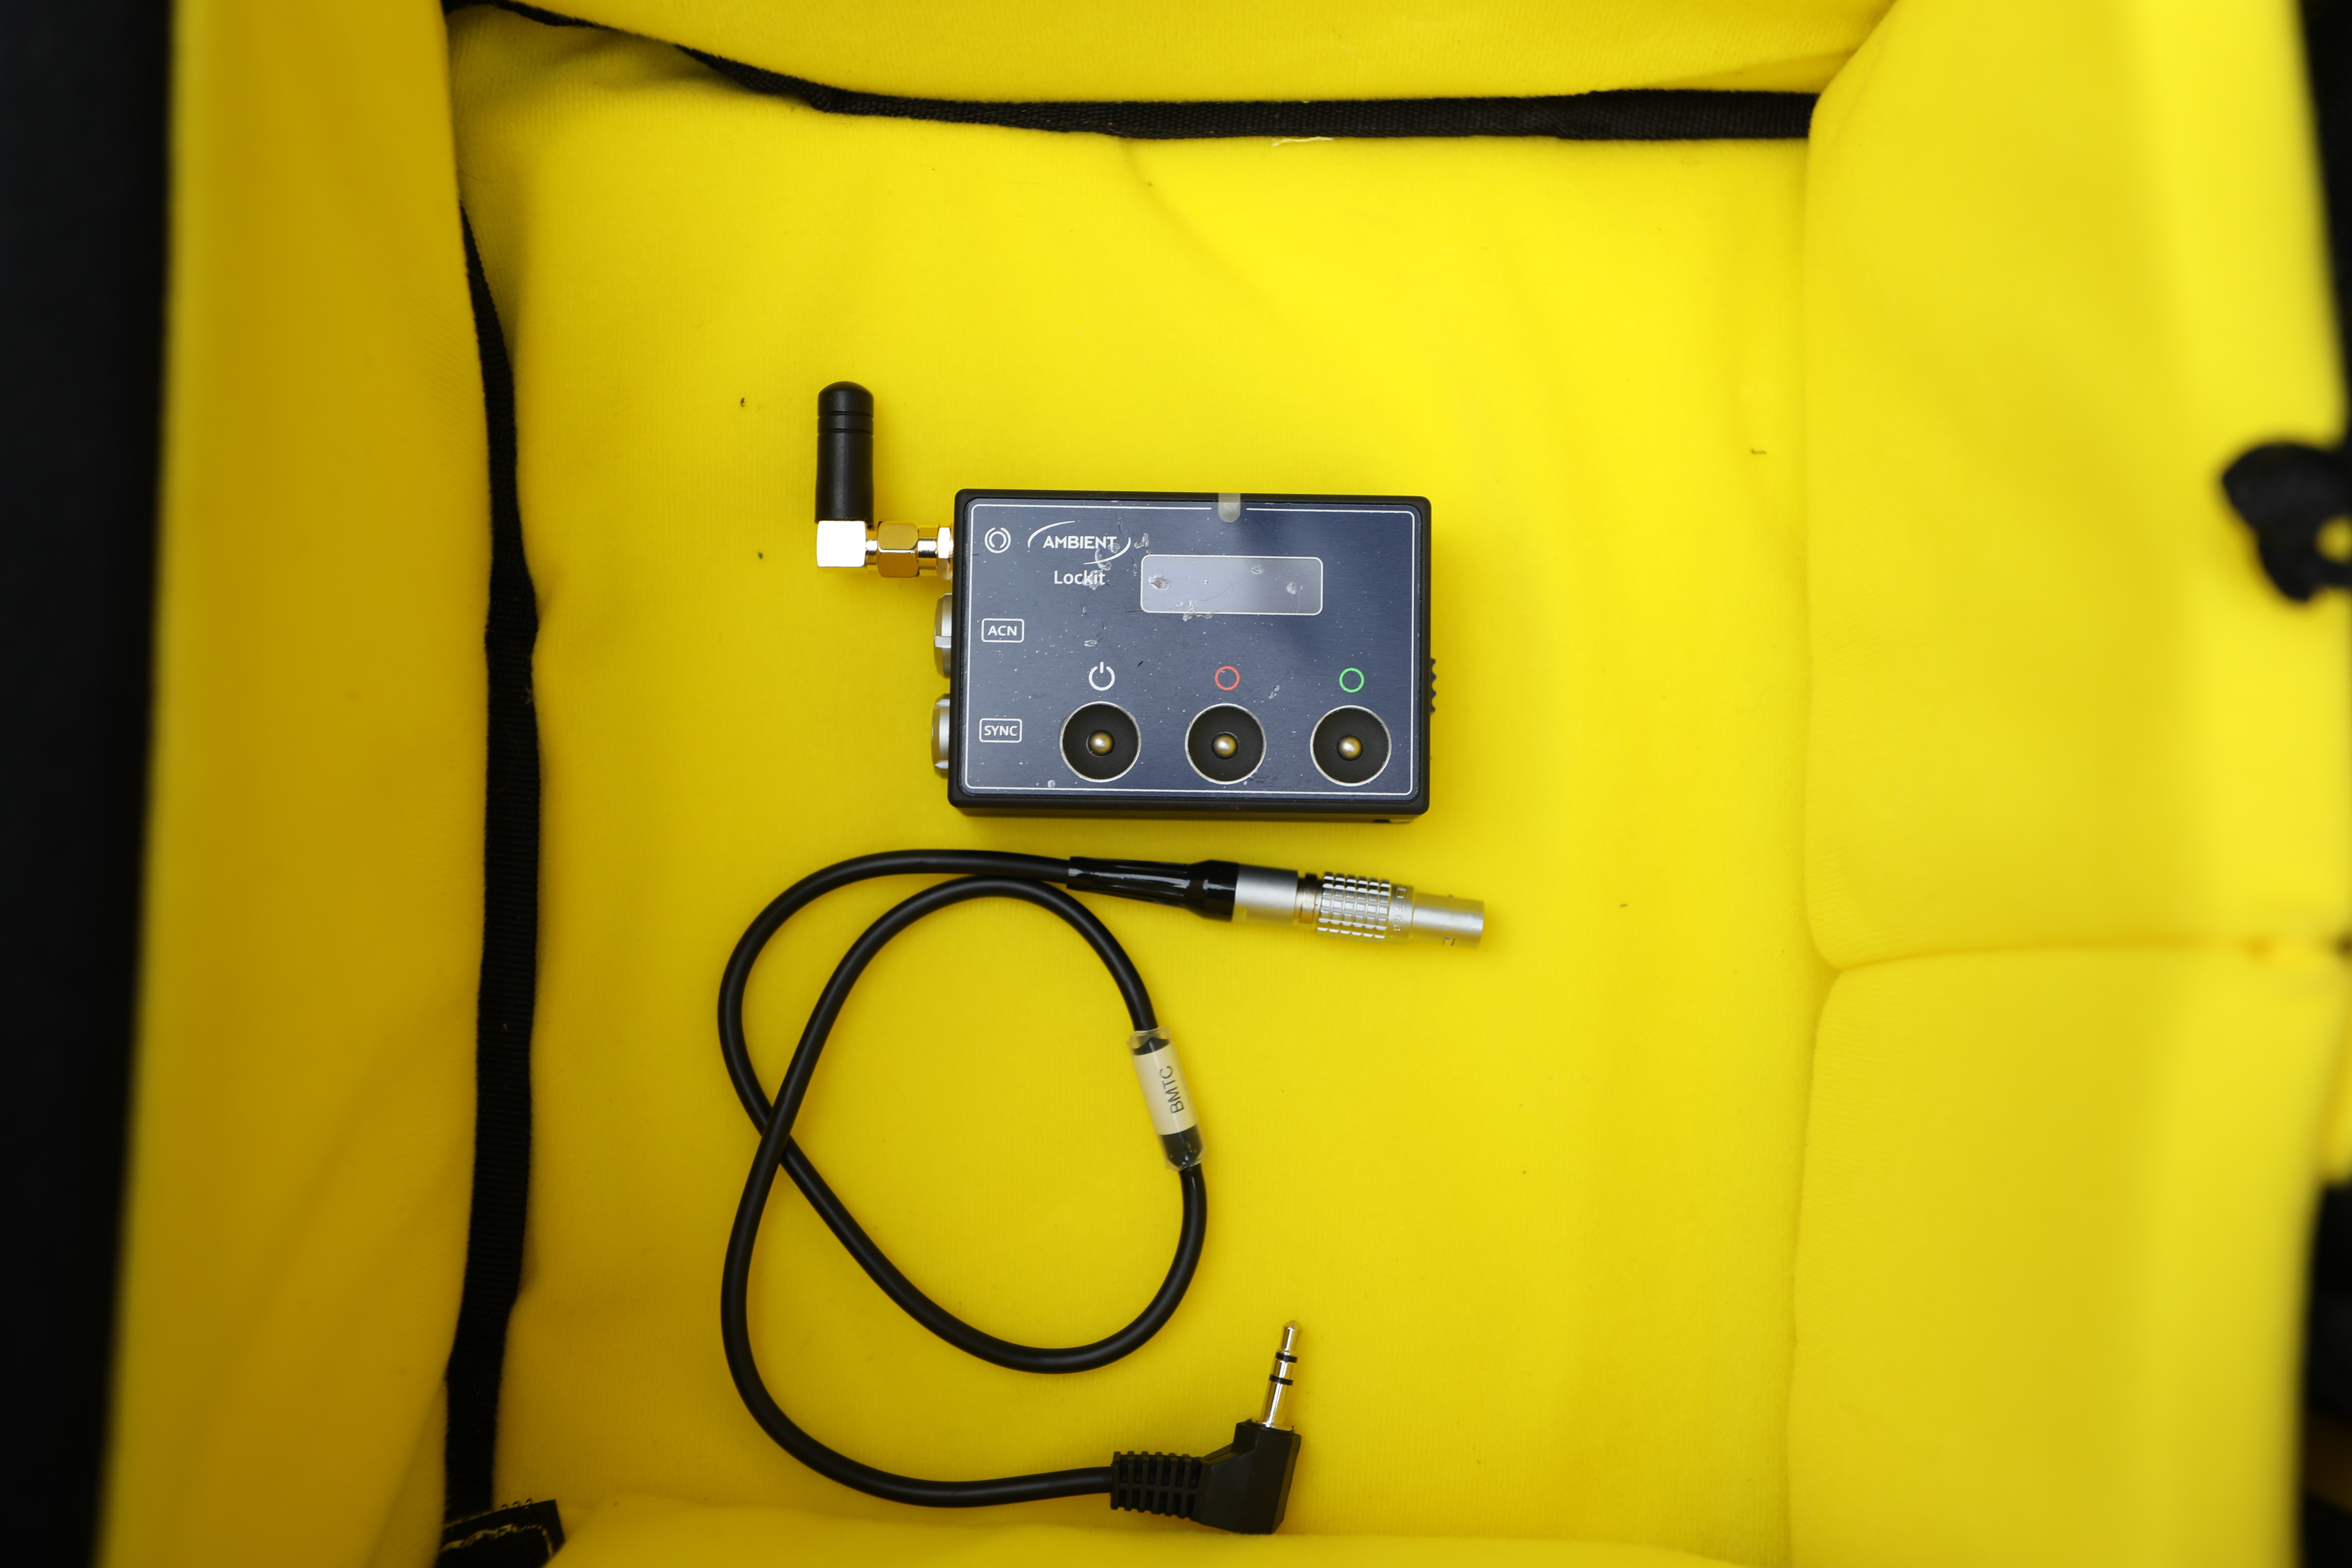
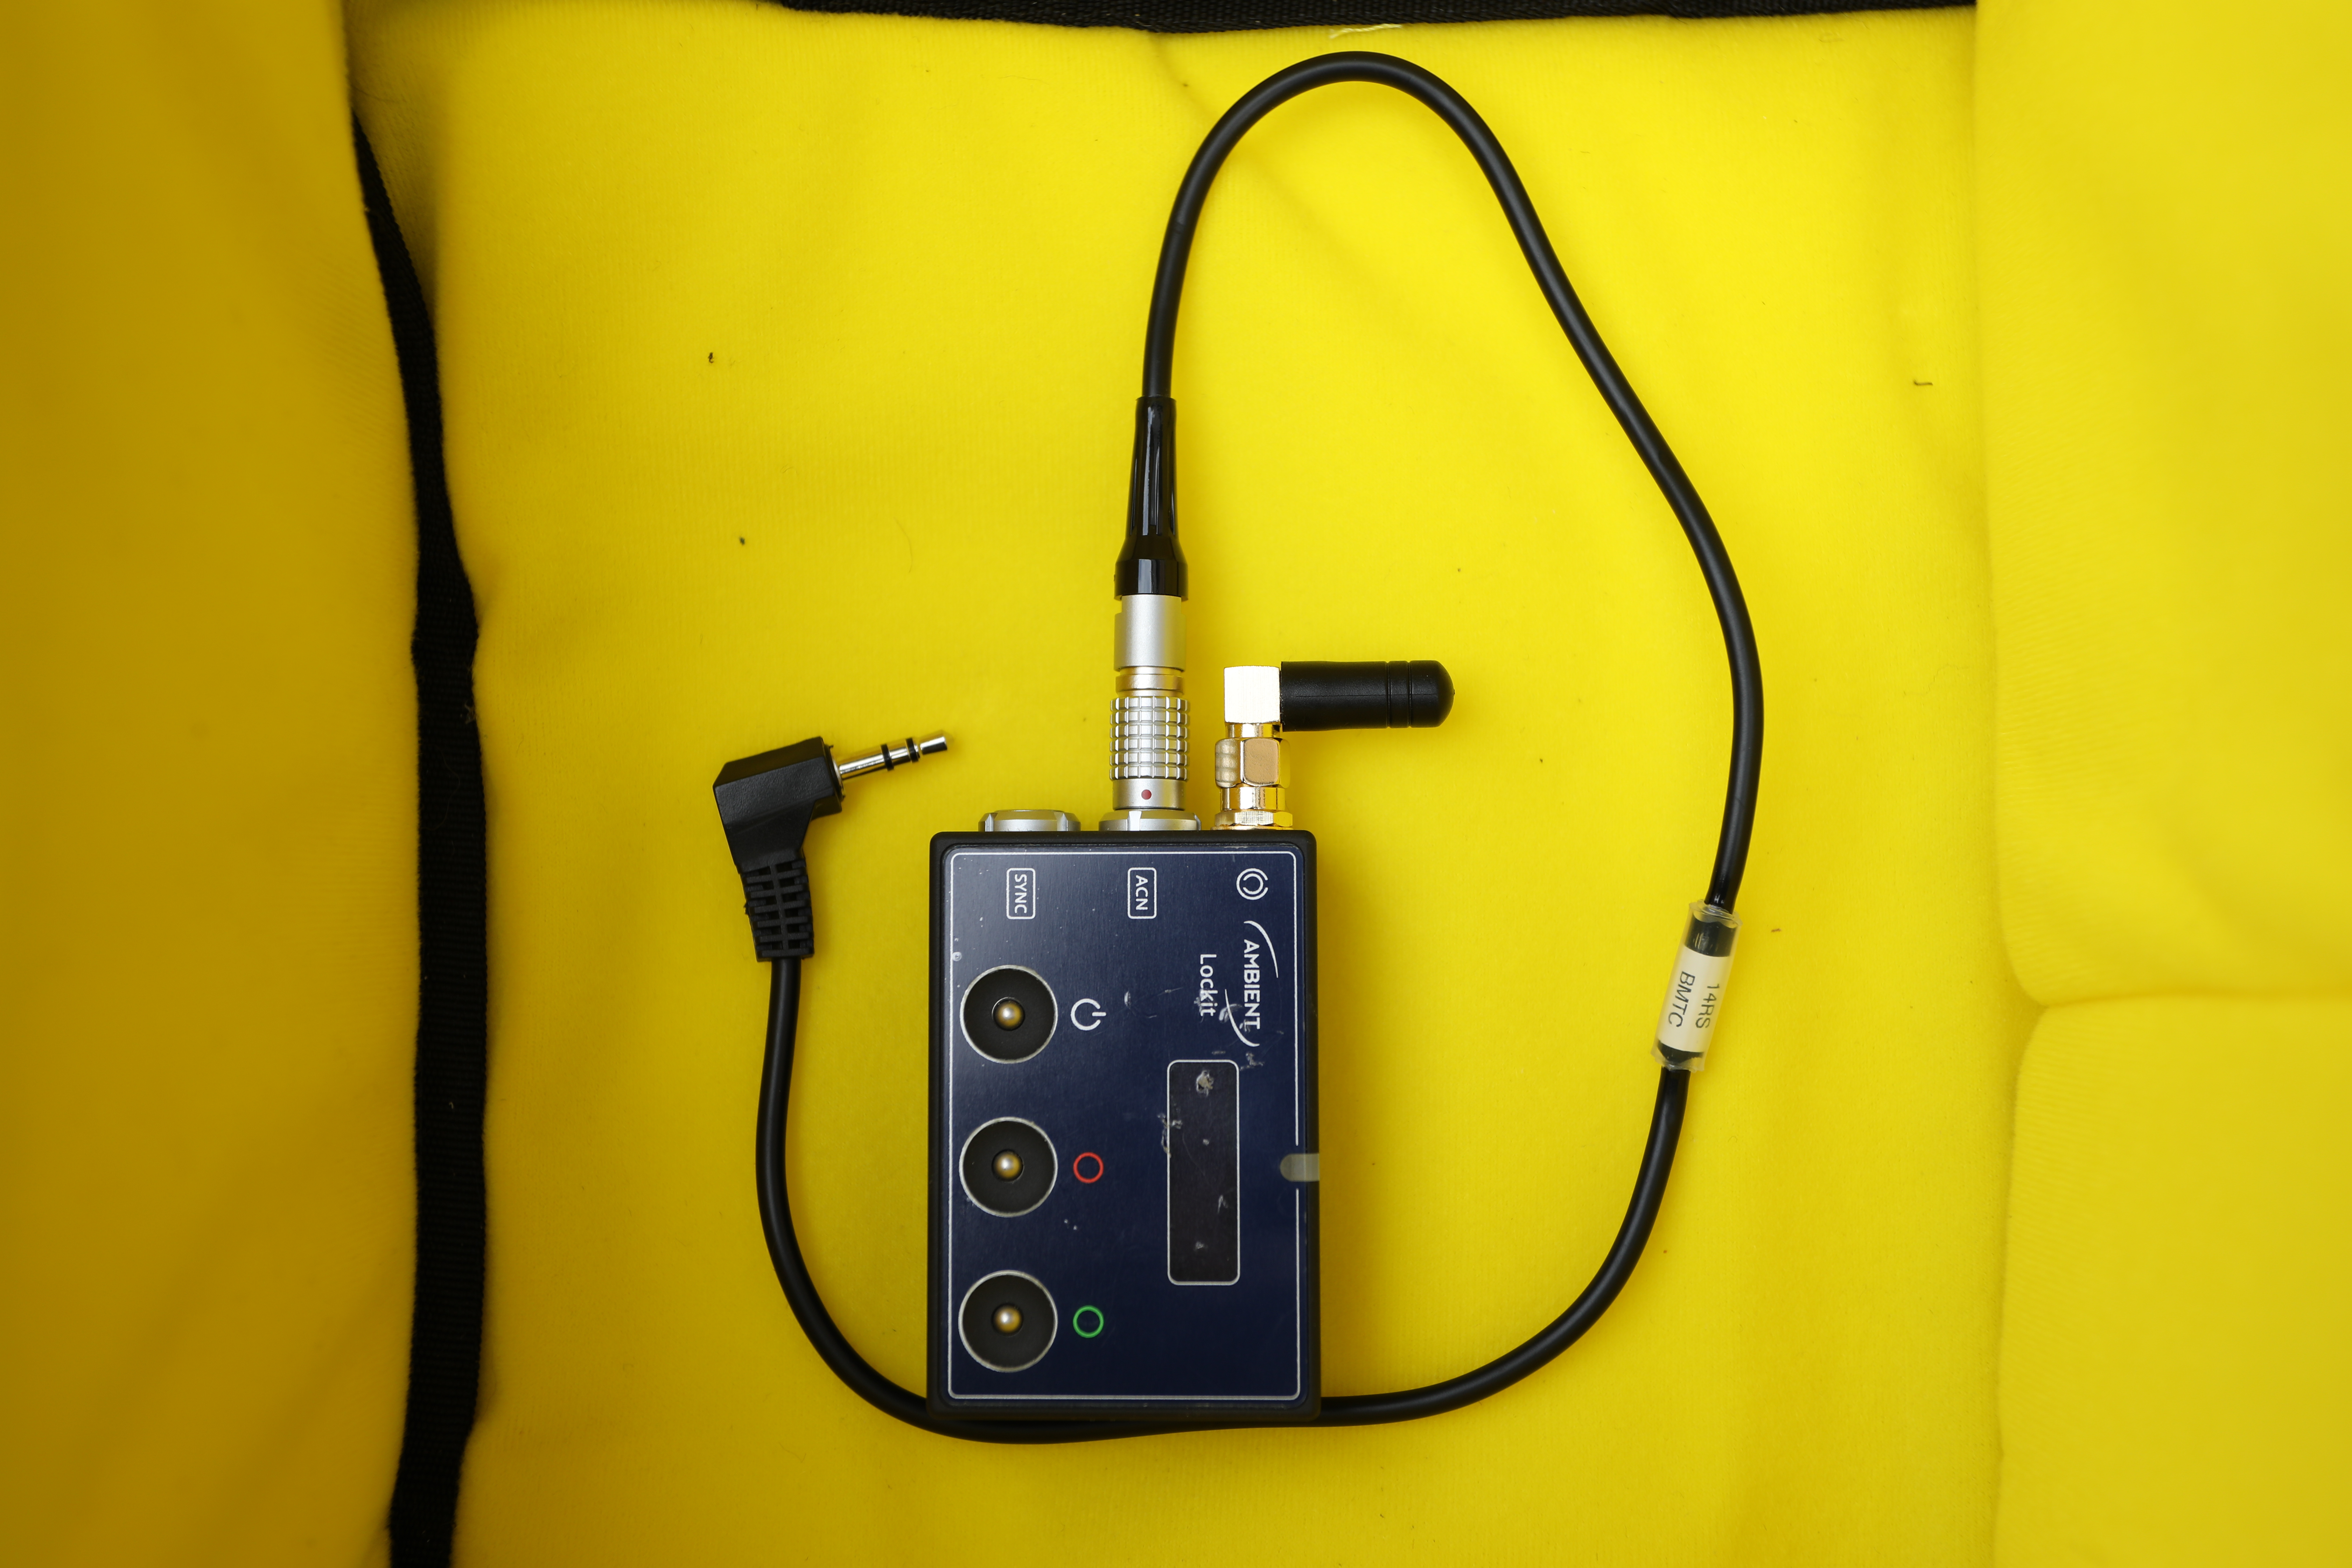
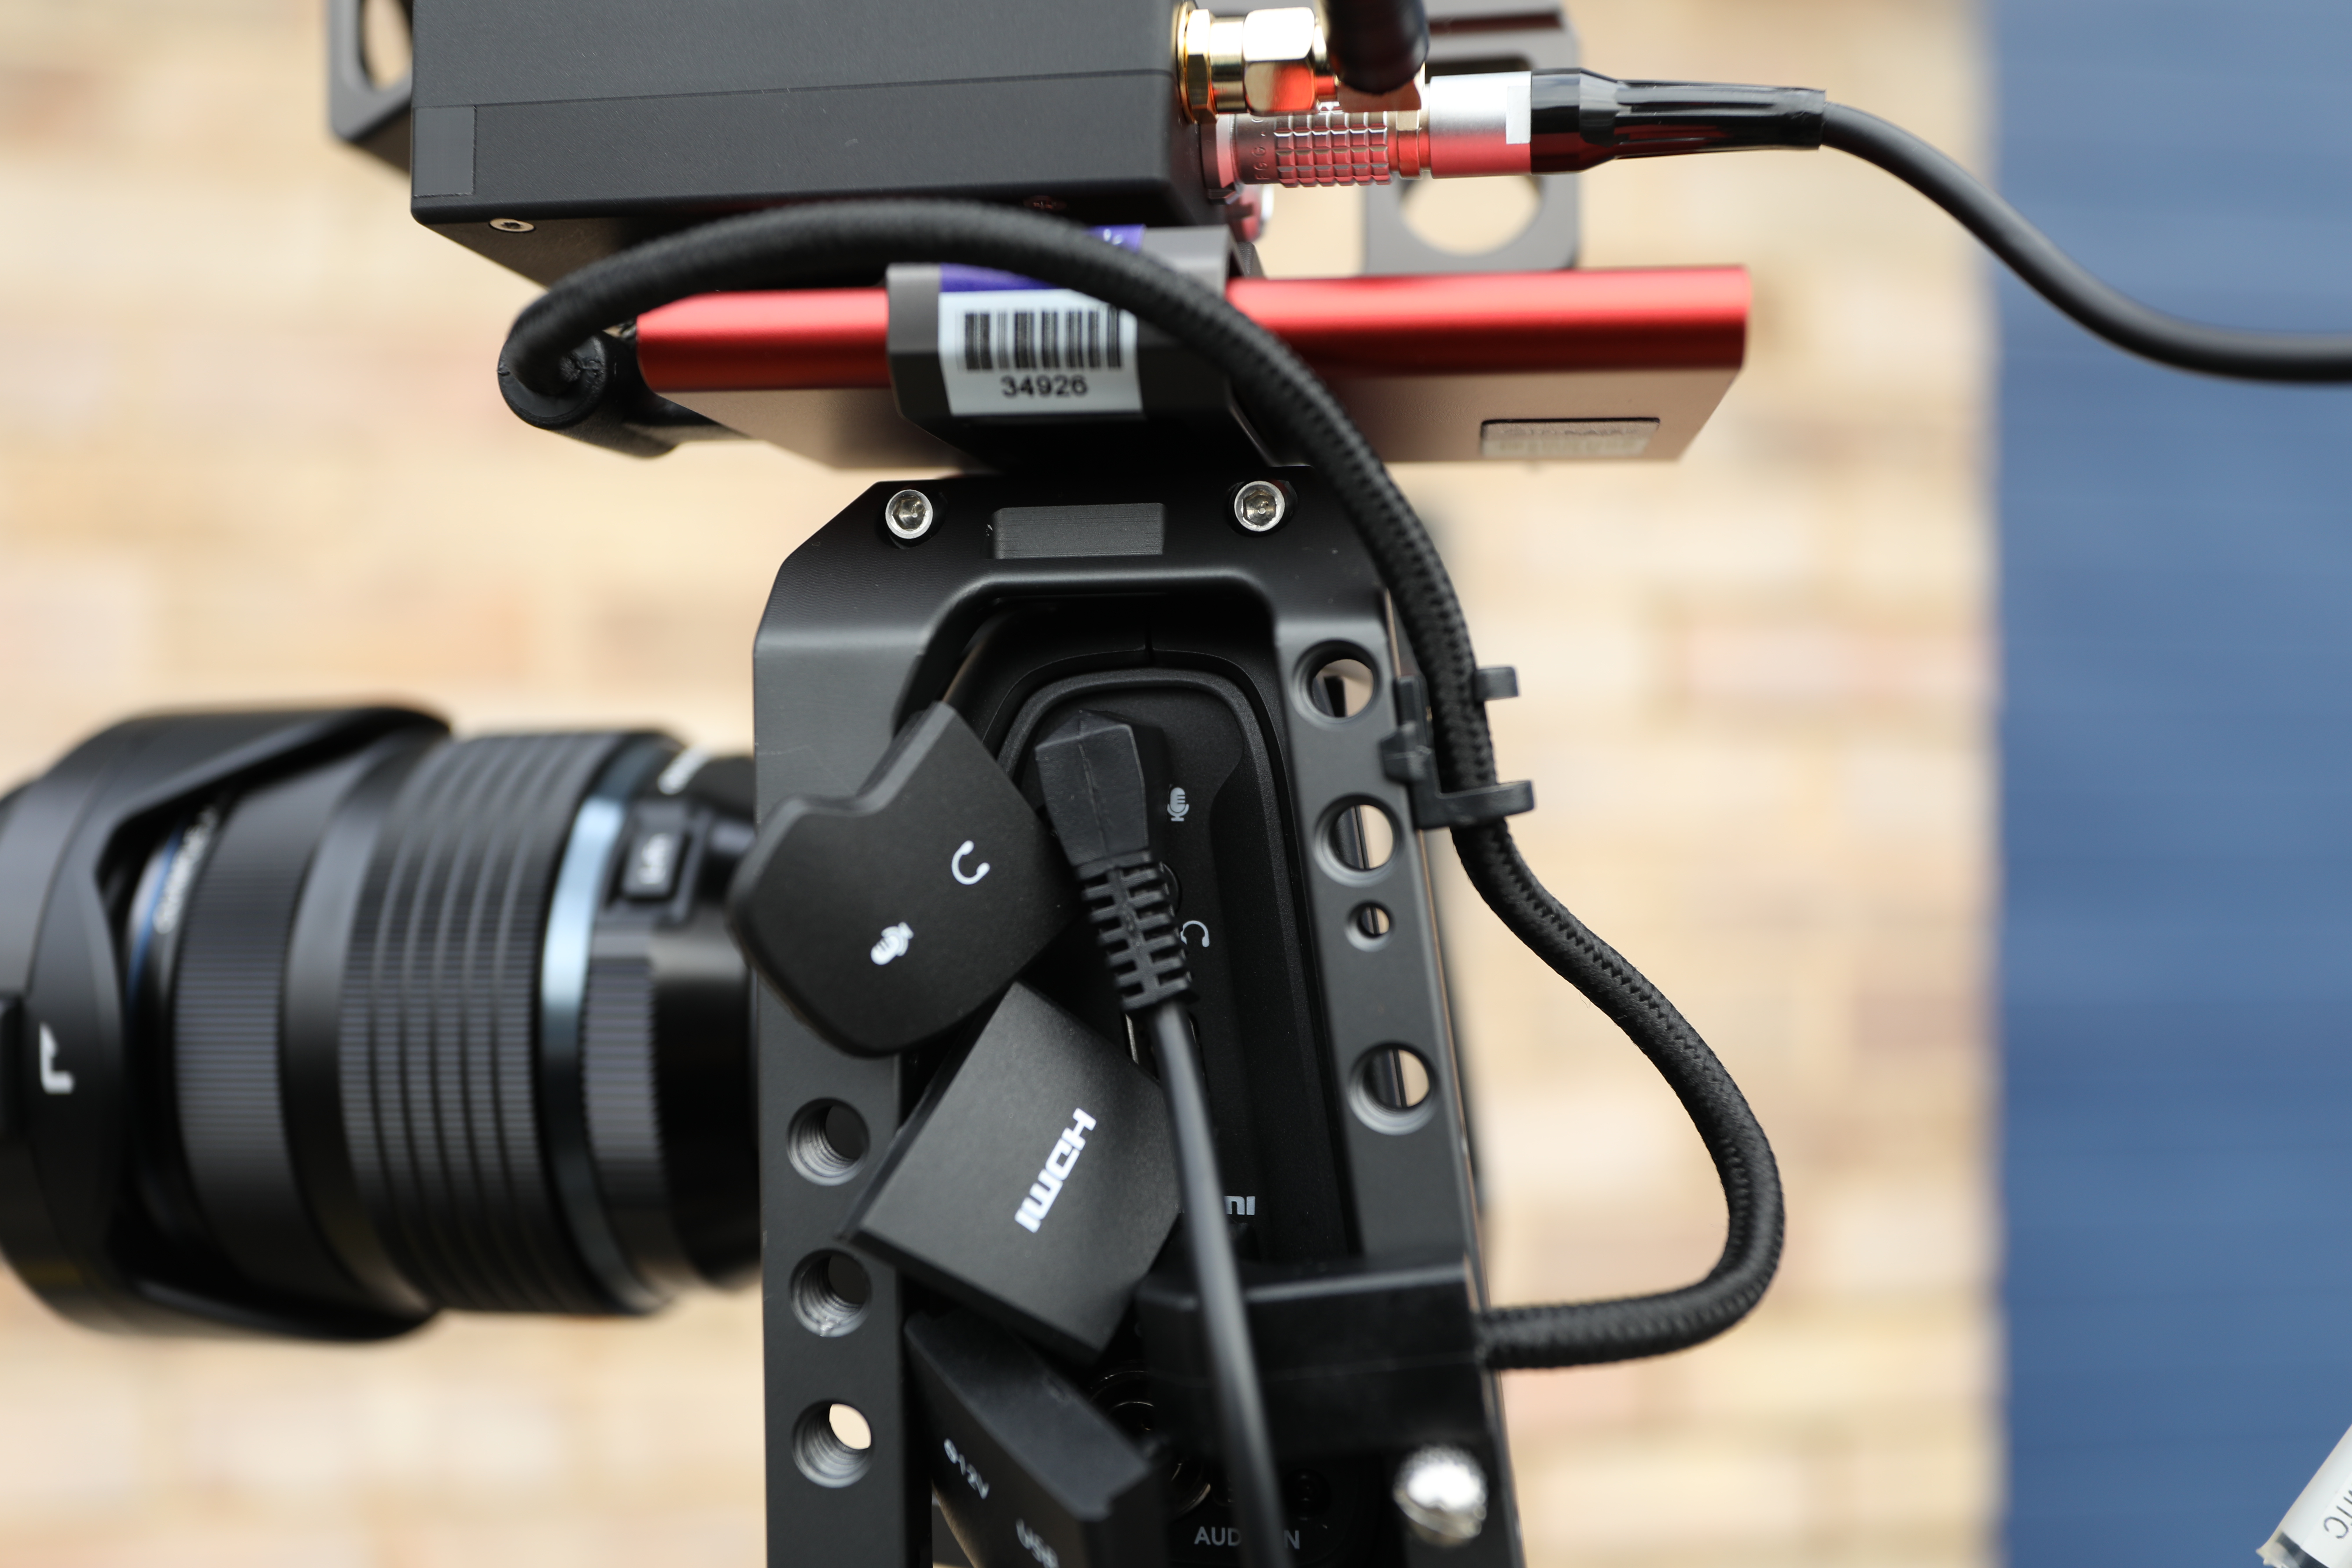
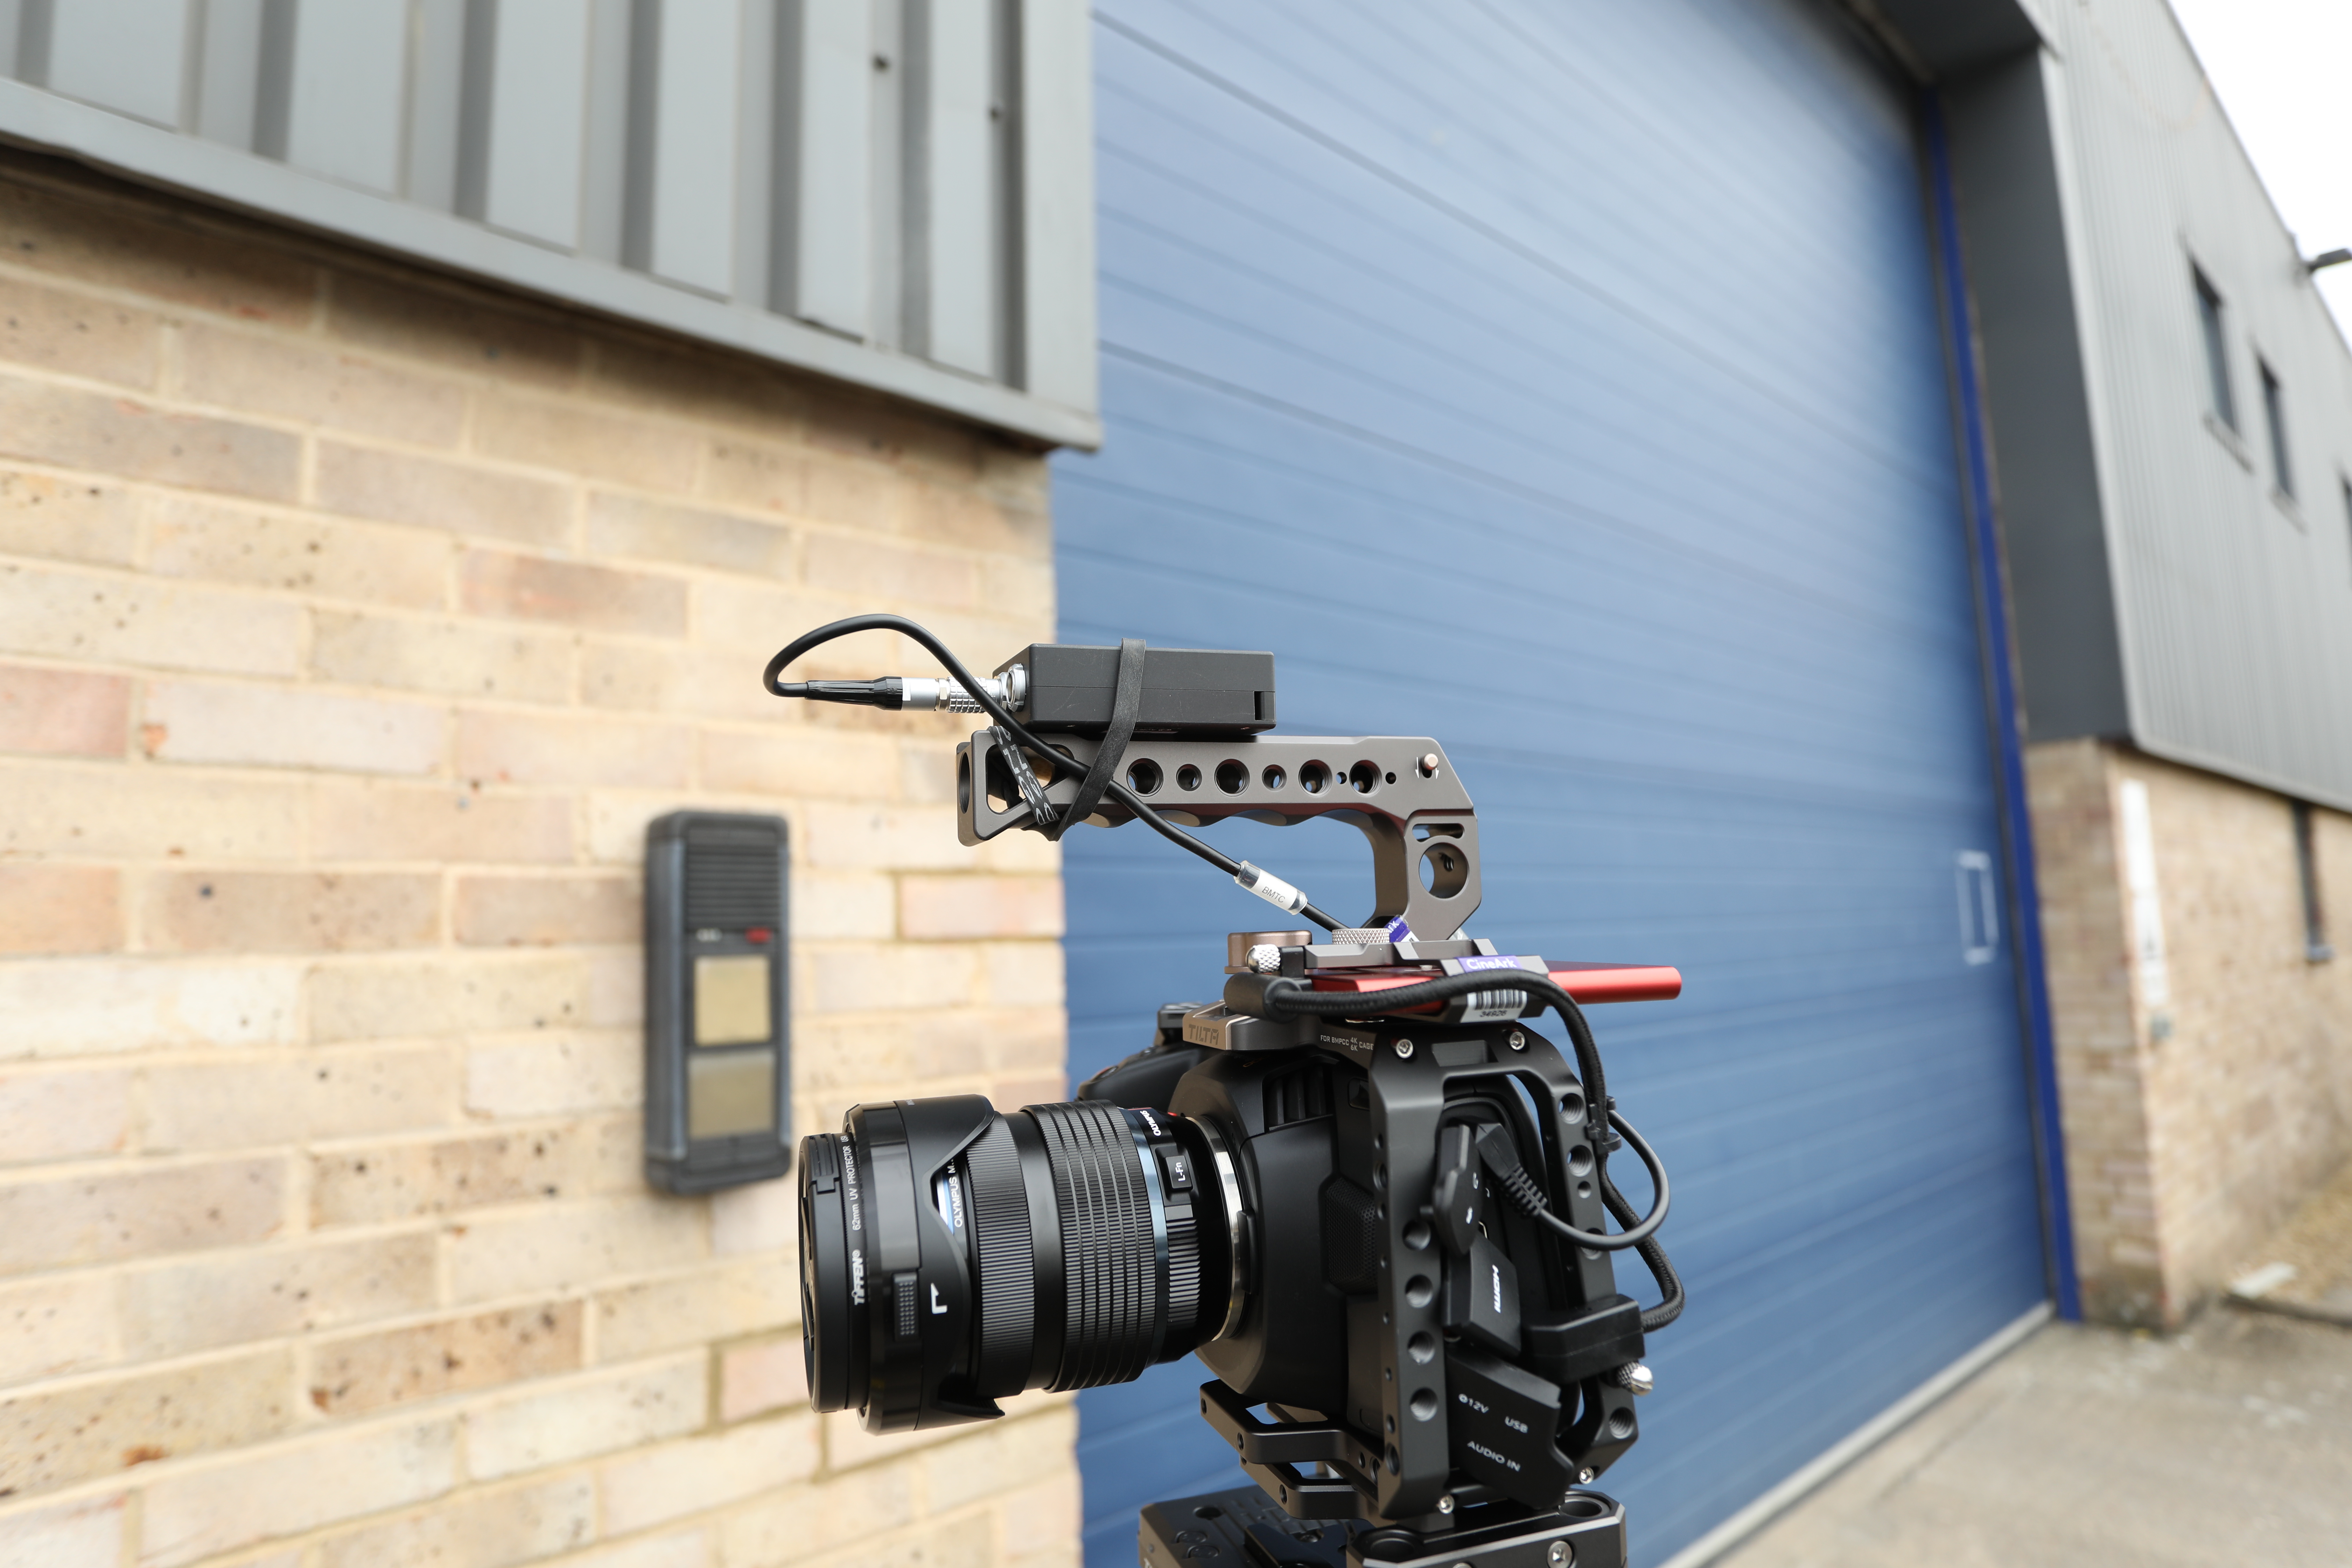
Connect the Ambient lockit box. Plug the 5 Pin Lemo into the ACN port and the 3.5 jack into the microphone port on camera. Turn on the lockit box and set time of the day. (instructions here https://cvp.com/pdf/acn-cl-lockit-synchronizer-handbook.pdf )
Secure the timecode box on the camera rig (use bongo-tie, dual lock or similar systems)
Step 6
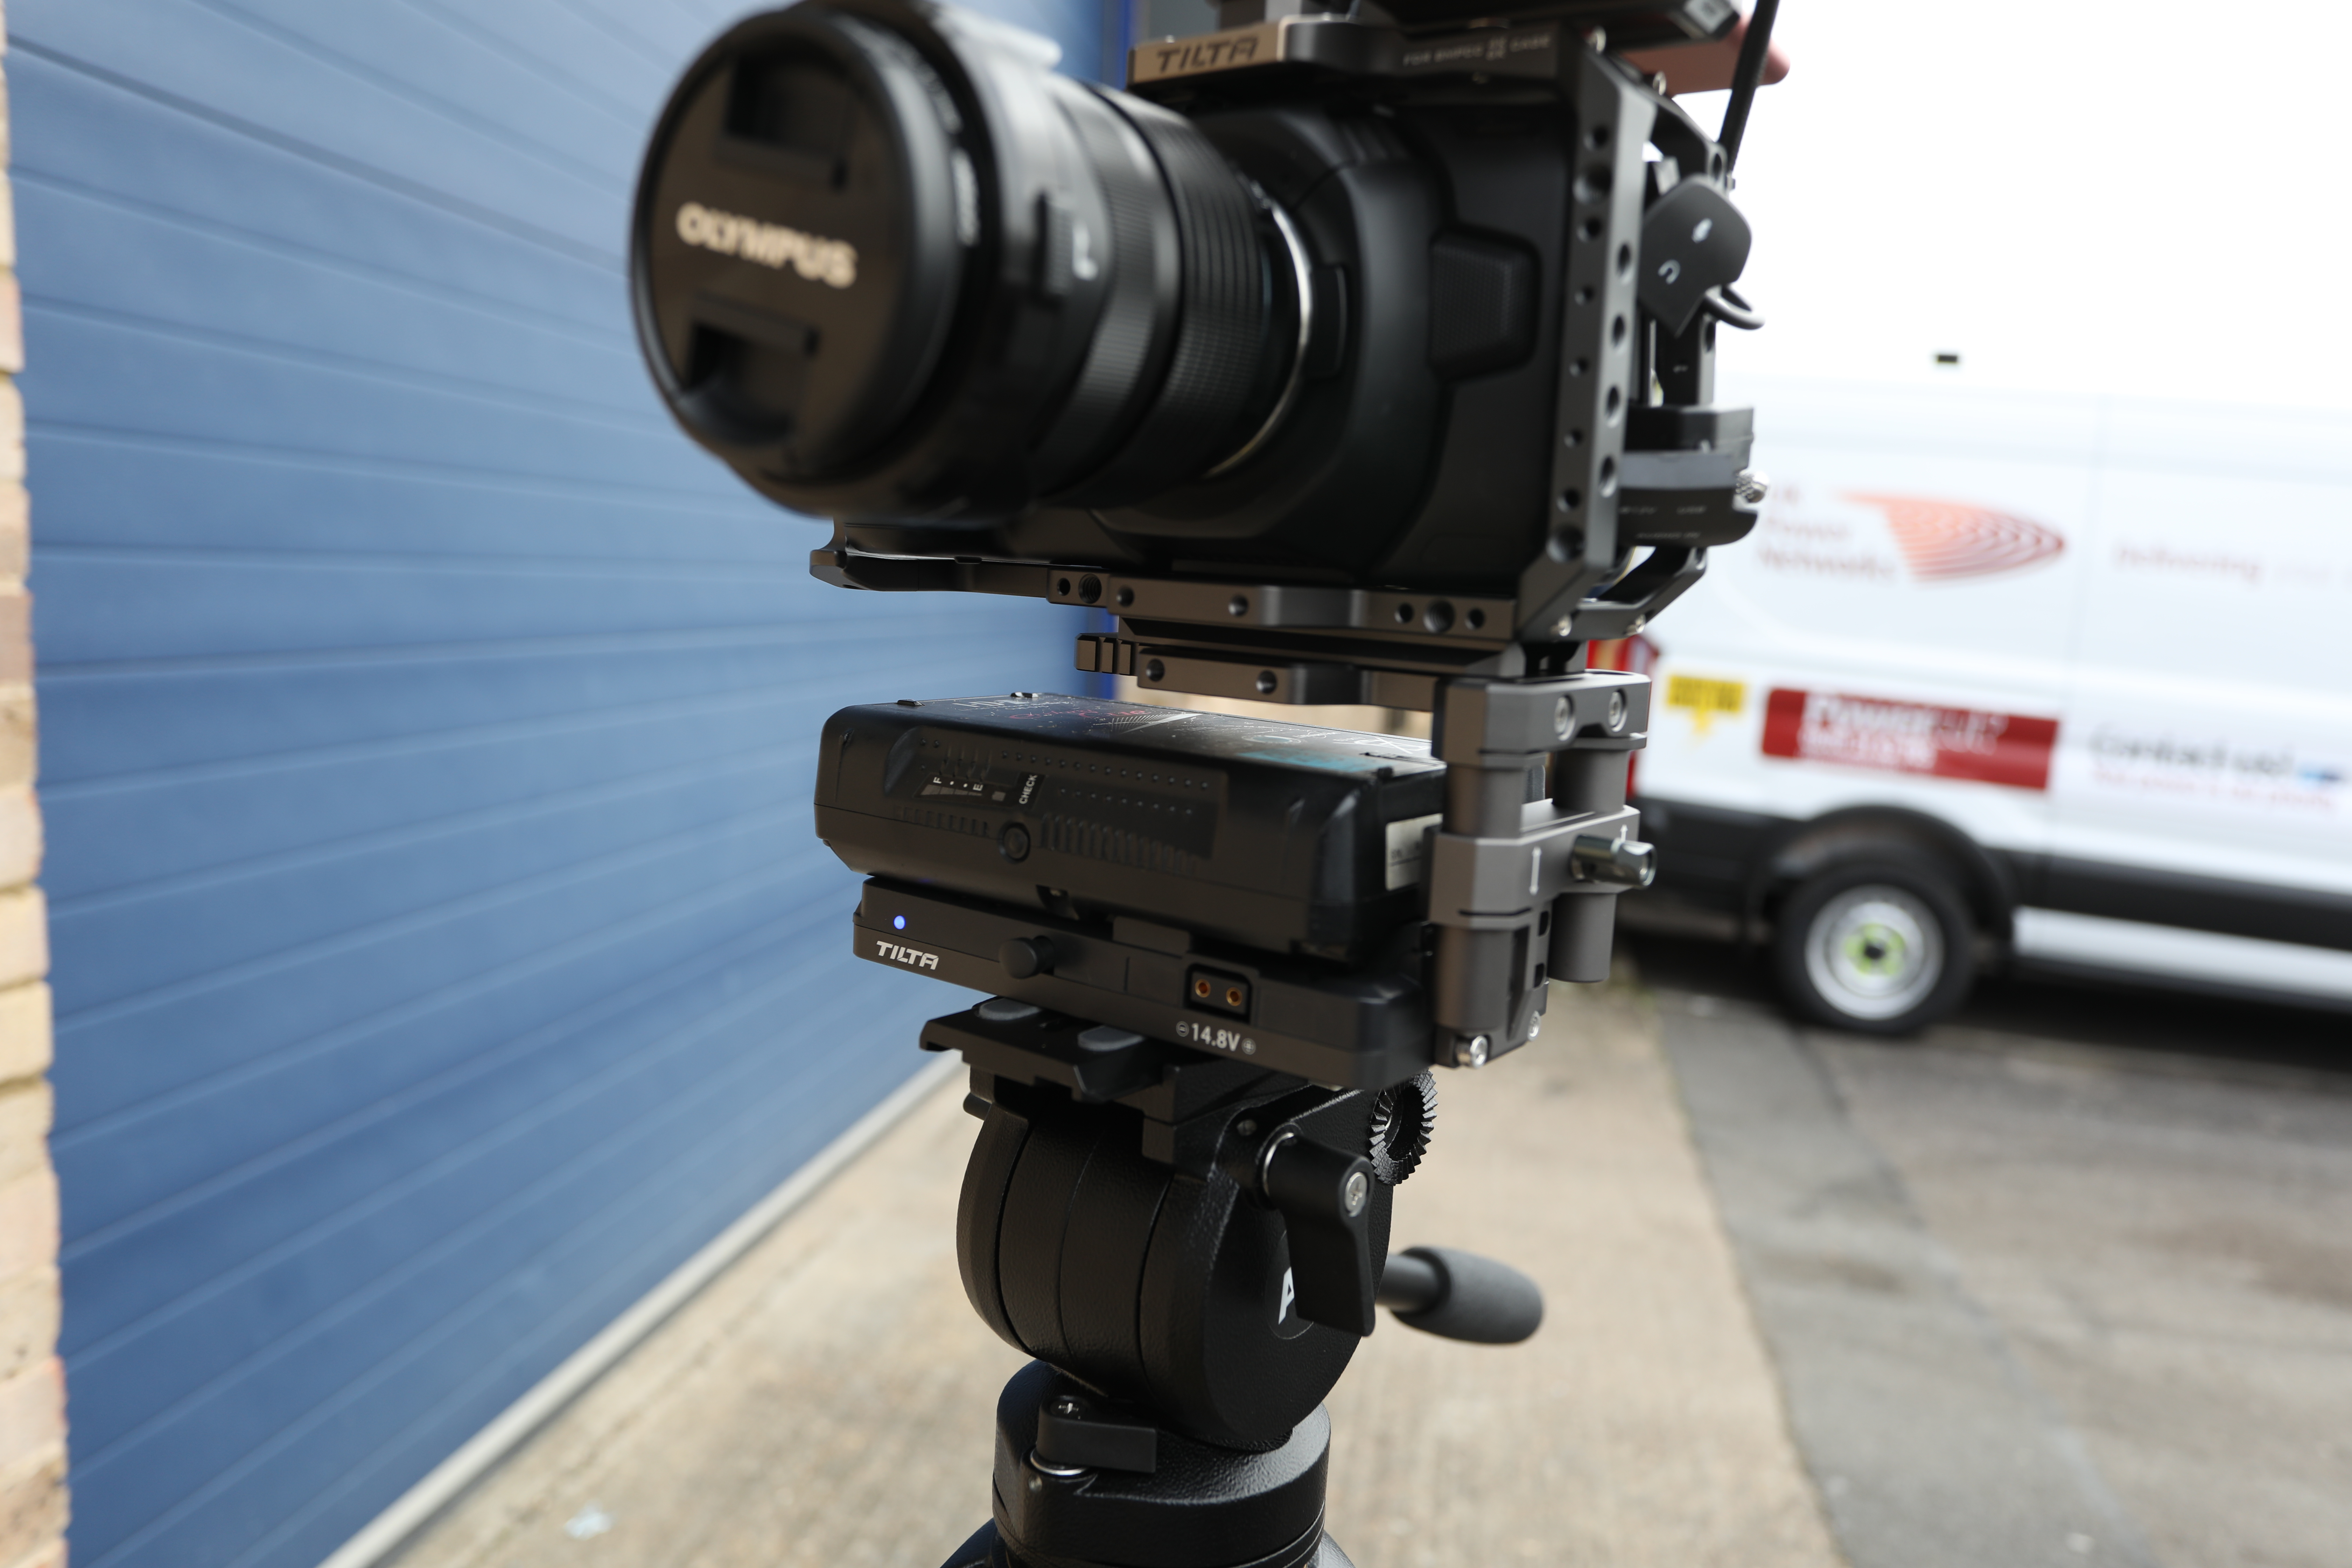
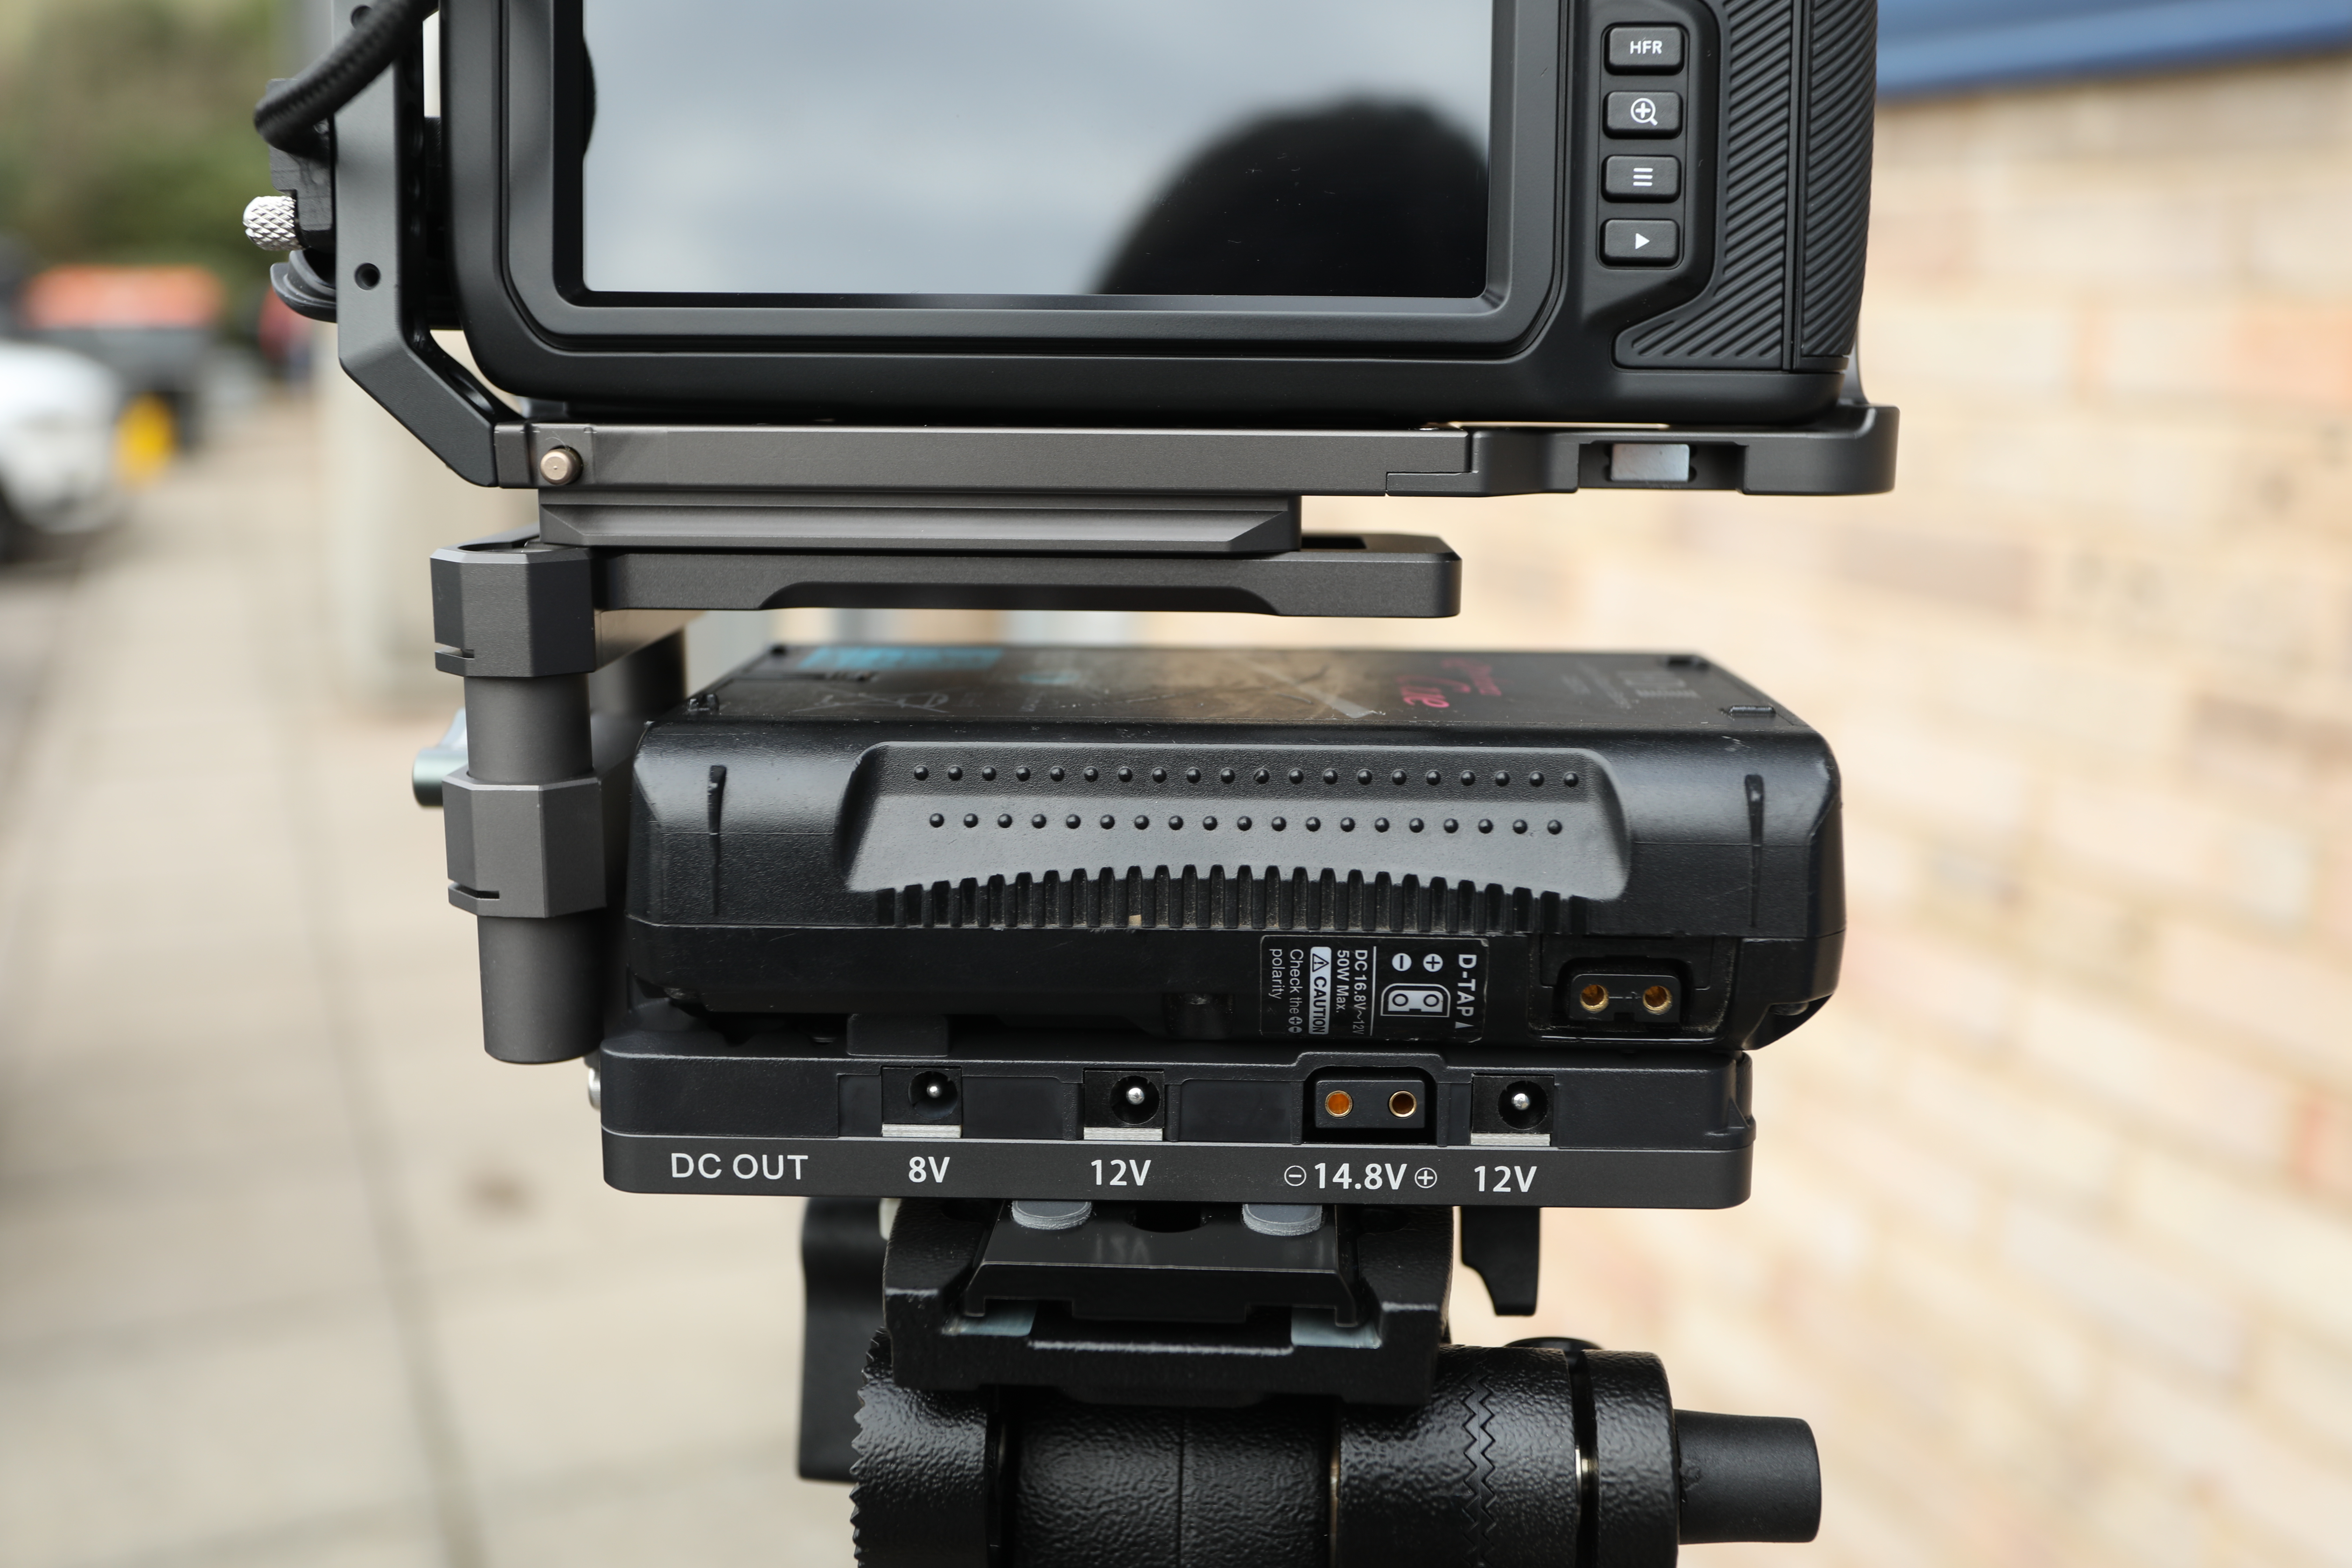
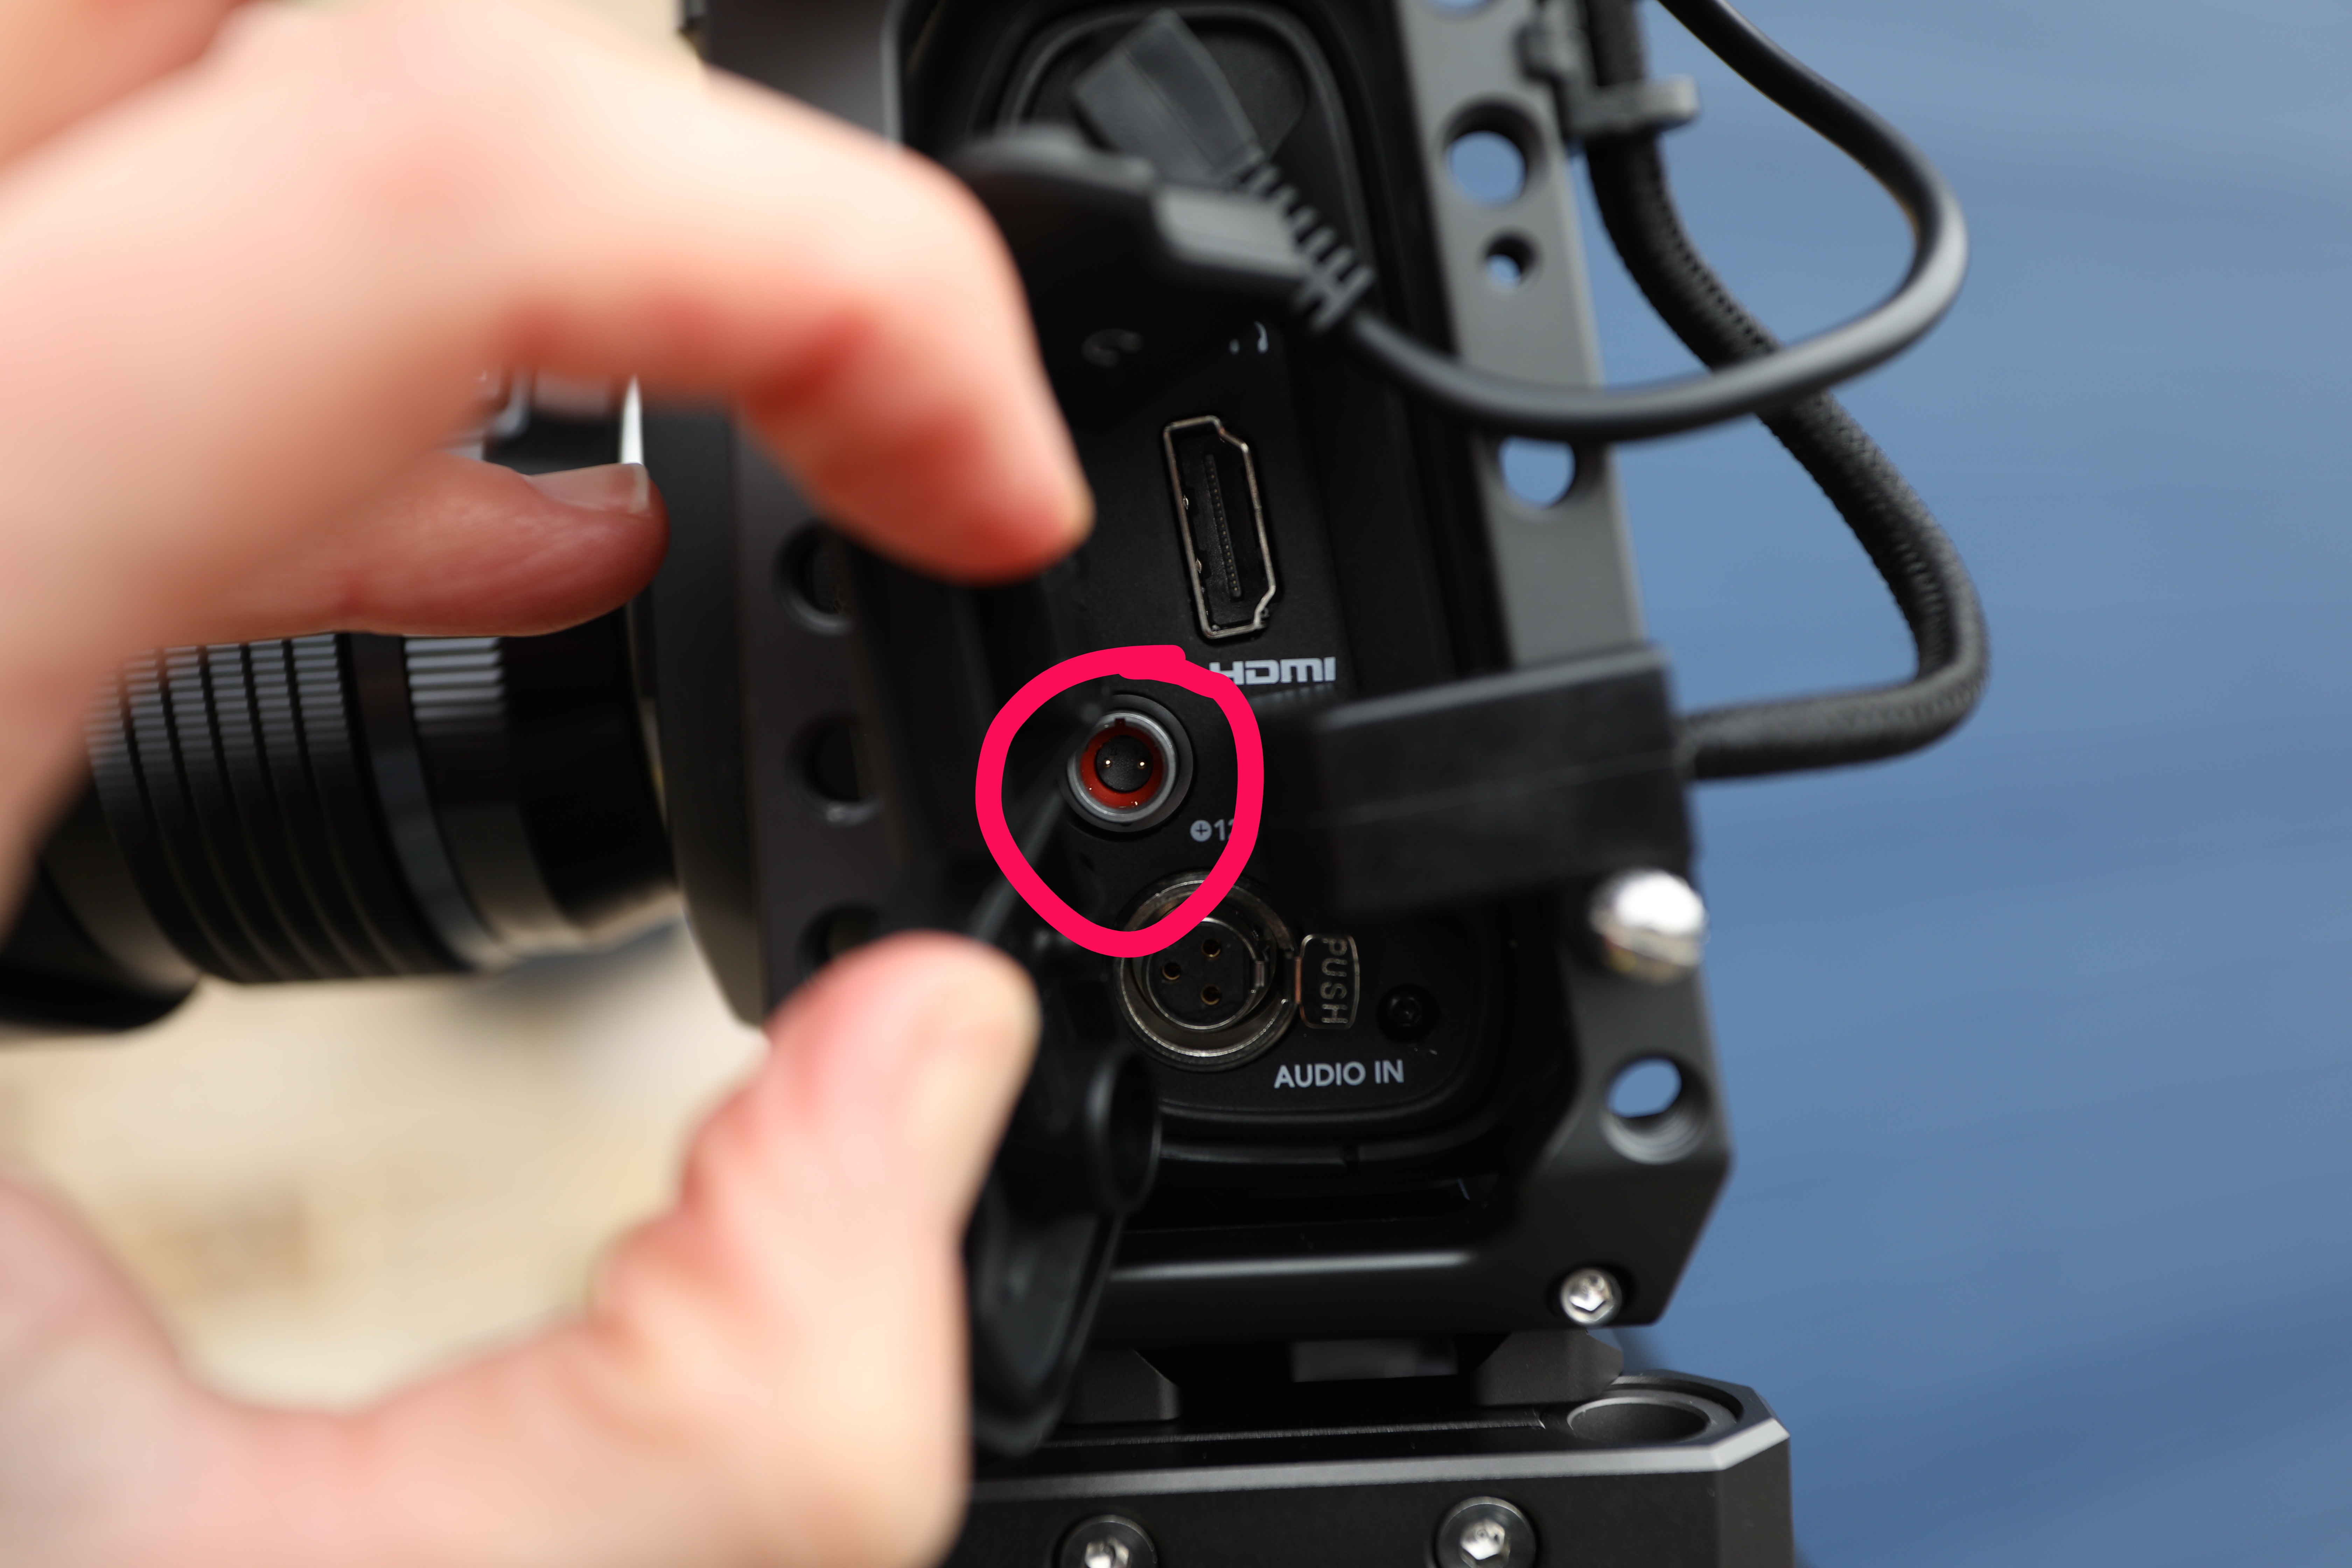
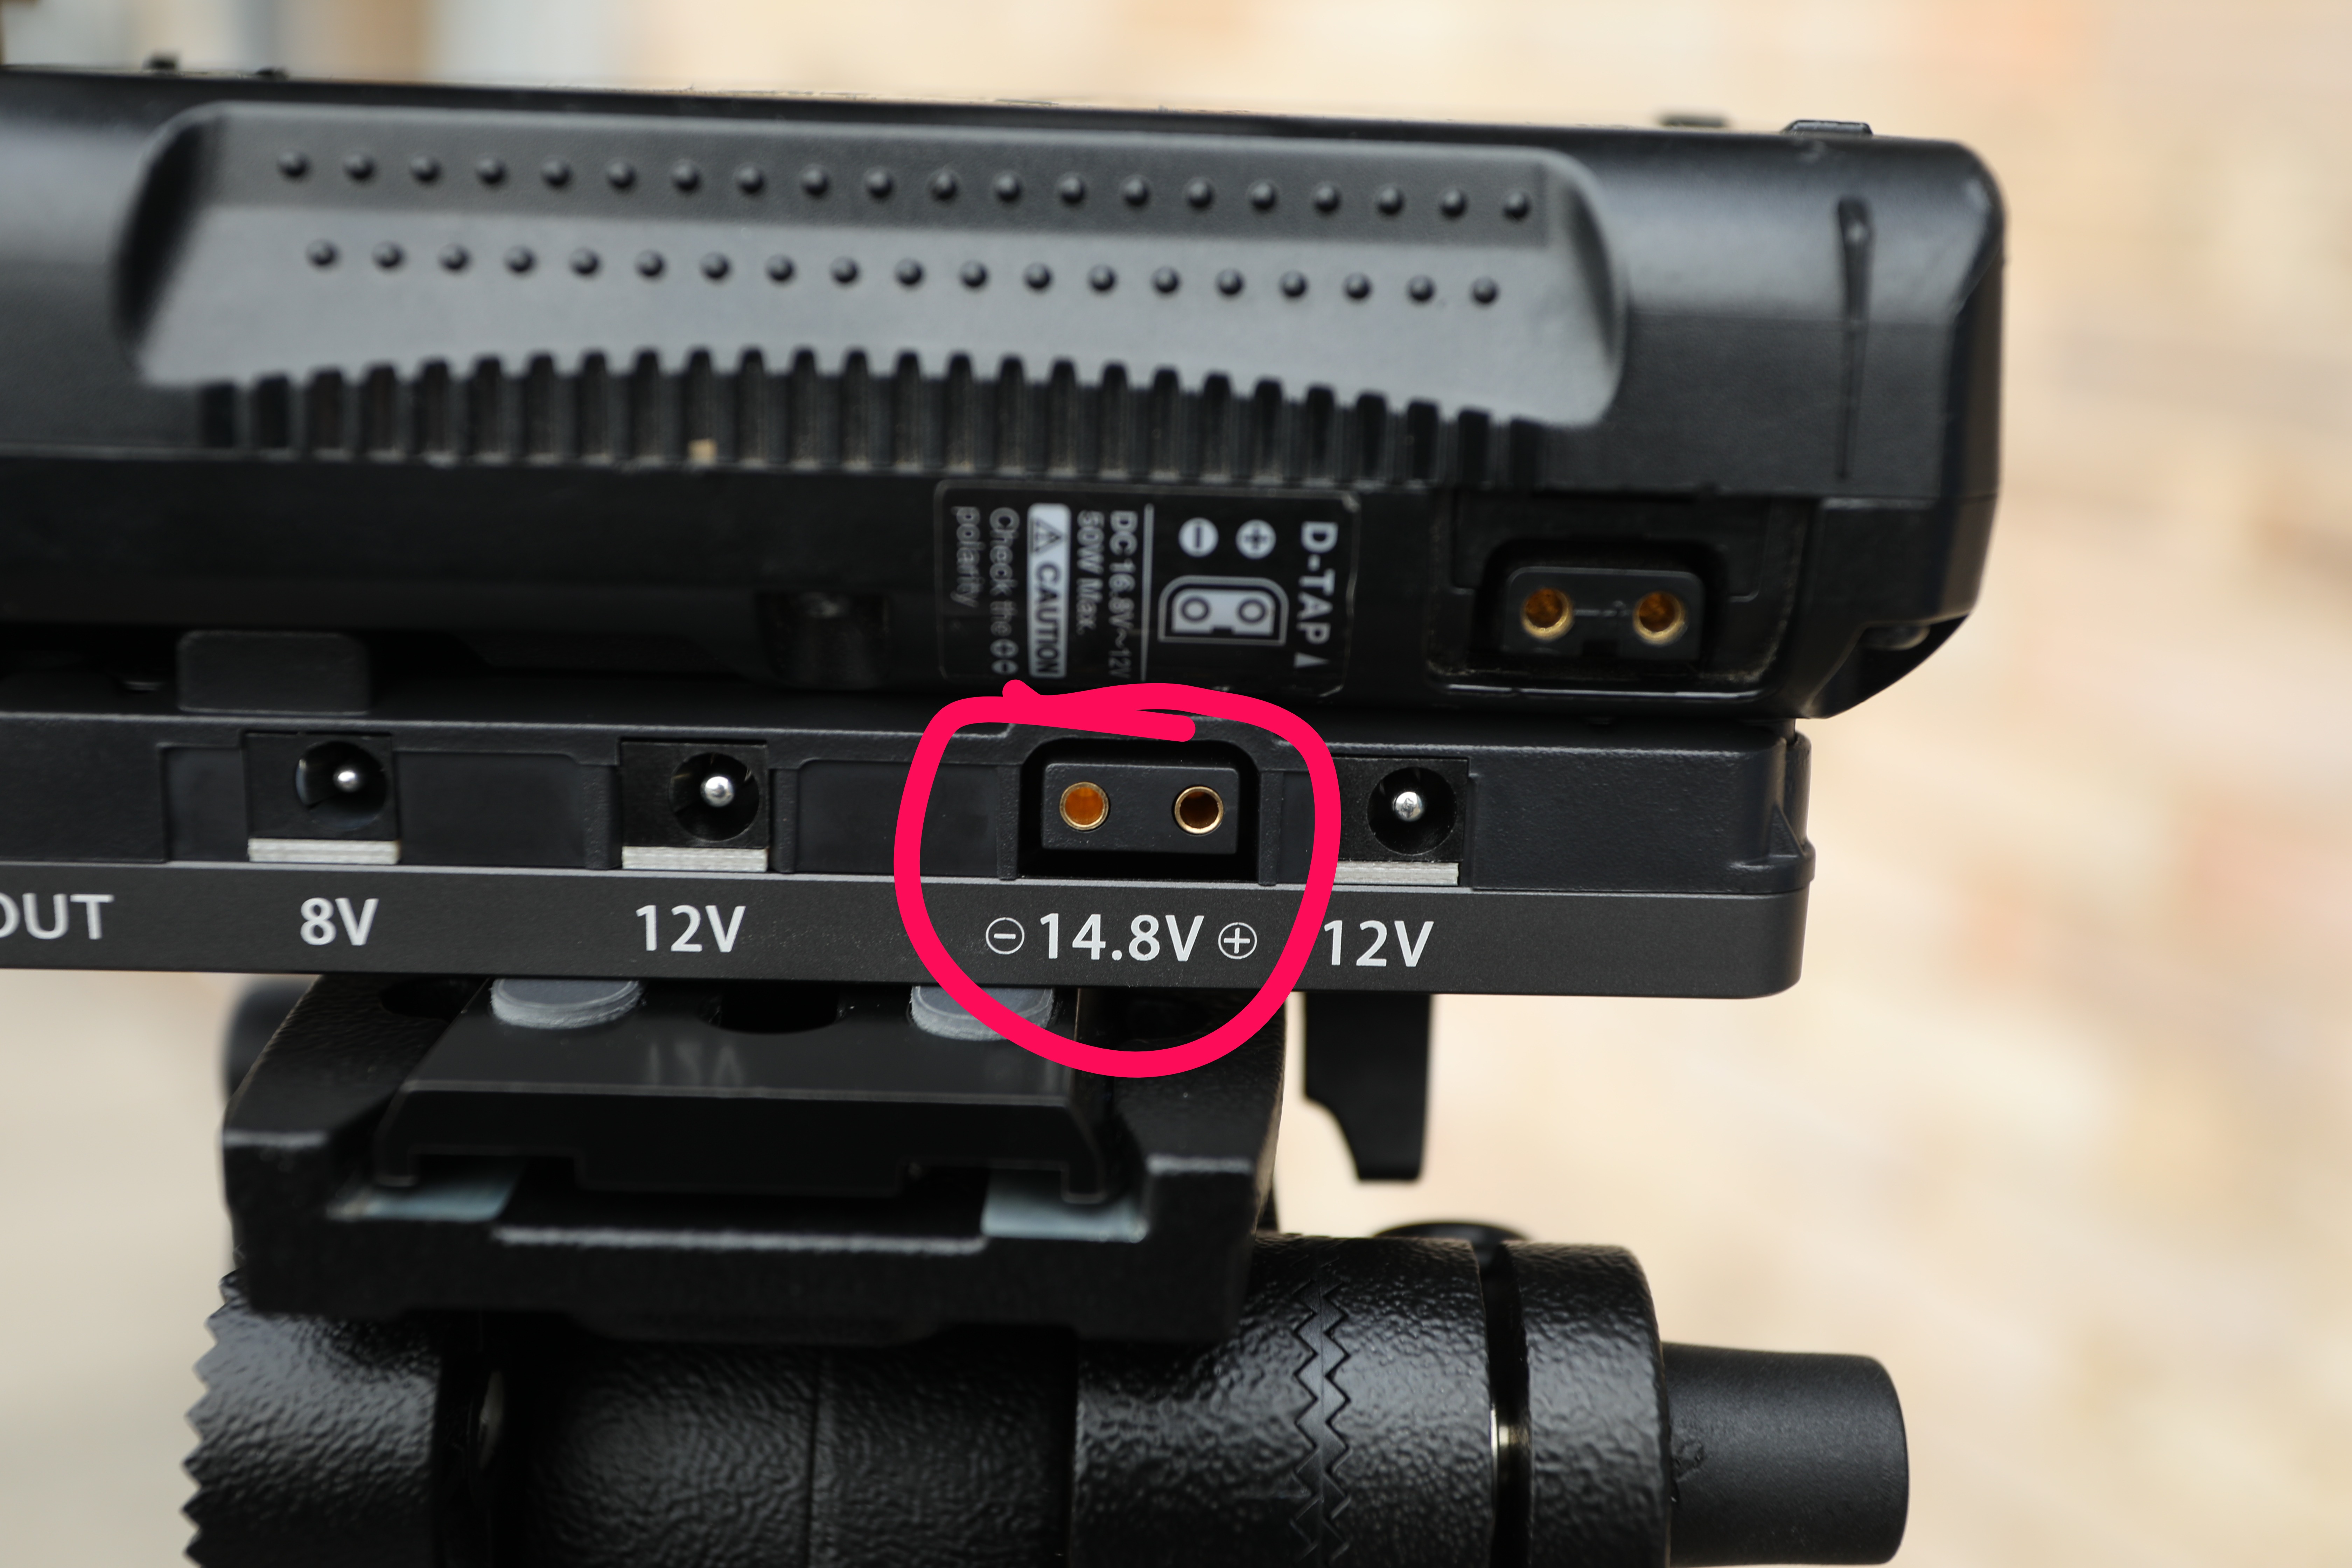
Slide the V-lock battery into the plate. Connect the D-tap to BMPCC power cable.
Test the camera
Turn on the camera, remove lens hood and record. Play around with focus to make sure there is no damage on lens connectors. Please try both auto focus and manual focus.
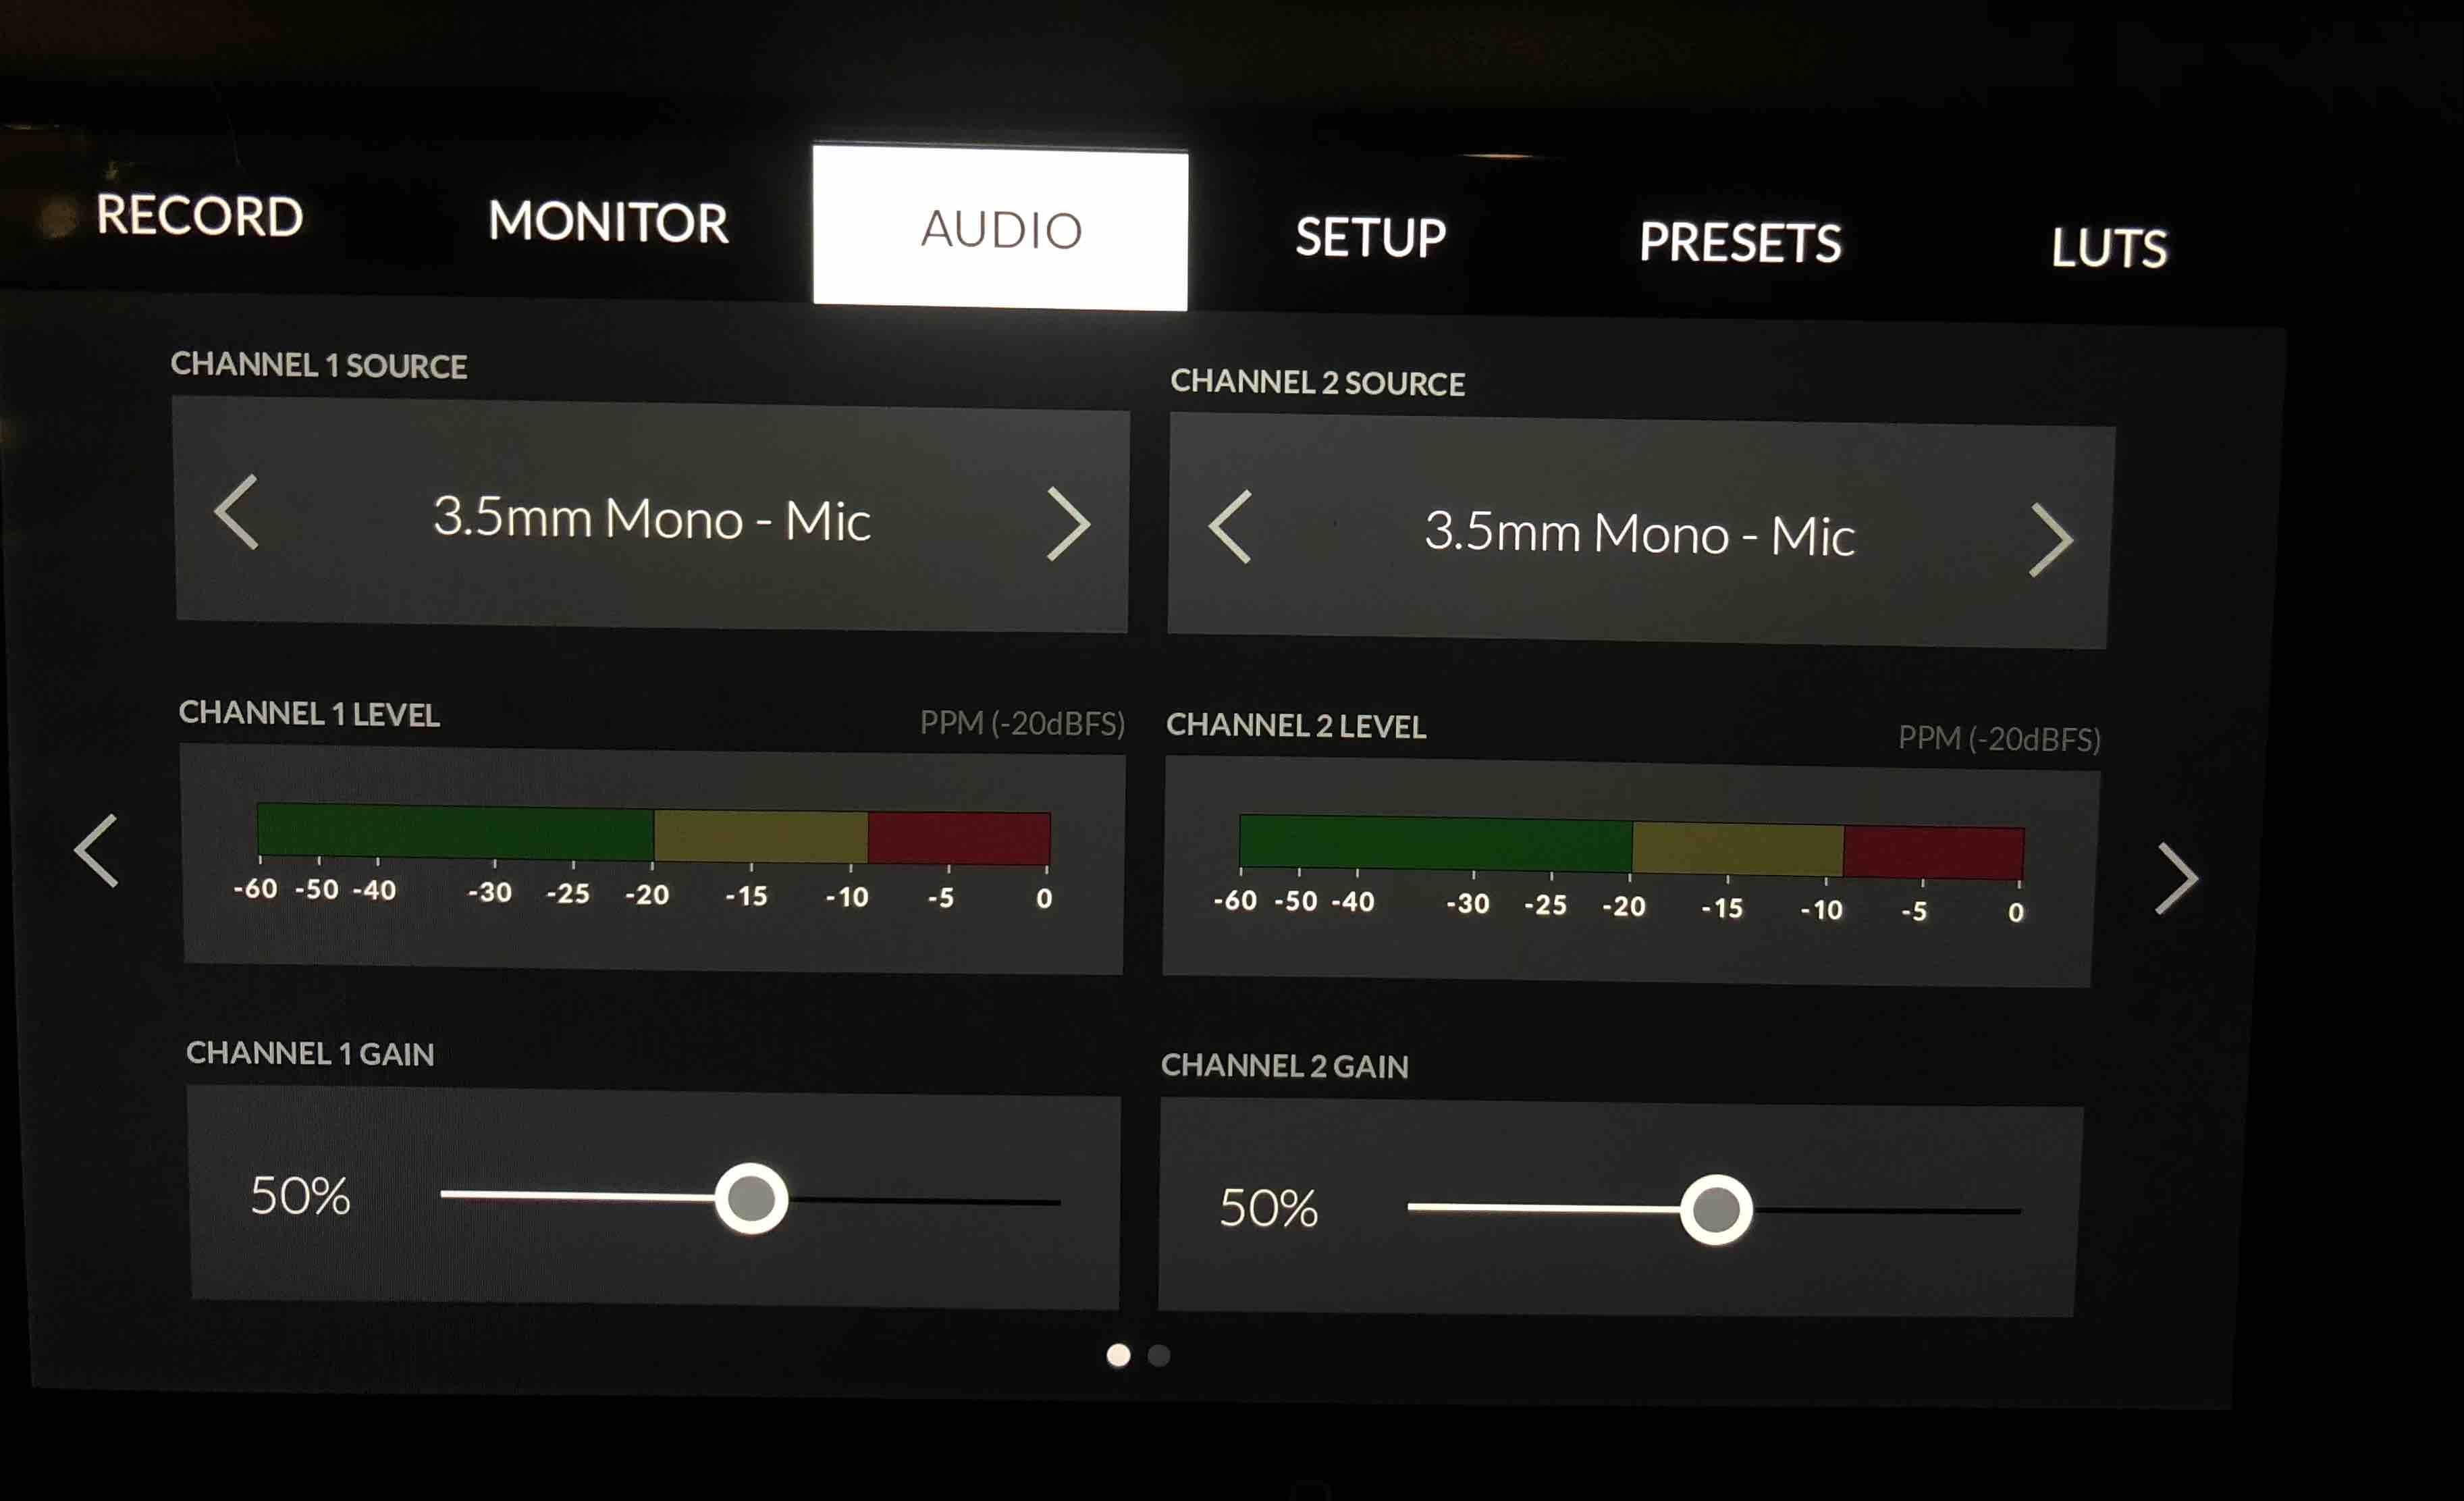
Ensure timecode is running properly and cable is not damage. You should be able to see the timecode running on time stamp. Record a clip and play it back. You should hear a beeping noise. If you hear that the timecode has been recorded properly. If is not working, check that audio settings are as below
Menu > audio > channel source 1 & channel 2 source > 3.5mm Mono Mic
FORMAT ALL Media: this is extremely important! The risk of not doing so is to accidentally spread very sensitive data around. Data wranglers will probably format the drives before returning the kit, but always check that drives are clear when given out.
To format the drive follow this simple steps
Tap either storage indicator at the bottom of the LCD touchscreen to enter the storage manager
Tap ‘Format CFast card’ or ‘Format SD card’. If you have a USB-C flash disk connected to your camera, ‘Format drive’ will be displayed instead of ‘Format SD card’
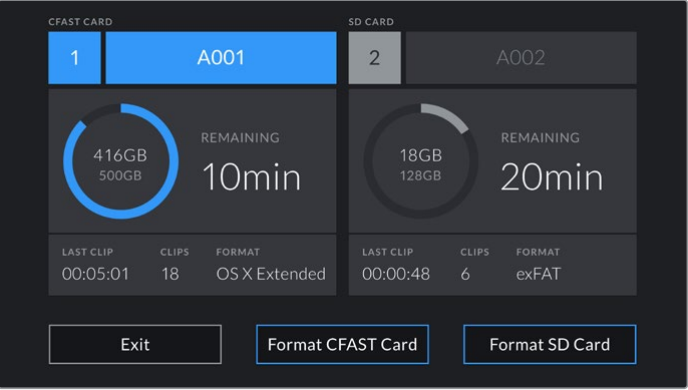
Tap ‘edit reel number’ if you would like to manually change the reel number. Use the keypad to enter a new reel number and press ‘update’ to confirm your selection - Set to A001
Choose OS X Extended or exFAT format and tap the format button. Usually we format exFAT but depends from time to time.
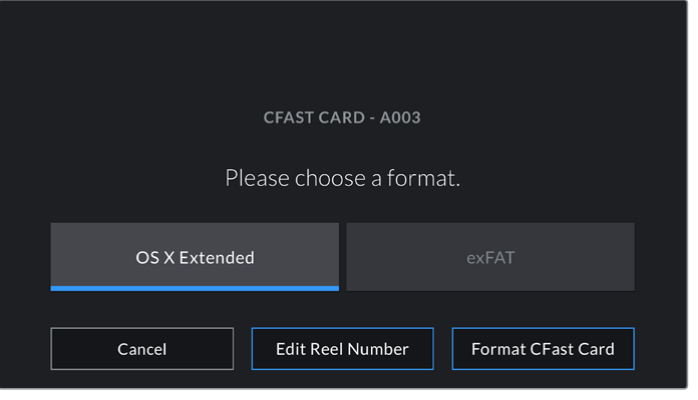
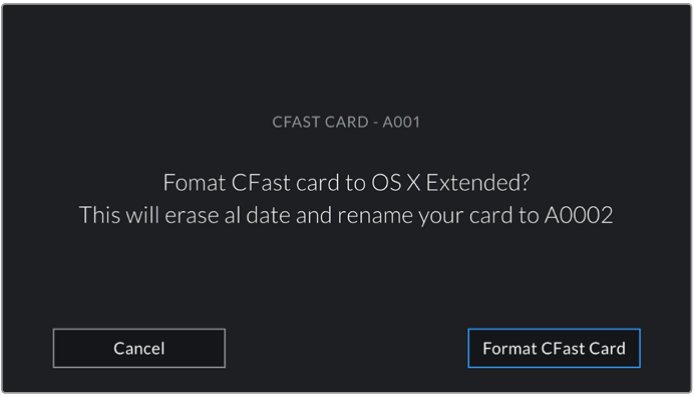
Hold down the format button for three seconds to format your media
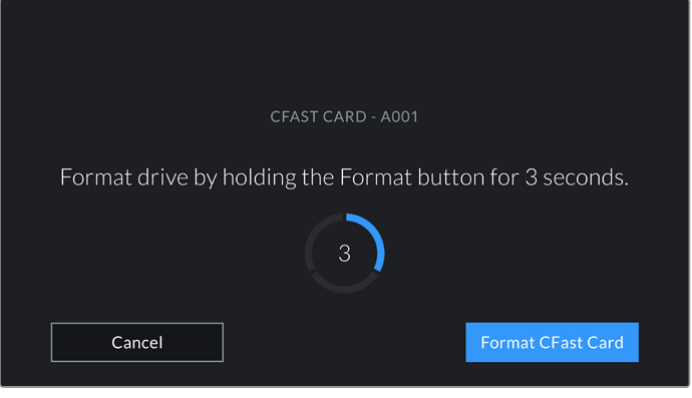
The camera notifies you when the format is complete and your drive is ready for use, or if formatting has failed.
Cheatsheet Monday Board: